[Previous][Next]
REMOVAL AND INSTALLATION
 
 
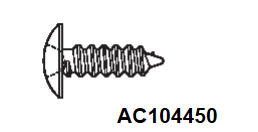
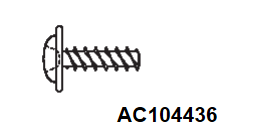
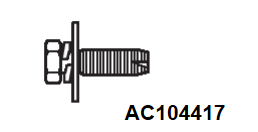
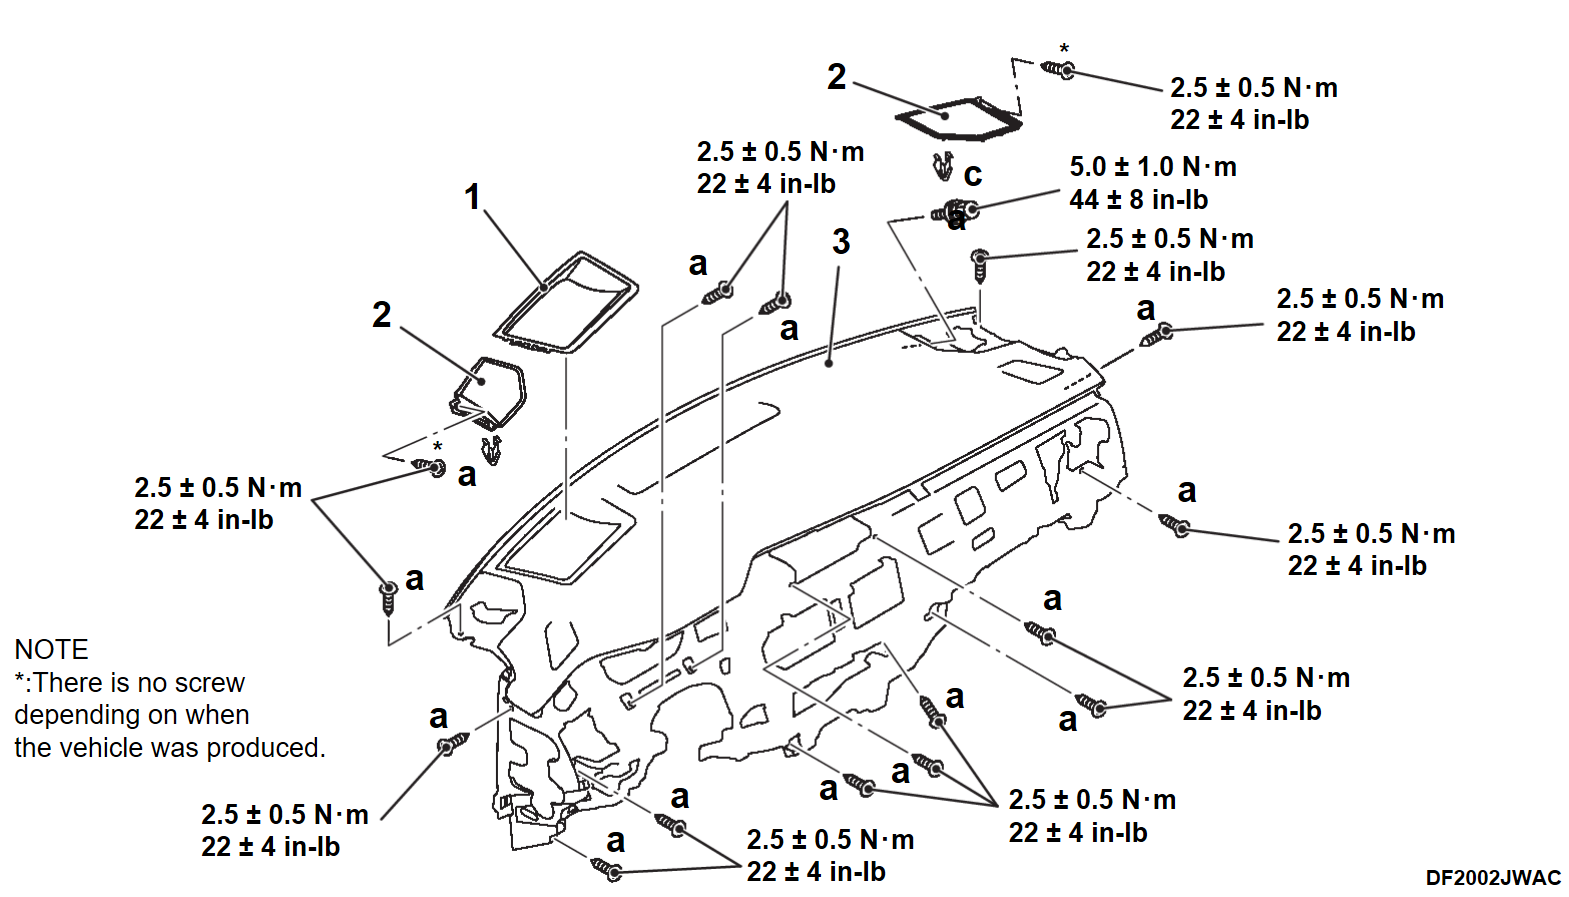
The following bolts and screws are used for installing the instrument panel. Bolts and screws are indicated as marks shown in the illustration in the sections of "Removal and Installation" and "Disassembly and Assembly."
NameSymbolSize (D X L) mmColorShape
Tapping screwa5 X 16-
b5 X 12-
Washer assembly boltc6 X 16-
D: Thread diameter, L: Effective thread length
 
 
caution
Removal steps
1.Instrument panel hole cover
Front pillar garnish (Refer to REMOVAL AND INSTALLATION).
2.Speaker grille
Front speaker (Refer to Removal and Installation).
Instrument lower panel center assembly (Refer to Removal and Installation).
Center console assembly (Refer to Removal and Installation).
Combination meter assembly (Refer to Removal and Installation).
Instrument lower center panel (Refer to Removal and Installation).
Driver knee air bag module (Refer to Removal and Installation).
Instrument panel center cover assembly and defroster garnish (Refer to Removal and Installation).
Passenger air bag module connection (Refer to Removal and Installation).
Keyless operation key unit (Refer to Intelligent Key Unit).
Steering column shaft assembly mounting bolts (Refer to Removal and Installation).
Wiring harness connection
3.Instrument panel assembly
Required Special Tool:
  • MB990784: Ornament Remover
 
 
REMOVAL SERVICE POINTS
 
 
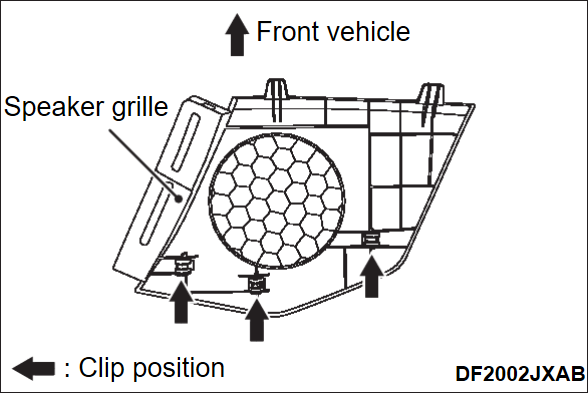
<<A>> SPEAKER GRILLE REMOVAL
1. Remove the installation screws.
2. Remove the clips shown in the figure using ornament remover (Special tool: MB990784).


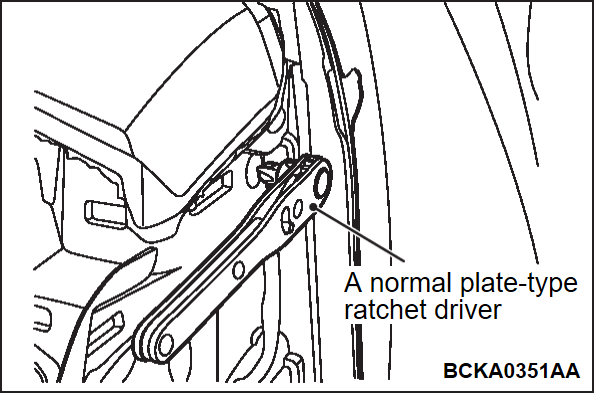
<<B>> INSTRUMENT PANEL REMOVAL
When removing the screws on both sides of the instrument panel assembly, use a normal plate-type ratchet driver instead of a screwdriver, because there is only a small space for removing the screws.