REMOVAL AND INSTALLATION
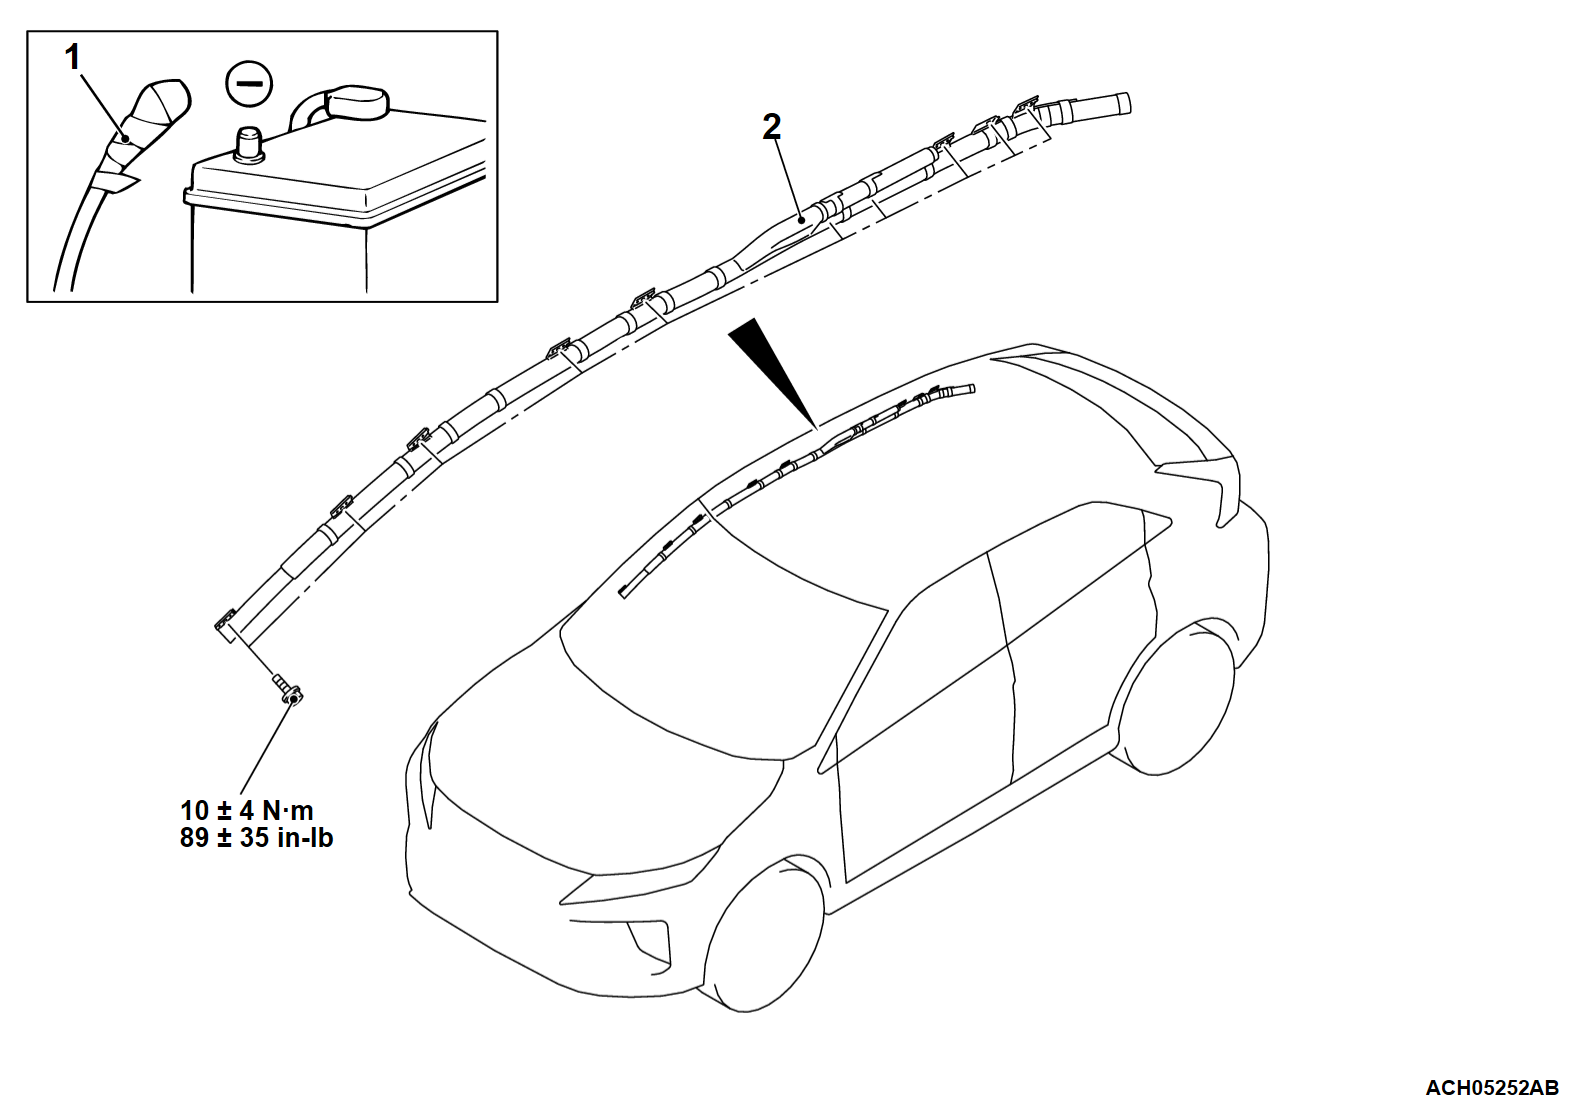
Pre-removal operation Turn the ignition switch to the "LOCK" (OFF) position. |
| note | The figure shows the right curtain air bag module. |
REMOVAL SERVICE POINT
<<A>> NEGATIVE (-) BATTERY CABLE DISCONNECTION
| danger | Wait at least 60 seconds after disconnecting the battery cable before doing any further work (Refer to  ). ). |
| warning | Battery posts, terminals and related accessories contain lead and lead compounds. WASH HANDS AFTER HANDLING. |
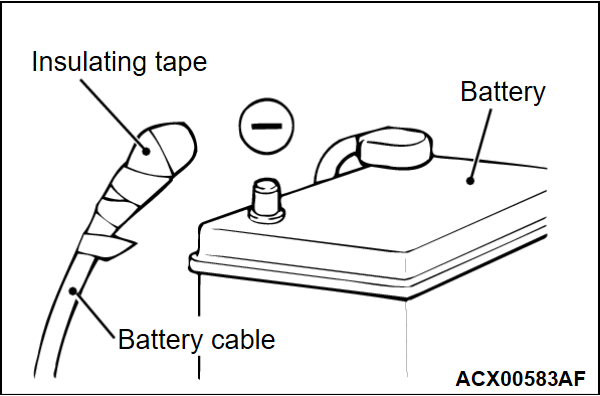
Disconnect the negative (-) battery cable from the battery and tape the terminal to prevent accidental connection and air bag(s) deployment.
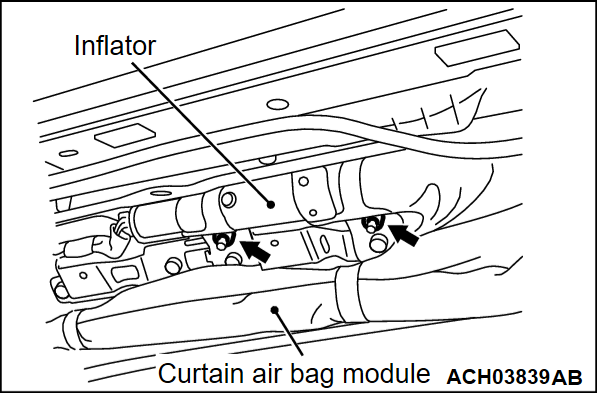
<<B>> CURTAIN AIR BAG MODULE REMOVAL
| caution |
|
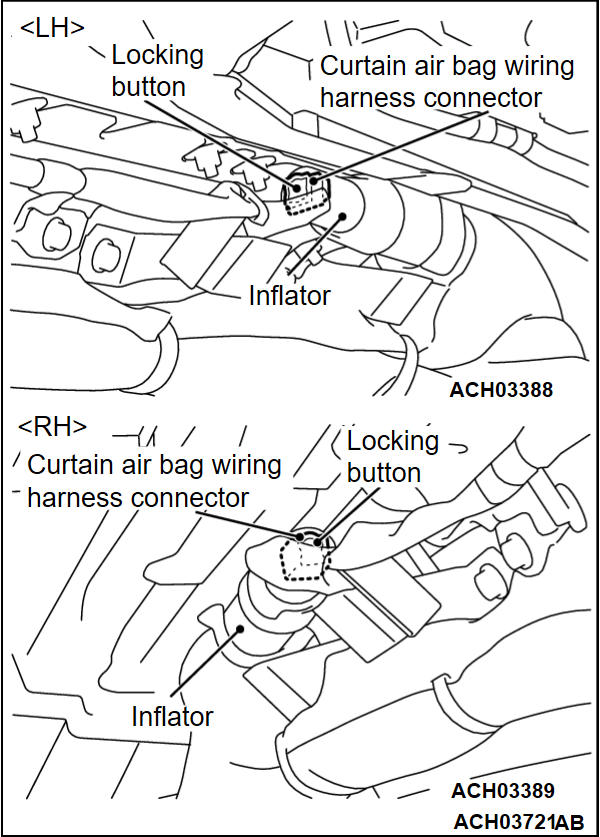
Use the flat-tipped screwdriver to pull out the locking button of wiring harness side connector, and release the lock.
INSTALLATION SERVICE POINTS
>>A<< PRE-INSTALLATION INSPECTION
2. Connect the negative (-) battery cable.
3.
| caution | To prevent damage to scan tool (M.U.T.-IIISE), always turn off the power supply mode of the electric motor switch before connecting or disconnecting scan tool (M.U.T.-IIISE). |
Connect scan tool (M.U.T.-IIISE) to the data link connector.
4. Turn the ignition switch to the "ON" position.
5. Check DTCs using scan tool (M.U.T.-IIISE) to ensure entire SRS operates properly.
6.
| danger | Wait at least 60 seconds after disconnecting the battery cable before doing any further work (Refer to  ). ). |
| warning | Battery posts, terminals and related accessories contain lead and lead compounds. WASH HANDS AFTER HANDLING. |
Turn the ignition switch to the "LOCK" (OFF) position. Disconnect the negative (-) battery cable and tape the terminal to prevent accidental connection and air bag deployment.
>>B<< CURTAIN AIR BAG MODULE INSTALLATION
| caution |
|
>>C<< POST-INSTALLATION INSPECTION
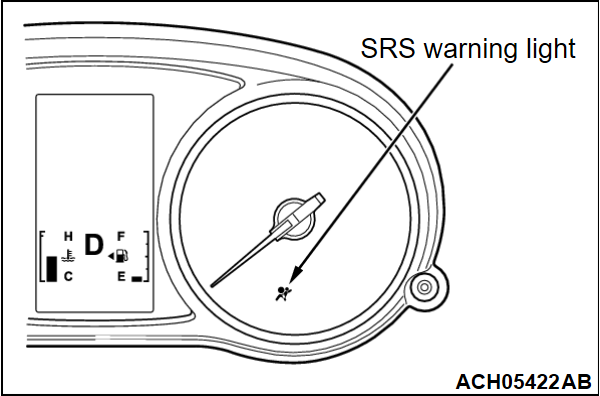
| caution | After the maintenance of the SRS air bag and seat belt with pre-tensioner is completed, be sure to delete the DTC and check whether the SRS warning light lights up (Refer to  ). ). |
1. Turn the ignition switch to the "ON" position.
2. Check that the SRS warning light is illuminated for 6 to 8 seconds, and extinguished afterward.
![[Previous]](../../../buttons/fprev.png)
![[Next]](../../../buttons/fnext.png)
