Removal and Installation
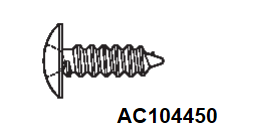
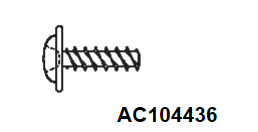
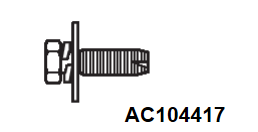
The following bolts and screws are used for installing the Floor console assembly. Bolts and screws are indicated as marks shown in the illustration in the sections of "Removal and Installation."
| Name | Symbol | Size (D × L) mm | Color | Shape |
| Tapping screw | a | 5 × 16 | – | |
| b | 5 × 12 | – | ||
| Washer assembly bolt | c | 6 × 16 | – | |
| d | 6 × 20 | – |
D: Thread diameter, L: Effective thread length
Pre-removal and Post-installation Operation
|
|
Required Special Tool:
- MB990784: Ornament Remover
REMOVAL SERVICE POINTS
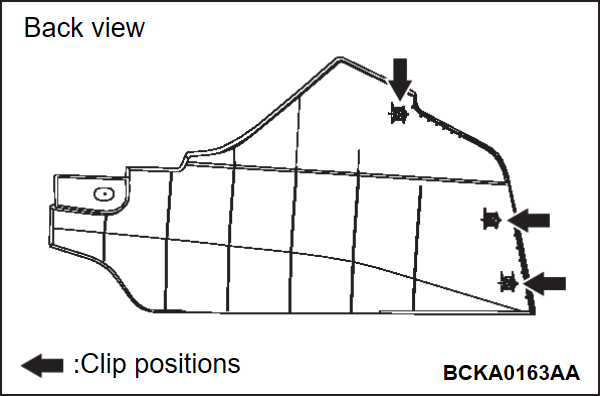
<<A>> INSTRUMENT SIDE PANEL REMOVAL
Remove the clips shown in the illustration using special tool MB990784.
<<B>> CLUSTER LID FINISHER REMOVAL
1. Slide the seat to the rear of the vehicle.
2. Press the seat surface from the upper diagonal side to expand the clearance between the seat surface and the cluster lid finisher.
3. Remove the two screws on the cluster lid finisher.
4. Disengage the four clips connecting the cluster lid finisher and the center console by using special tool MB990784.
| caution | When pulling out the cluster lid finisher upward, be careful not to let the protruding parts get caught as it may damage the cluster lid finisher. |
5. Remove the cluster lid finisher by pulling it out upward.
![[Previous]](../../../buttons/fprev.png)
![[Next]](../../../buttons/fnext.png)


