DTC P0DA6: Rear motor drive voltage sensor fails (short to power supply, short circuit)
| danger |
MONITOR EXECUTION
- Continuous
MONITOR EXECUTION CONDITIONS (Other monitor and Sensor)
Other Monitor (There is no temporary DTC stored in memory for the item monitored below)
- Not applicable
Sensor (The sensor below is determined to be normal)
- Not applicable
DTC SET CONDITIONS
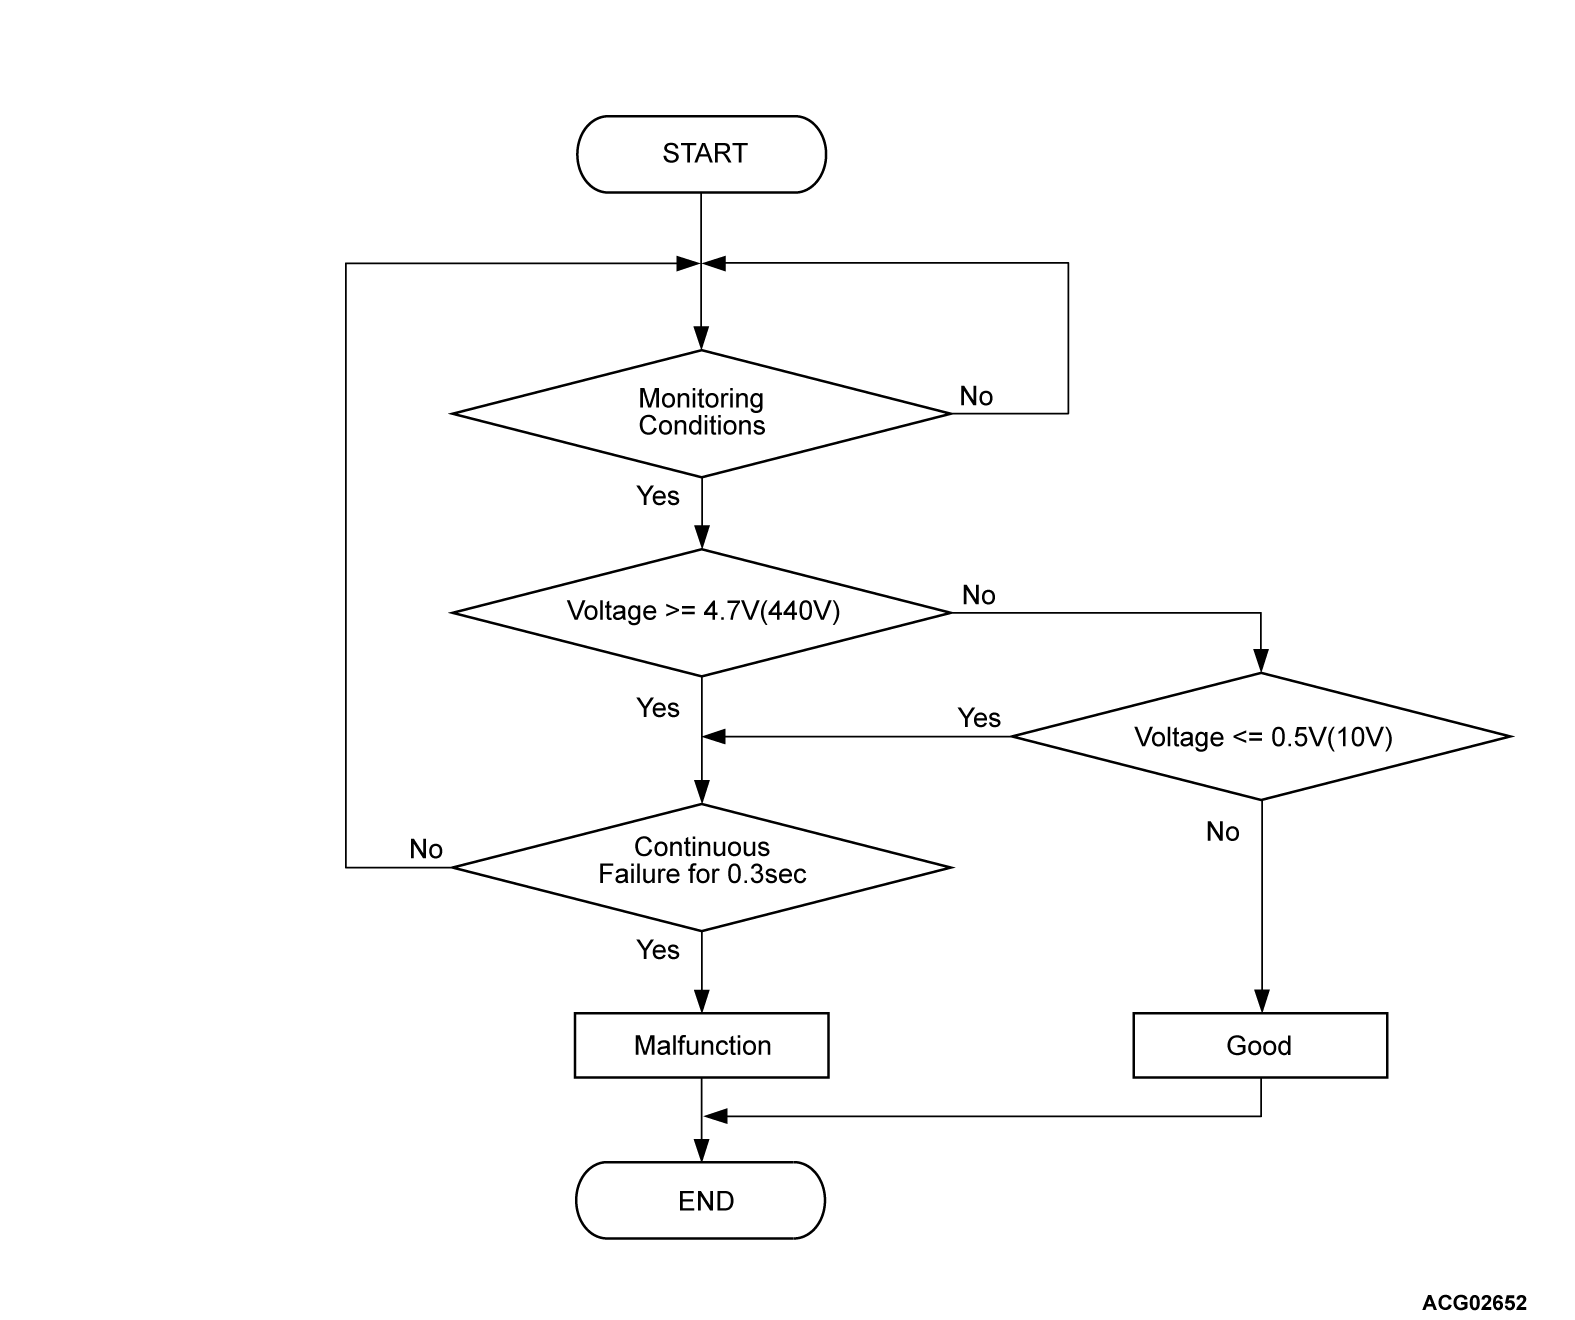
Check Conditions
- REMCU power supply voltage is 8 volts to 16 volts.
Judgment Criterion
- Change of the REMCU inverter voltage sensor voltage is more than 4.7 volts (440 volts) for 0.3 second.
PROBABLE CAUSES
- Malfunction of the REMCU
- The battery pack fails
- The high-voltage circuit fails
DIAGNOSIS
Required Special Tools
- MB991223: Wiring harness set
- MB992006: Extra fine probe
STEP 1. Using scan tool (M.U.T.-IIISE), check whether the other DTC is set.
Check if the DTC P0D30 is set in the power drive unit (FEMCU), and if the DTC P1078 is set in the power drive unit [generator control unit (GCU)].
Is the DTC set?
STEP 2. Check the high-voltage fuse.
| danger |
|
Is the check result normal?
STEP 3. Check the high-voltage circuit.
| danger |
|
Check whether the high-voltage wiring harness is connect securely or damaged.
Is the check result normal?
STEP 4. Check the high-voltage circuit.
| danger |
|
(2) Apply a voltage of 12 V to the CNT- terminal to turn on the charging contactor.
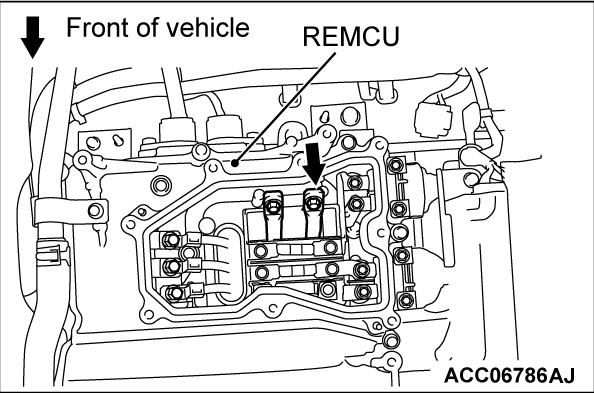
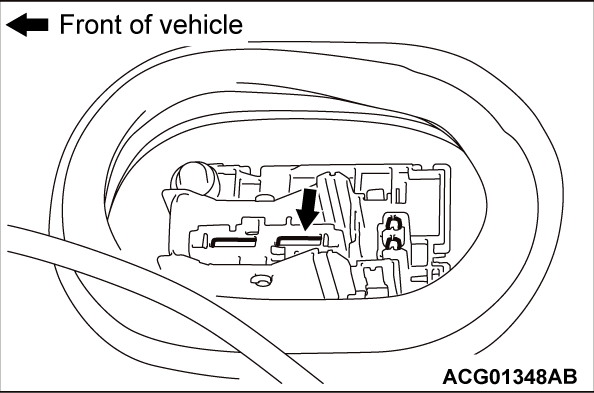
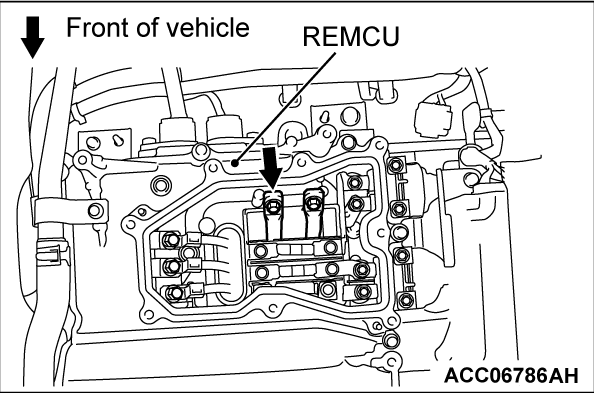
(3) Connect a high-voltage compatible multimeter between the main drive lithium-ion battery high-voltage terminal (REMCU) and the main drive lithium-ion battery service plug rear terminal.
OK: Approximately 100 - 164 V
(4) Apply a voltage of 12 V to the CNTP terminal to turn on the charging contactor.
(5) Connect a high-voltage compatible multimeter between the main drive lithium-ion battery high-voltage terminal (REMCU) and the main drive lithium-ion battery service plug front terminal.
OK: Approximately 100 - 164 V
(6) Apply a voltage of 12 V to the CNT+ terminal to turn on the charging contactor.
(7) Connect a high-voltage compatible multimeter between the main drive lithium-ion battery high-voltage terminal (REMCU) and the main drive lithium-ion battery service plug front terminal.
OK: Approximately 100 - 164 V
Is the check result normal?
STEP 5. Check the high-voltage wiring harness and bus bar in the main drive lithium-ion battery.
(1) Remove the battery tray cover (Refer to GROUP 54Dc - Main Drive Lithium-ion Battery Disassembly and Assembly  ).
).
 ).
).(2) Check the high-voltage wiring harness and bus bar in the main drive lithium-ion battery for looseness or damage.
Is the check result normal?
![[Previous]](../../../buttons/fprev.png)
![[Next]](../../../buttons/fnext.png)
