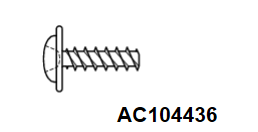
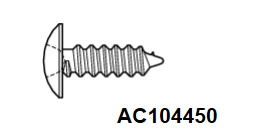
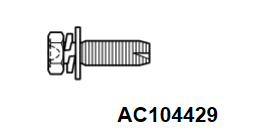
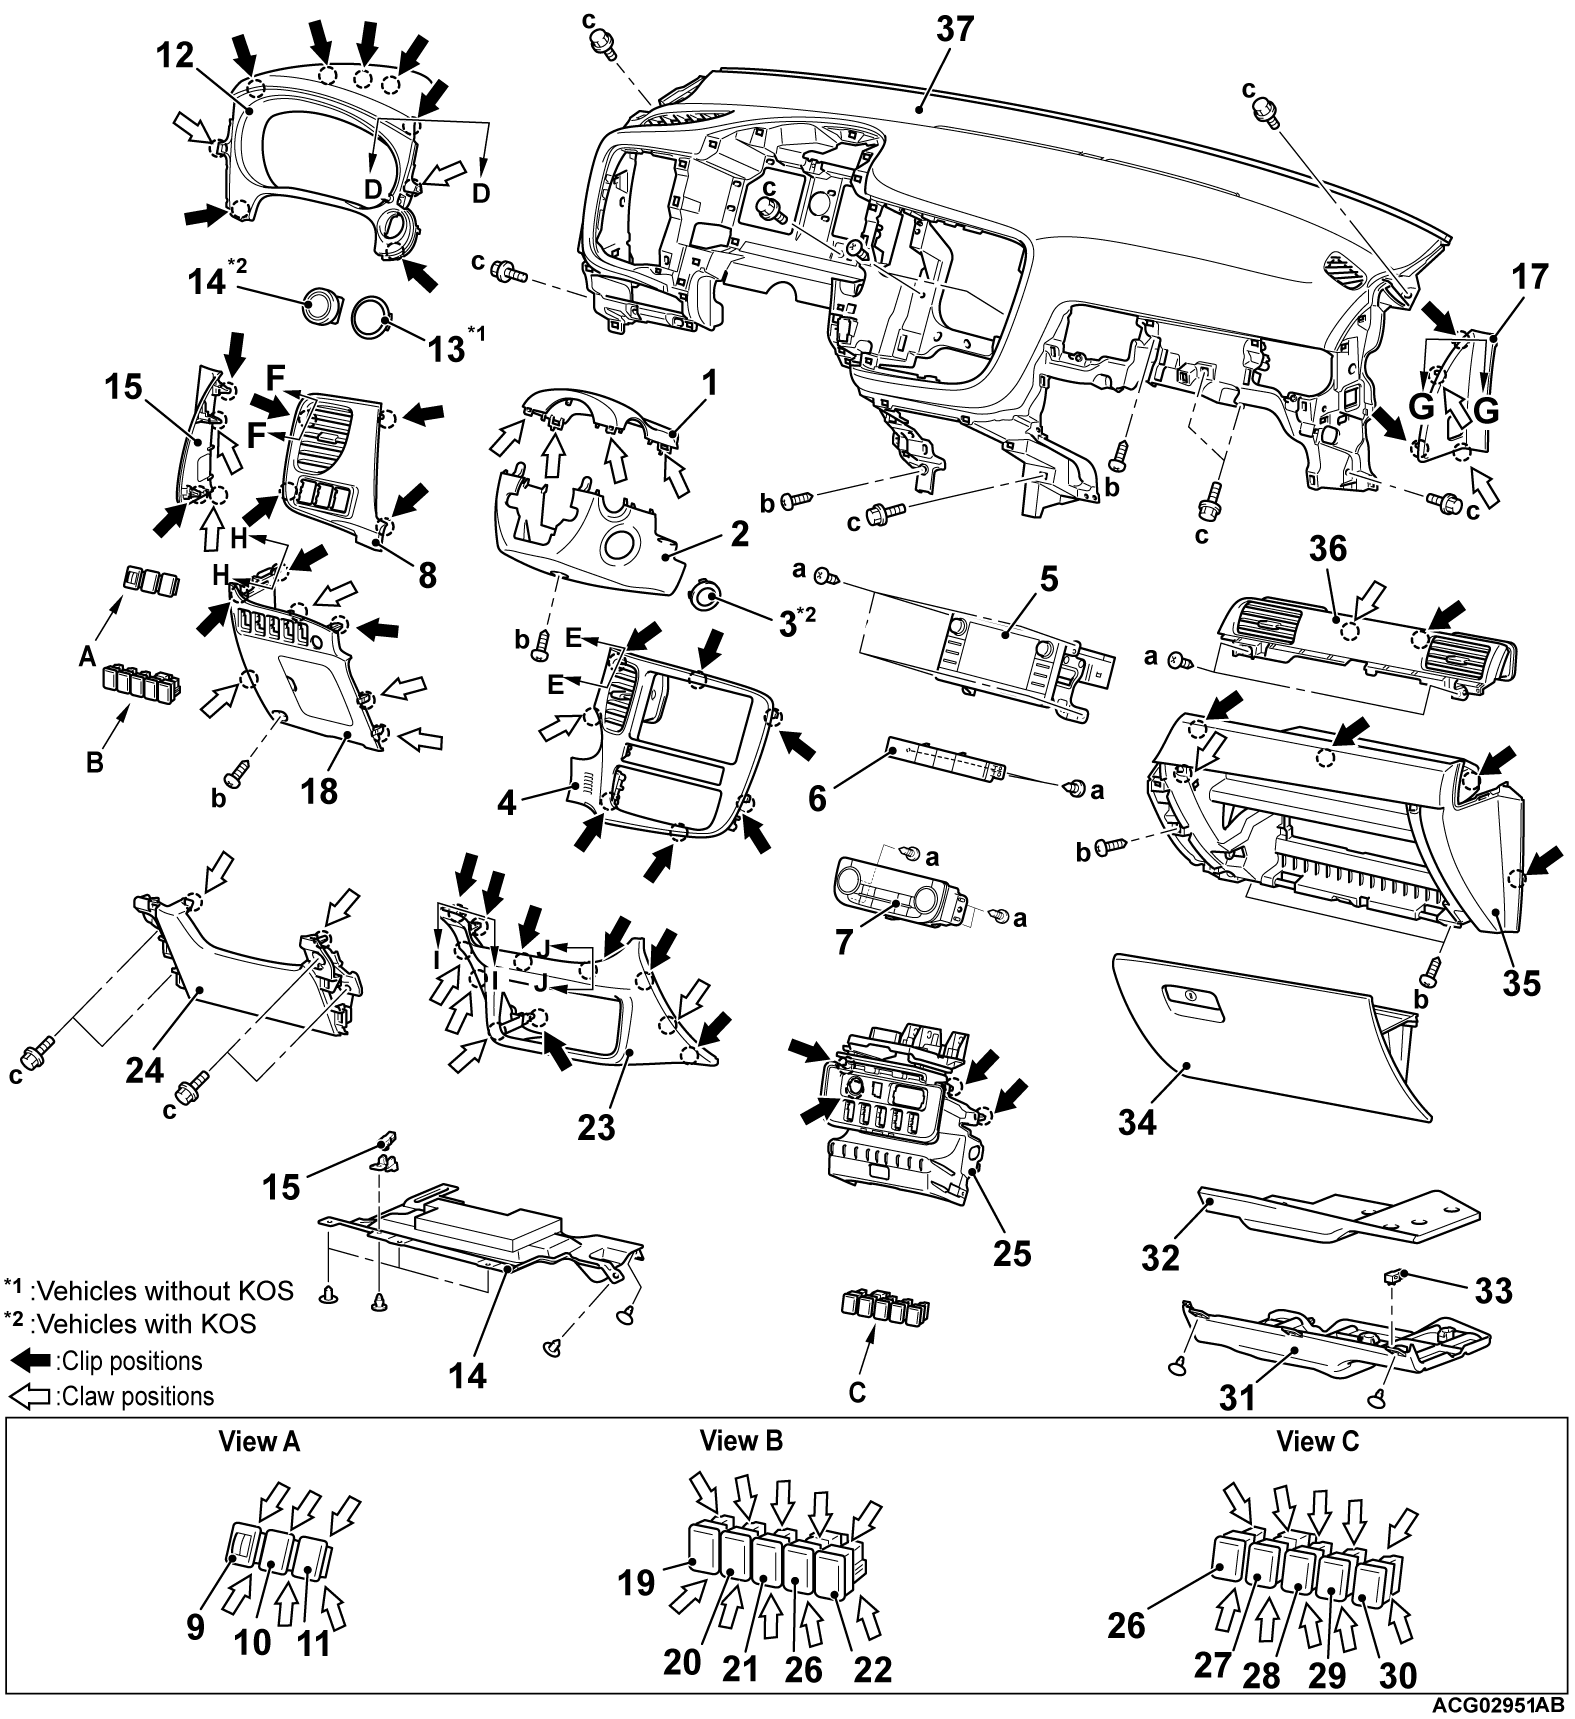
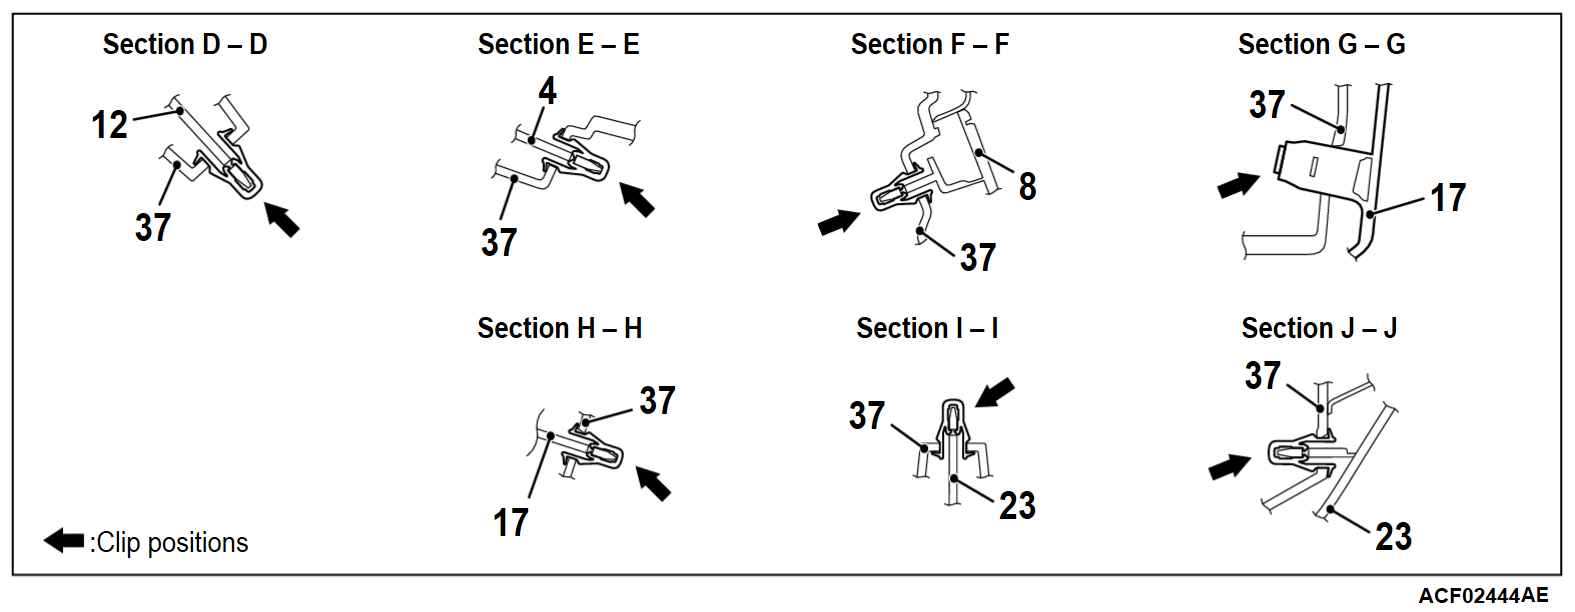
| | 1. | Steering column upper cover |
| | 2. | Steering column lower cover |
| | 3. | Ignition key cover <Vehicles without KOS> |
| | 4. | Center panel assembly |
| | 5. | Radio and CD player assembly |
| | 6. | Hazard indicators assembly |
| | 7. | Heater controller assembly (Refer to GROUP 55 - Heater Control Unit  .) .) |
| | 8. | Side air outlet panel assembly |
| | 9. | Headlight leveling switch |
| | 10. | ASC OFF switch |
| | 11. | Meter information switch |
| | 12. | Combination meter bezel |
| | 13. | Plug <Vehicles without KOS> |
| | 14. | Electric motor switch <Vehicles with KOS> |
| | 15. | Bottom cover assembly (driver's side) |
| | 16. | Instrument panel foot lamp |
| | 17. | Side cover |
| | 18. | Instrument panel lower |
| | 19. | Forward collision mitigation system (FCM) and ultrasonic misacceleration mitigation system ON/OFF switch |
| | 20. | LDW switch |
| | 21. | Sonar switch |
| | 22. | Electric liftgate switch |
| | 23. | Instrument panel lower center |
| | 24. | Instrument panel lower |
| | 25. | Instrument panel console box |
| | 26. | Plug |
| | 27. | Heated windshield switch |
| | 28. | Heated steering wheel switch |
| | 29. | BSW switch |
| | 30. | Plug |
| | • | Front floor console assembly (Refer to  ). ). |
| | 31. | Instrument panel under cover |
| | 32. | Instrument panel pad |
| | 33. | Instrument panel foot lamp |
| | 34. | Glove box |
| | 35. | Glove box assembly |
| | 36. | Ornament panel assembly |
| | • | Glove box lamp connector |
| | • | Passenger’s (front) air bag module connector connection (Refer to GROUP 52B - Passenger’s (front) Air Bag Module  .) .) |
| | • | Front pillar trim (Refer to  ). ). |
| | 37. | Instrument panel assembly |
![[Previous]](../../../buttons/fprev.png)
![[Next]](../../../buttons/fnext.png)
