Removal and Installation
REMOVAL
| caution |
|
1. Perform inspection before removal. Refer to Refer to Inspection .
.
 .
.2. Drain brake fluid. Refer to DrainingDraining .
.
 .
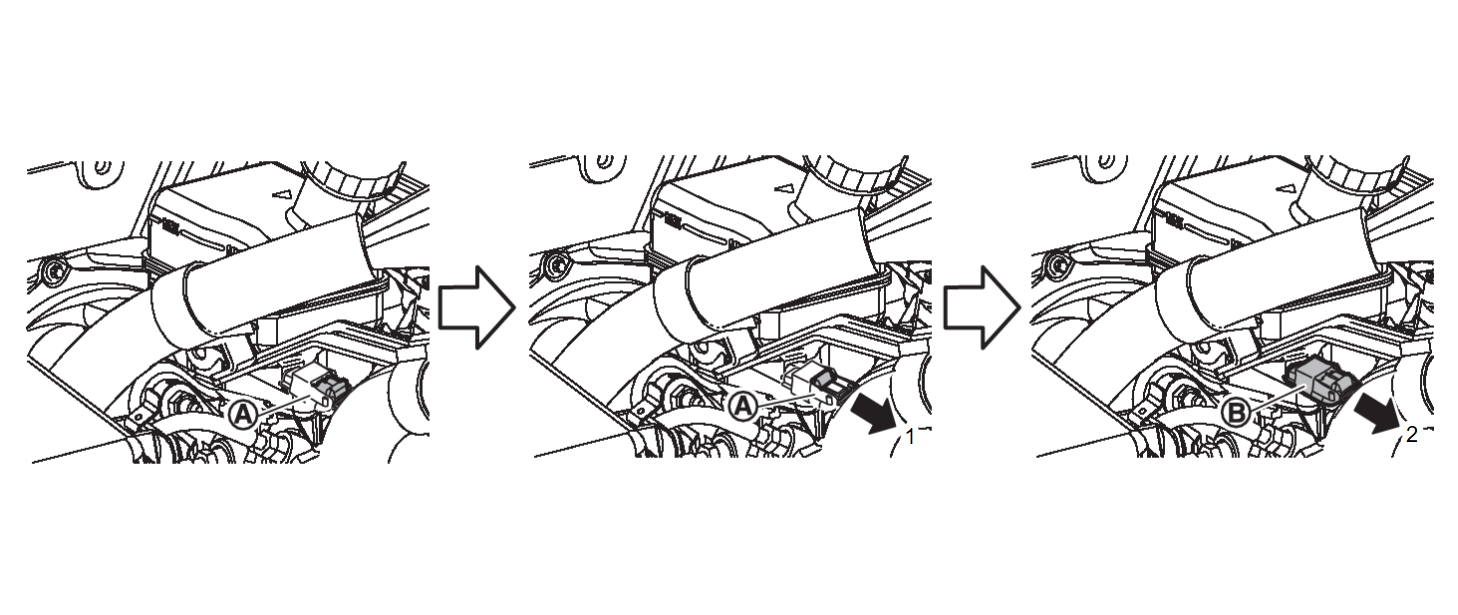
.3. Disconnect the brake fluid level switch harness connector. Refer to following.
4. Remove the cowl top panel. Refer to REMOVAL AND INSTALLATION .
.
 .
.5. Remove the power drive unit. Refer to POWER DRIVE UNIT REMOVAL AND INSTALLATION .
.
 .
.6. Secure the work space by fixing the fuel hose and canister hose with ropes.
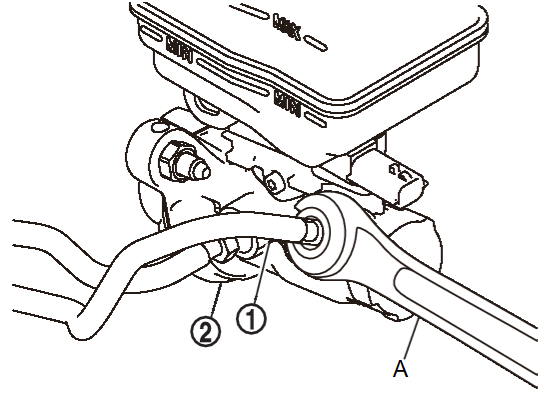
7. Separate the brake tube  from the master cylinder assembly
  with a flare nut wrench (A).
 from the master cylinder assembly
  with a flare nut wrench (A).
| caution | Never scratch the flare nut and the brake tube. |
8. Remove the master cylinder assembly.
| caution |
|
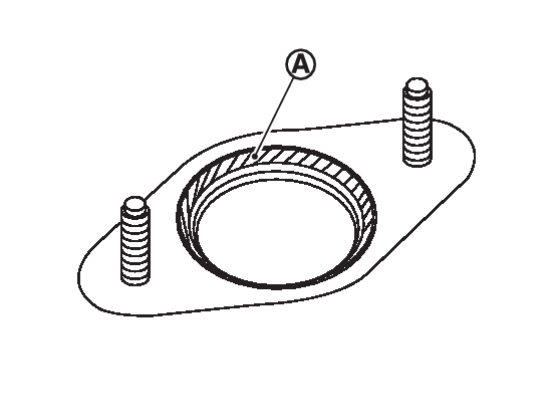
9. Remove the O-ring.
INSTALLATION
| caution | Never spill or splash brake fluid on painted surfaces. Brake fluid may seriously damage paint. Wipe it off immediately and wash with water if it gets on a painted surface. For brake component parts, never wash them with water. |
Note the following, and install in the reverse order of removal.
- Never reuse the O-ring.
- Never depress the brake pedal after the master cylinder assembly is removed.
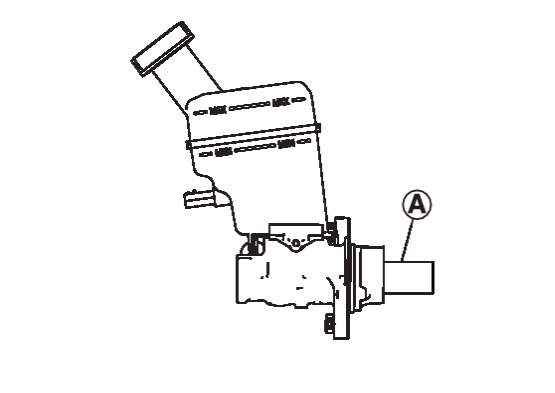
- Apply polyglycol ether based lubricant to the brake booster [see
 in the figure] when installing the master cylinder assembly to the brake booster.
 - The piston
 of the master cylinder assembly is exposed. Never damage it when handling the master cylinder.
 - Check that no dirt and dust are present on the piston before installation. Clean it with new brake fluid if necessary.
- The piston may drop off when pulled strongly. Never hold the piston. Hold the cylinder body when handling the master cylinder assembly.
- Never deform or bend the brake tubes.
- Temporarily tighten the brake tube
 flare nut to the master cylinder assembly
  by hand. Then tighten it to the specified torque with a flare nut torque wrench (A). Refer to Exploded View
 .
. - Perform the air bleeding. Refer to Bleeding Brake System
 .
. - Perform inspection after installation. Refer to Inspection
 .
.
![[Previous]](../../../buttons/fprev.png)
![[Next]](../../../buttons/fnext.png)
 forward of the vehicle (2).


