Removal and Installation
REMOVAL
1. Remove front suspension member. Refer to Removal and Installation .
.
 .
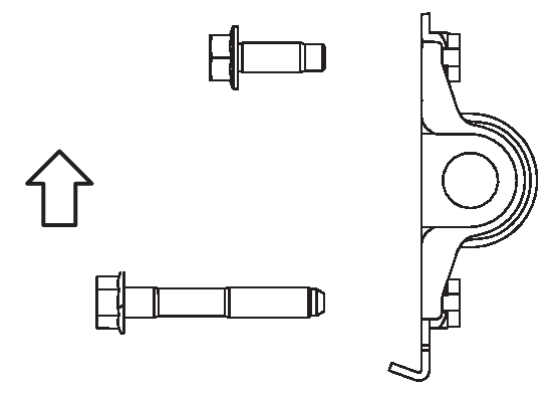
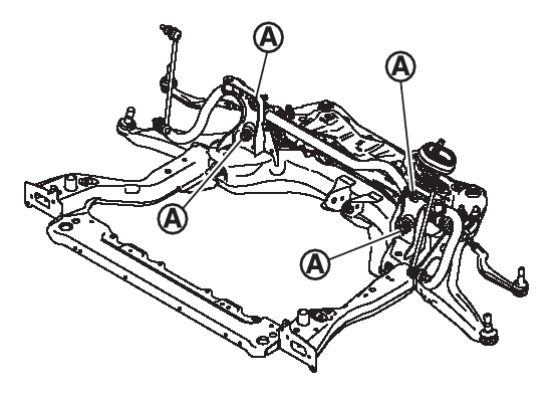
.2. Remove mounting bolts  of stabilizer clamp, and then remove stabilizer clamp and stabilizer bushing from front suspension member.
 of stabilizer clamp, and then remove stabilizer clamp and stabilizer bushing from front suspension member.
3. Remove stabilizer bar.
4. Perform inspection after removal. Refer to Inspection Inspection .
.
 .
.INSTALLATION
Note the following, and install in the reverse order of removal.
| caution |
|
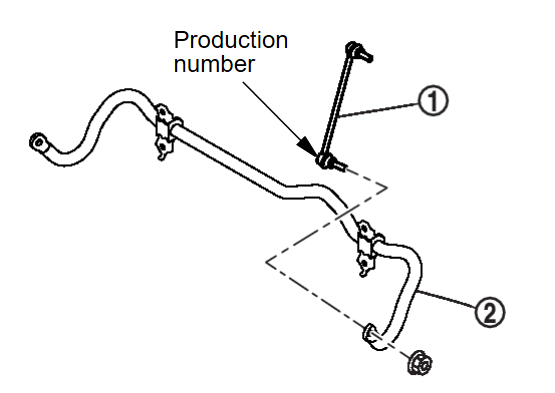
- Install stabilizer bar as shown in the figure.

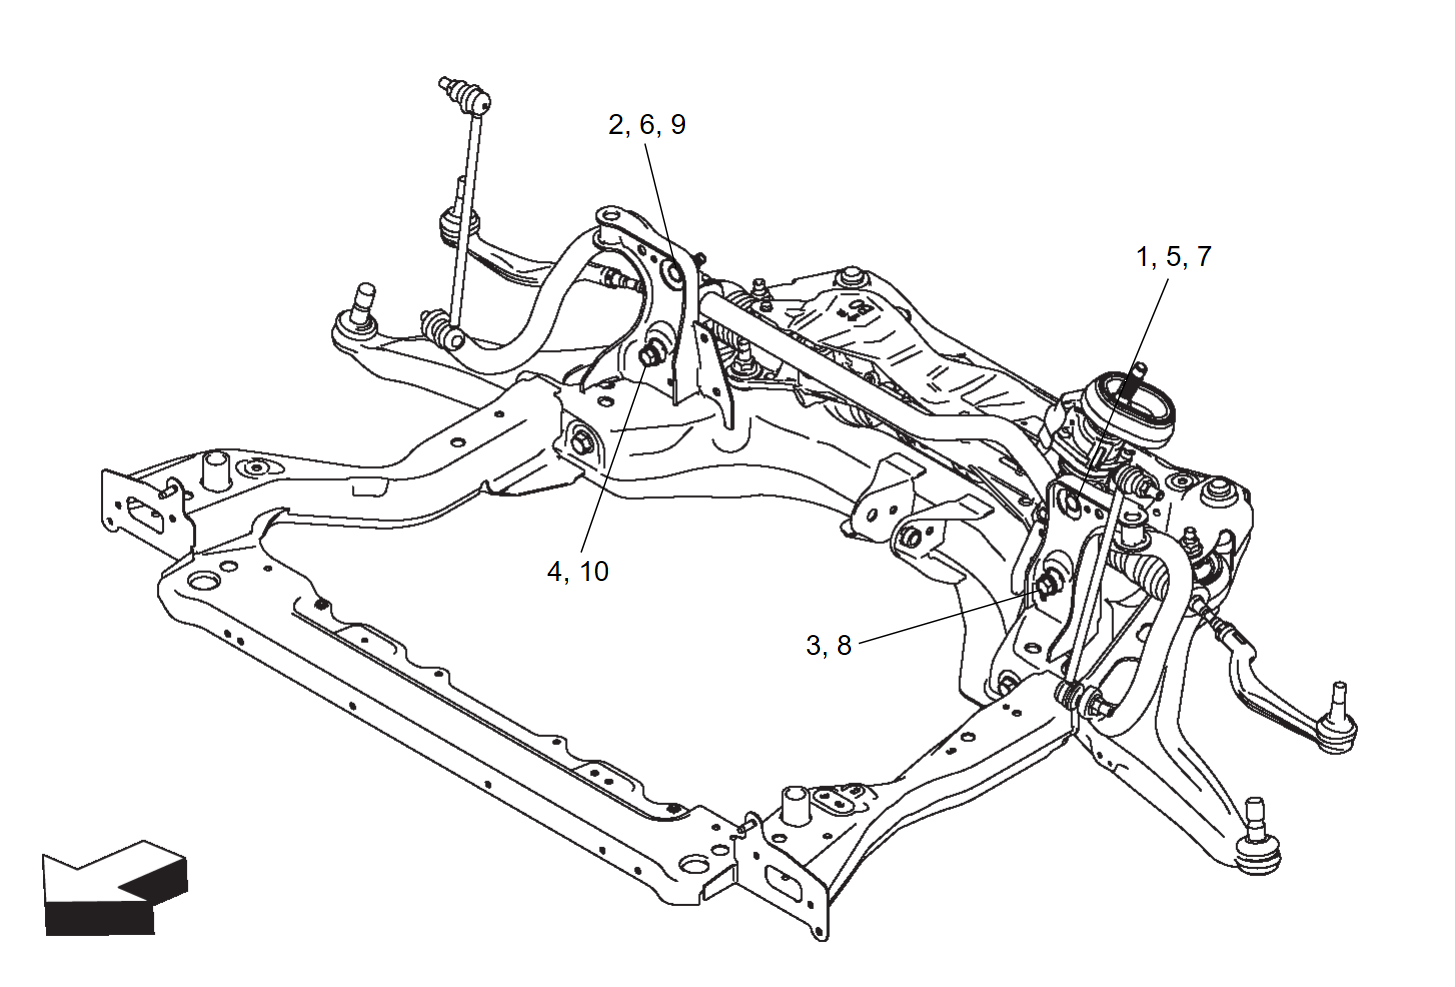
: Upper side - When installing the stabilizer clamp mounting bolts, tighten in numerical order.
Temporary tightening (by hand) : 1 → 2 Temporary tightening (by tool) : 3 → 4 → 5 → 6 Final tightening (Specified torque) : 7 → 8 → 9 → 10 
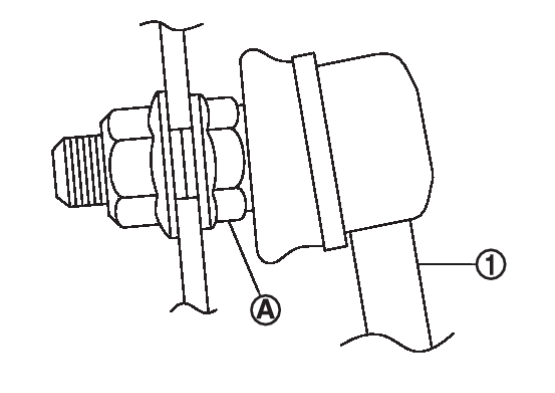
: Vehicle front - To install stabilizer connecting rod
 , tighten the mounting nut with the hexagonal part
  on the stabilizer connecting rod side fixed.
 - Perform final tightening of bolts and nuts at the vehicle installation position (rubber bushing), under unladen conditions with tires on level ground.
- Perform inspection after installation. Refer to Inspection Inspection
 .
.
![[Previous]](../../../buttons/fprev.png)
![[Next]](../../../buttons/fnext.png)
 .
.