[Previous][Next]
REMOVAL AND INSTALLATION
 
 
Pre-removal Operation
Post-installation Operation
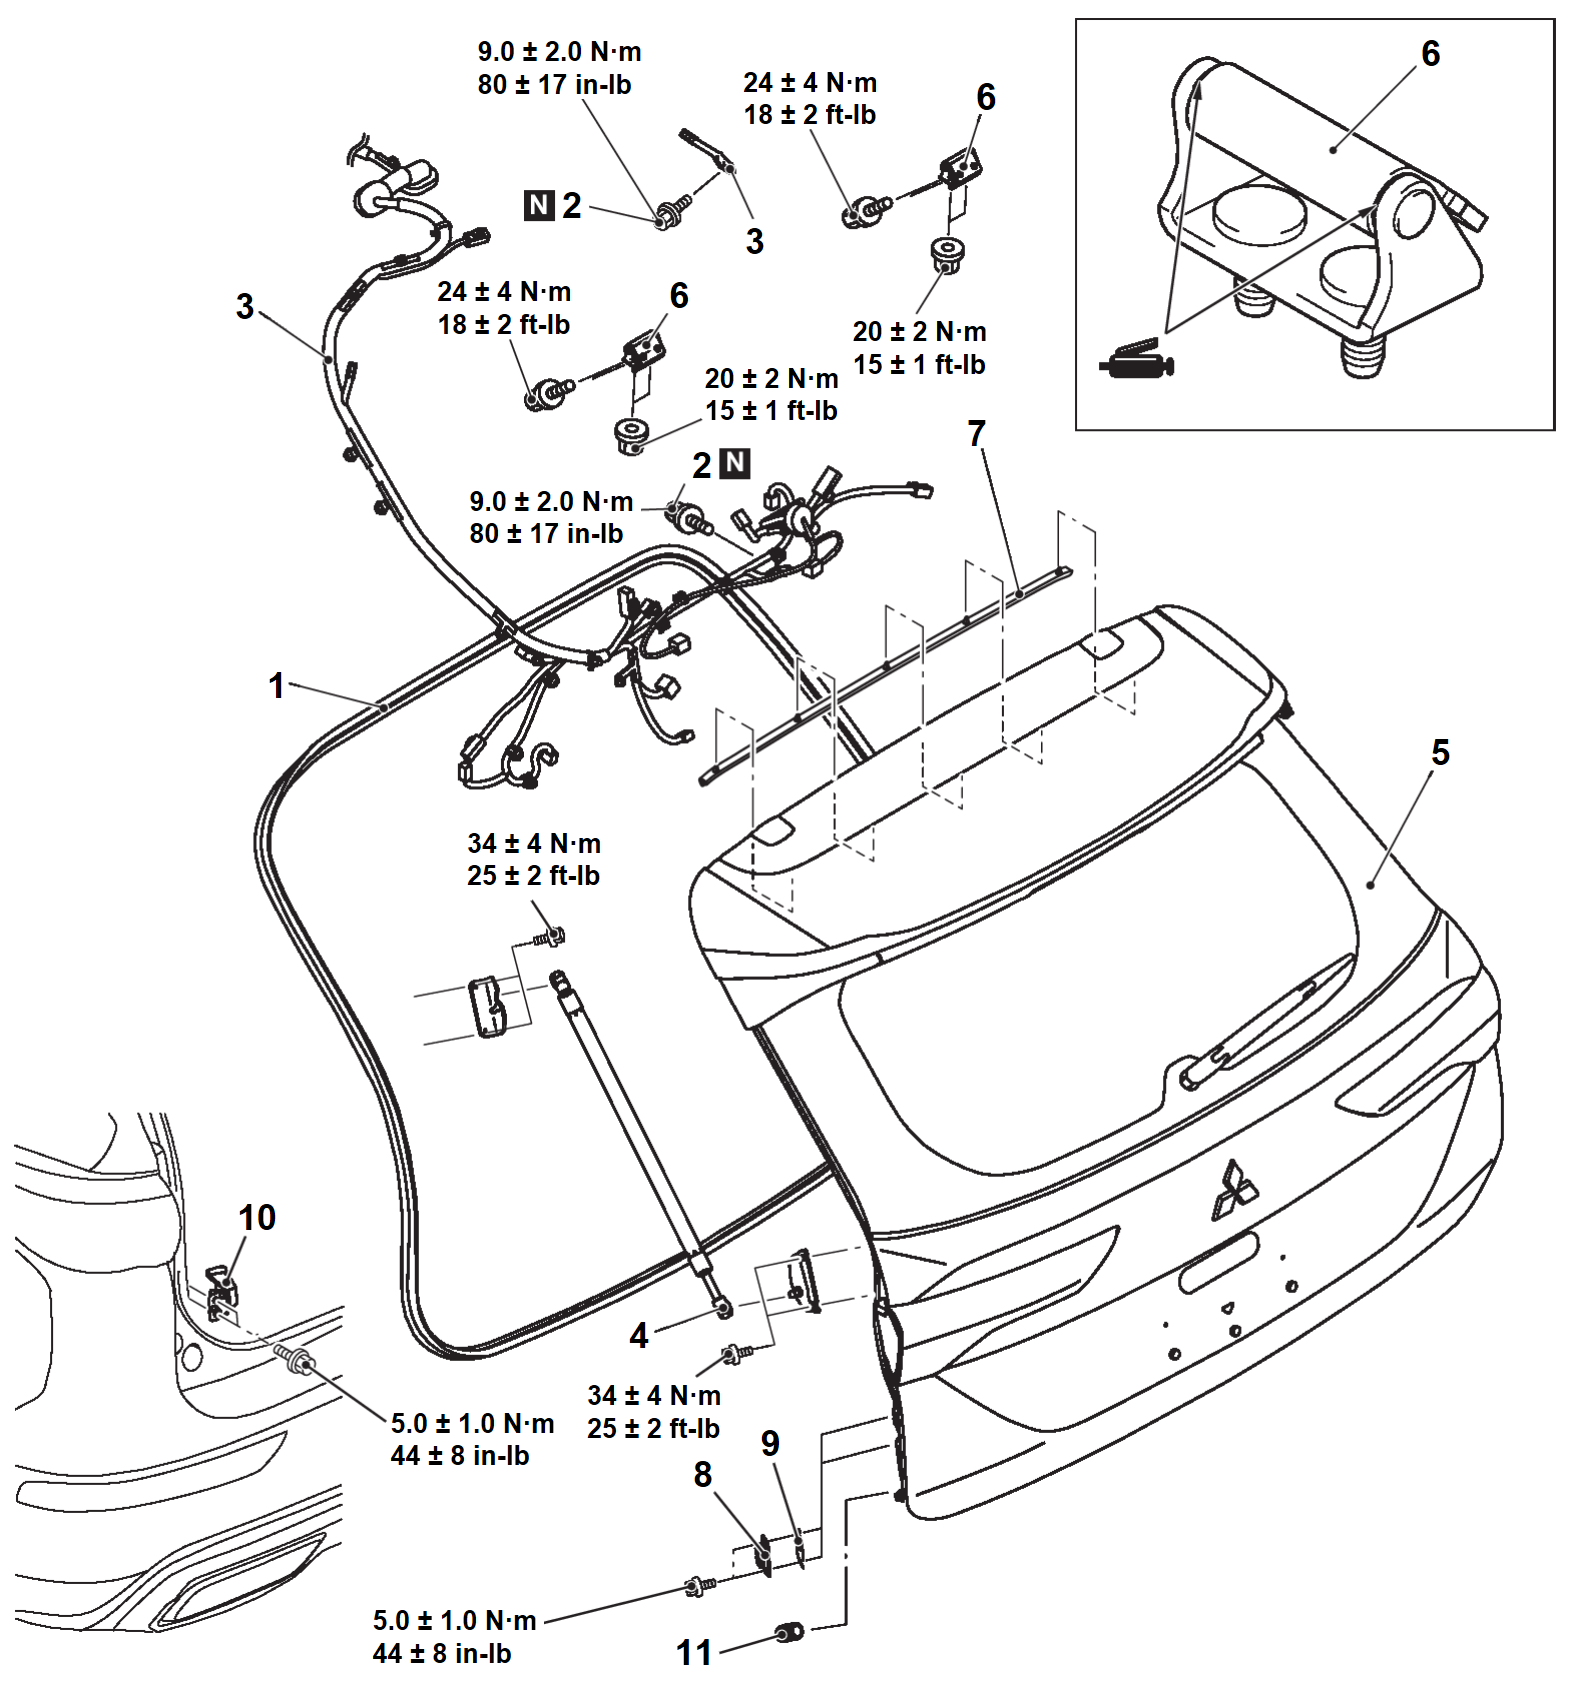
Liftgate assembly removal steps
1.Liftgate opening weatherstrip
Liftgate lower inner finisher (Refer to Liftgate Trim REMOVAL AND INSTALLATION).
2.Ground bolt
3.Liftgate wiring harness connector connection
4.Liftgate gas spring connection
5.Liftgate assembly
Headlining (Refer to Headlining REMOVAL AND INSTALLATION).
6.Liftgate hinge
7.Liftgate upper weatherstrip
8.Liftgate damper upper
9.Shim <Vehicles with shim>
Rear bumper assembly (Refer to Rear Bumper REAR BUMPER ASSEMBLY REMOVAL AND INSTALLATION).
10.Liftgate damper lower
11.Damper
 
 
REMOVAL SERVICE POINT
 
 
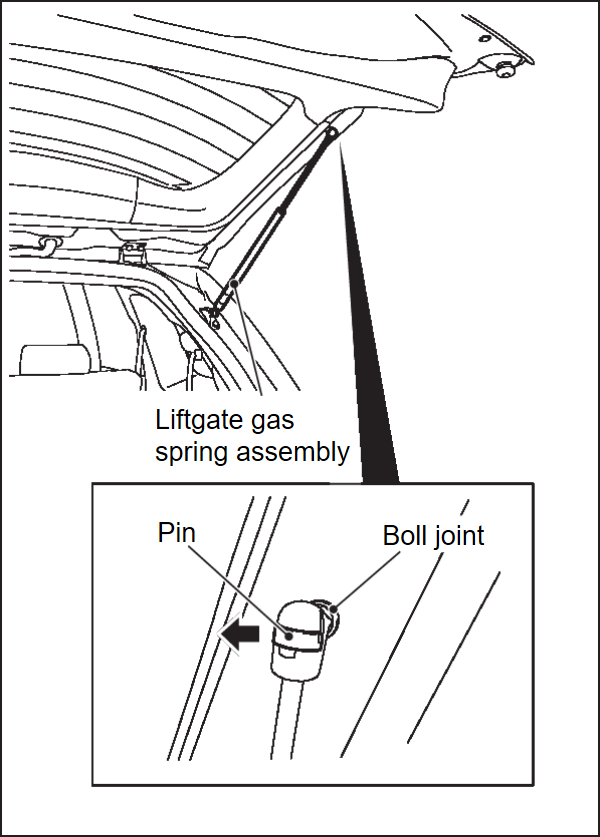
<<A>> LIFTGATE GAS SPRING CONNECTION REMOVAL
caution
  • Do not disassemble or throw the liftgate gas spring assembly into the fire.
  • Before disposal, make a hole to remove the gas.
  • Make sure that the piston rod should not collect any foreign particles.
  • When disconnecting the liftgate gas spring, support the liftgate assembly to prevent it from falling.
Slide the pin and remove the liftgate gas spring assembly from the ball joint in the direction of the arrow.


INSTALLATION SERVICE POINTS
 
 
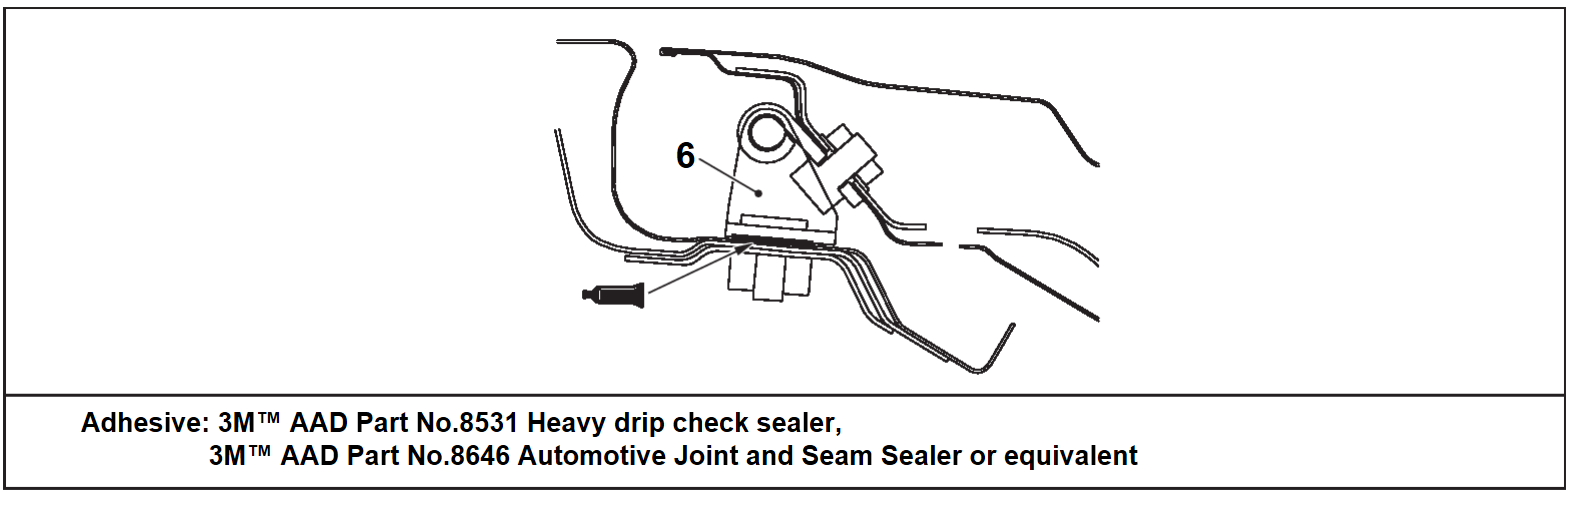
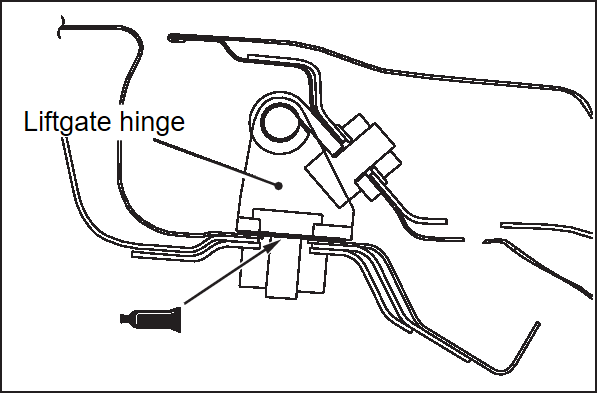
>>A<< LIFTGATE HINGE INSTALLATION
Apply the specified sealant to the liftgate hinge mounting surface, and install the liftgate hinge.
Specified Adhesive: 3M™ AAD Part No.8531 Heavy drip check sealer, 3M™ AAD Part No.8646 Automotive joint and seam sealer or equivalent


>>B<< GROUND BOLT INSTALLATION
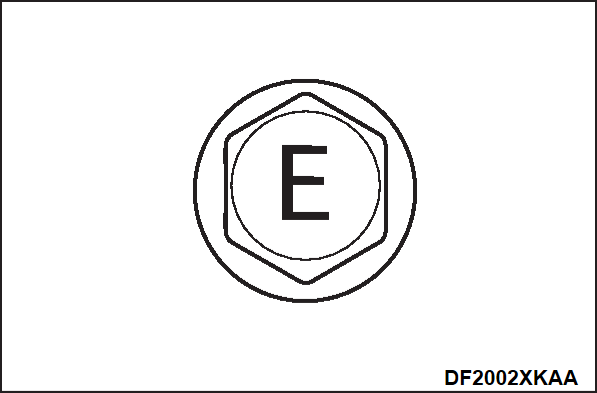
Check the head mark "E" and install the ground bolt.


>>C<< LIFTGATE OPENING WEATHERSTRIP INSTALLATION
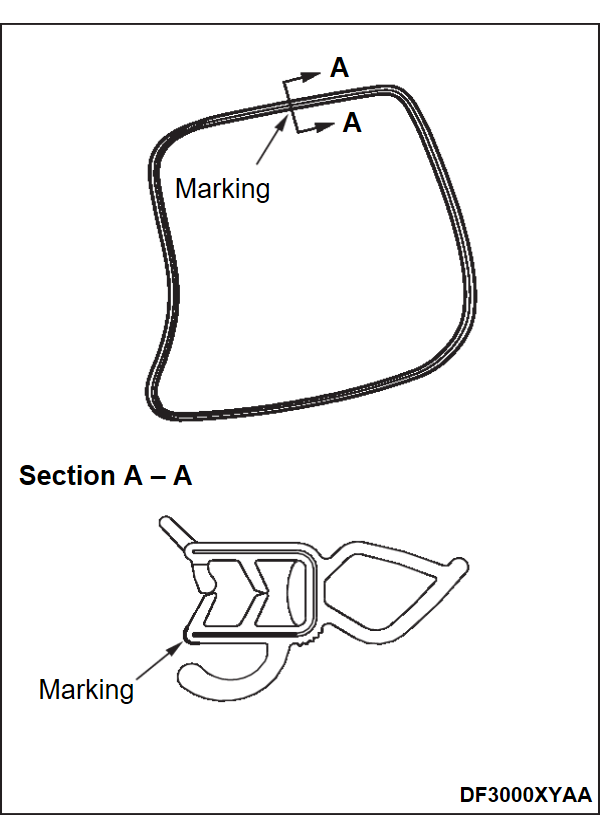
The marking on the liftgate opening weatherstrip should be positioned at the center of the body.