Disassembly and Assembly
DISASSEMBLY
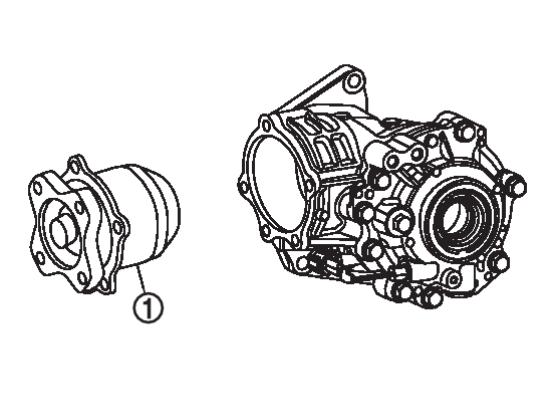
3. Remove the O-ring from pinion bearing assembly.
4. Remove drive pinion lock nut.
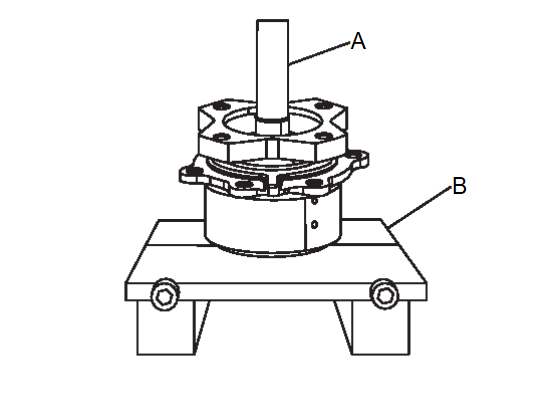
5. Remove drive pinion from pinion bearing assembly using drift (A) (commercial service tool) and separator (B) (commercial service tool).
6. Remove drive pinion adjusting shim.
7. Remove companion flange.
8. Remove dust shield.
9. Remove drive pinion oil seal.
10. Perform inspection after disassembly. Refer to Inspection .
.
 .
.ASSEMBLY
1. Select drive pinion adjusting shim. Refer to Adjustment .
.
 .
.2. Assemble the selected drive pinion adjusting shim to drive pinion.
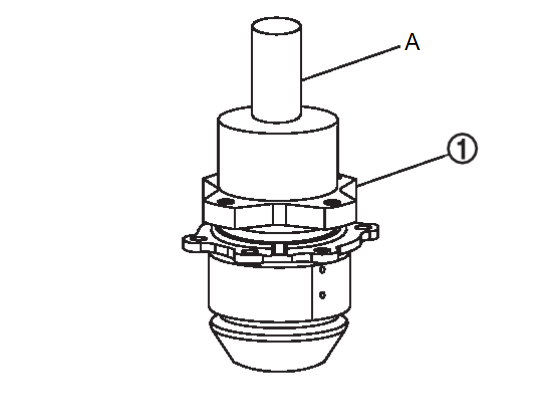
3. Install the drive pinion to pinion bearing assembly using drift (commercial service tool).
| caution |
|
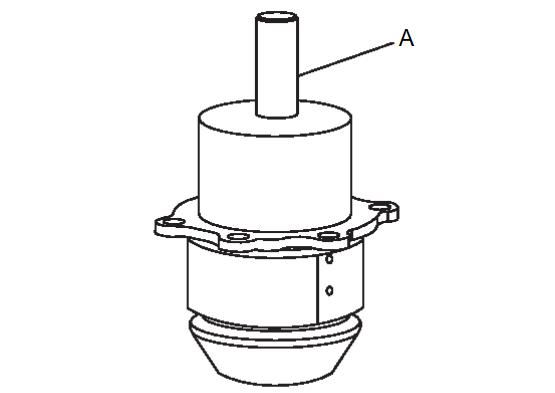
4. Install drive pinion oil seal to pinion bearing assembly using drift (A) (commercial service tool).
| caution |
|
5. Install dust shield.
| note | Tighten dust shield together with pinion bearing assembly. |
7. Tighten drive pinion lock nut within the limits of specified torque so as to keep the pinion bearing preload within the standard values.
(1) Apply anti-corrosive oil to the thread and seat of drive pinion lock nut and install it to drive pinion, and then tighten to the specified torque.
| Drive pinion lock nut tightening torque | : 90±9 N·m (9.2±0.92kg-m, 66±7 ft-lb) |
| caution |
|
(2) After tightening drive pinion lock nut to the specified torque, tighten the drive pinion lock nut additionally to the specified angle.
| Drive pinion lock nut tightening angle | : 25 degrees |
(3) Measure the pinion bearing preload, using preload gauge [SST: ST3127S000 (J-25765-A)].
| Pinion bearing preload | : Refer to Preload Torque . . |
8. Install O-ring to pinion bearing assembly.
| caution |
|
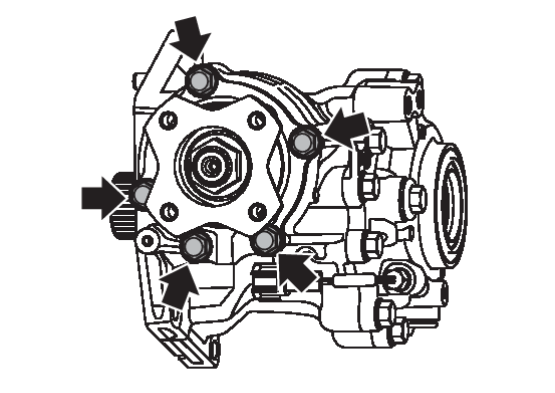
9. Install pinion bearing assembly, and apply anti-corrosive oil onto thread and seats on the mounting bolts. Tighten to the specified torque.
- For tightening torque, refer to Exploded View
 .
.
| note | Tighten dust shield together with pinion bearing assembly. |
10. Check backlash, tooth contact, total preload and companion flange runout. Refer to Adjustment .
.
 .
.| caution | Measure the total preload without oil seals of transfer cover and transfer case. |
![[Previous]](../../../buttons/fprev.png)
![[Next]](../../../buttons/fnext.png)
 .
.