Removal and Installation
Removal and Installation
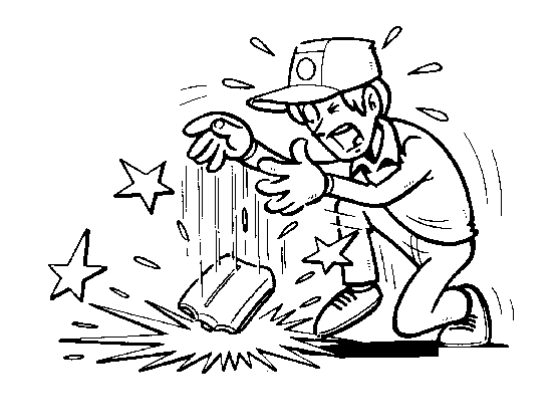
| caution |
|
REMOVAL
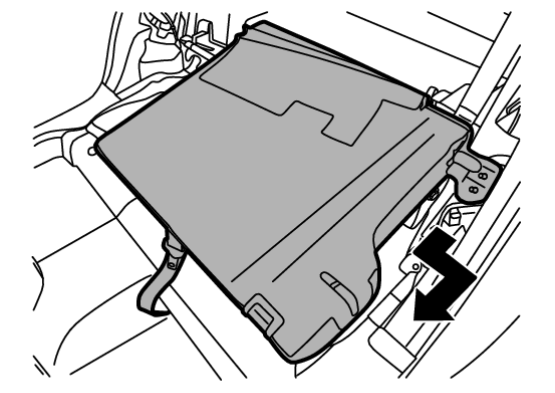
1. Remove seat cushion.
(2) Pull seat cushion to forward, and then disengage seat belt buckles.
2. Remove seat cushion cross member.
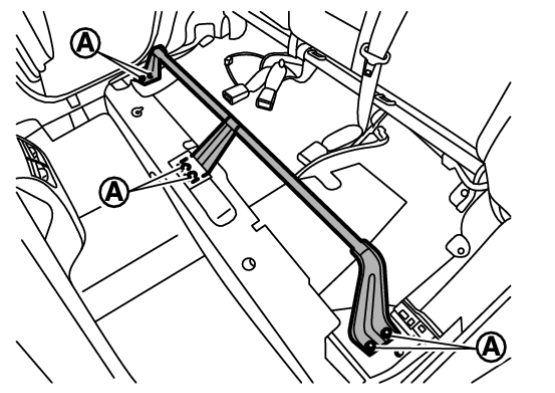
(1) Remove rear kicking plate. Refer to Removal and Installation .
.
 .
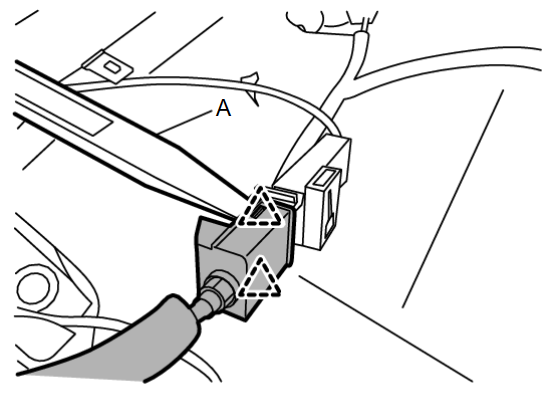
.3. Disengage fixing pawls according to numerical order 1→2 indicated by arrows as shown in figure, and then remove seat cushion hooks.
 | : Pawl |
4. Remove second seat back assembly RH.
(2) Release locking of seatback RH, and then tilt seatback RH forward.
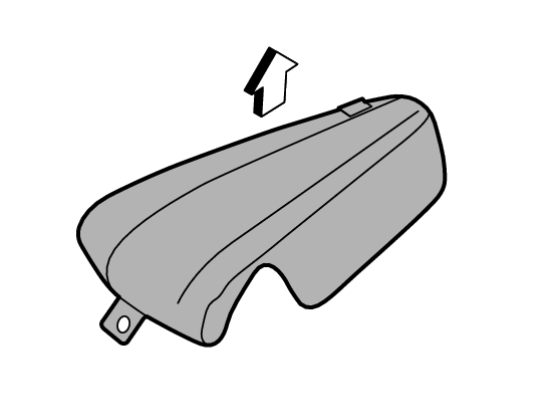
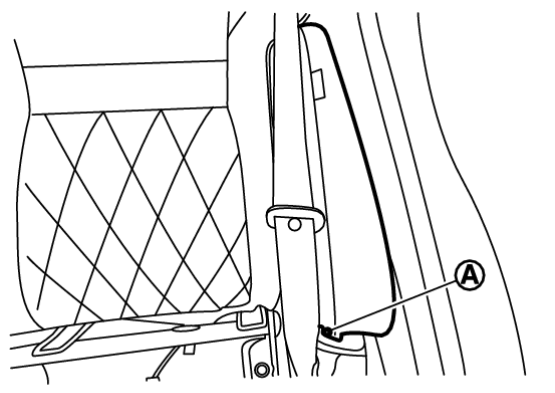
(3) Put up second seat back assembly RH by arrow direction to disengage fixing hook from body panel as shown in figure.
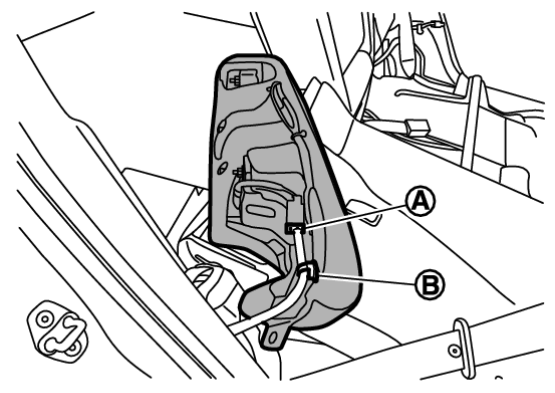
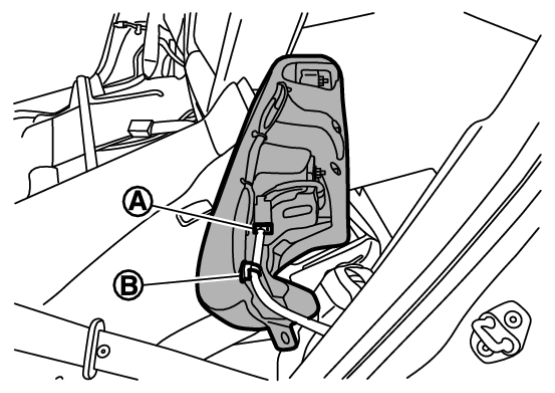
(4) Disconnect rear side air bag module RH harness connector  and disengage harness fixing clip
  , and then remove second seat back assembly RH.
 and disengage harness fixing clip
  , and then remove second seat back assembly RH.
| caution |
|
5. Remove seatback RH.
(1) Remove headrest.
(2) Pull up seatback, and then lock seatback striker RH.
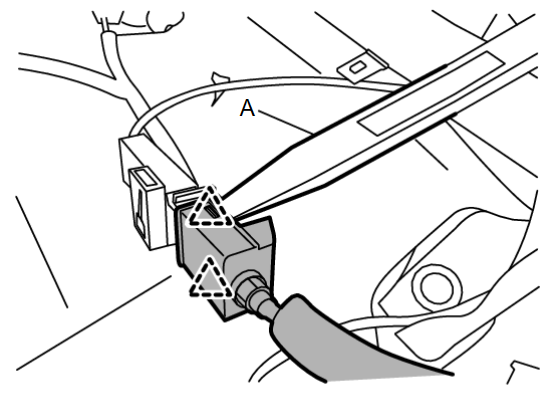
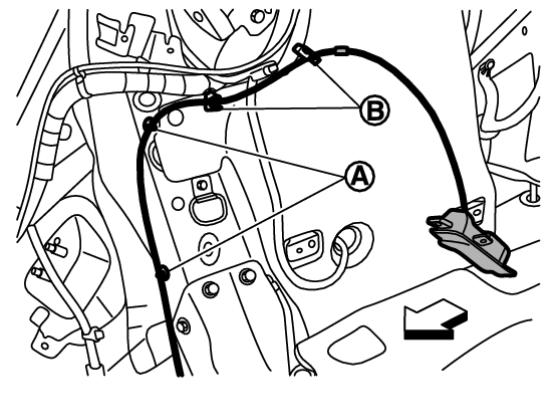
(3) Disengage fixing portion by arrow direction according to numerical order 1→2 using a remover tool (A), and then remove seatback release cable from center hinge (with rear seatback release lever models).
(4) Disengage fixing pawls using a remover tool (A), and then disconnect seatback release cable (with rear seatback release lever models).
 | : Pawl |
(5) Release locking of seatback RH, and then tilt seatback RH.
(6) Remove seatback RH mounting nuts.
6. Remove second seat back assembly LH.
(2) Release locking of seatback LH, and then tilt seatback LH.
(3) Put up second seat back assembly LH by arrow direction to disengage fixing hook from body panel as shown in figure.
(4) Disconnect rear side air bag module harness connector  and harness fixing clip
  , and then remove second seat back assembly LH.
 and harness fixing clip
  , and then remove second seat back assembly LH.
| caution |
|
7. Remove seatback LH.
(1) Remove headrests.
(2) Pull up seatback LH, and then lock seatback LH.
(3) Disengage fixing portion by arrow direction according to numerical order 1→2 using a remover tool (A), and then remove seatback release cable from center hinge (with rear release lever models).
(4) Disengage fixing pawls using a remover tool (A), and then disconnect seatback release cable (with rear seatback release lever models).
 | : Pawl |
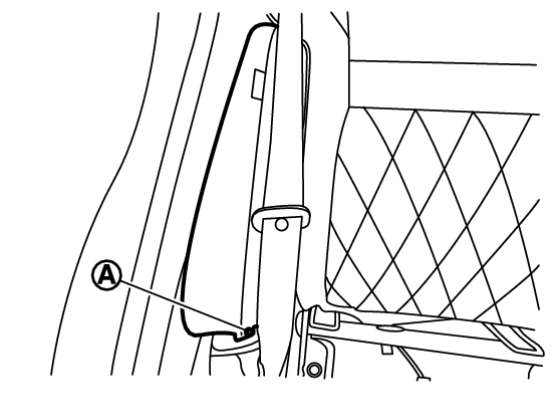
(5) Remove center seat belt anchor mounting bolt. Refer to Removal and Installation .
.
 .
.(6) Release locking of seatback LH, and then tilt seatback forward.
(7) Remove seatback LH mounting nuts.
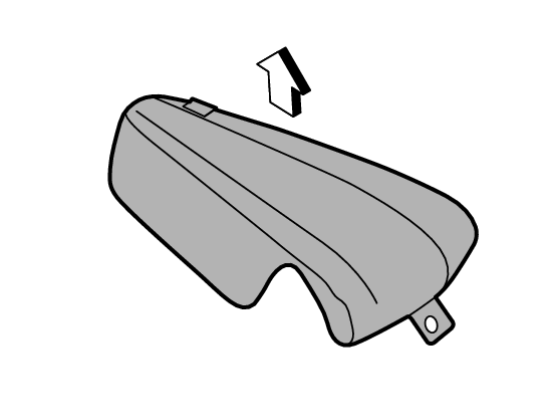
8. Put up center hinge cover, and then remove center hinge cover.
9. Remove mounting nuts and bolts, and then remove center hinge.
10. Remove seatback remote release lever assembly (with rear seatback release lever models).
(1) Remove luggage side lower finisher. Refer to Removal and Installation .
.
 .
.11. Remove mounting nuts, and then remove seatback remote release lever bracket.
12. Remove mounting nuts, and then remove seatback striker.
INSTALL
Note the following items, and then install in the reverse order of removal.
- Always install harness, harness connector and cables in position.
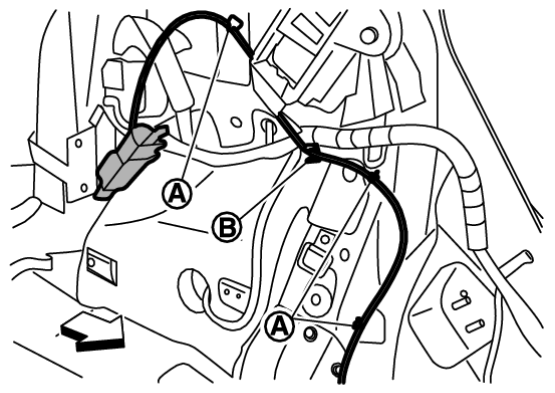
- When installing seatback release lever LH, the matching mark tape
 place to rear side of holding clip
  as shown in figure.
: Vehicle front - When installing seatback release lever RH, the felt tape
 and matching mark tape
  place to rear side of holding clips
  as shown in figure.
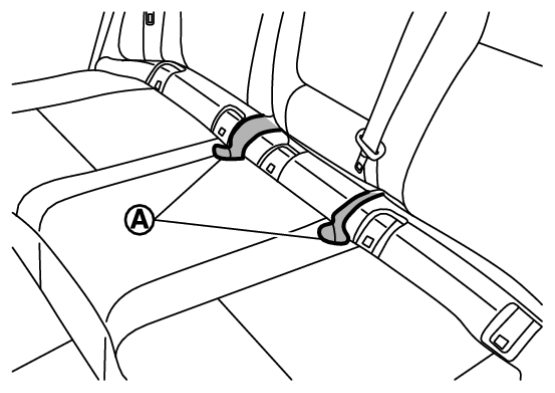
: Vehicle front - When installing seat cushion, push out rear seat belt buckles to seat cushion holes
 from under the seat cushion.
 - Before push up rear seat belt buckle RH and center, lift up and twice them as shown in figure, and then push up to seat cushion.
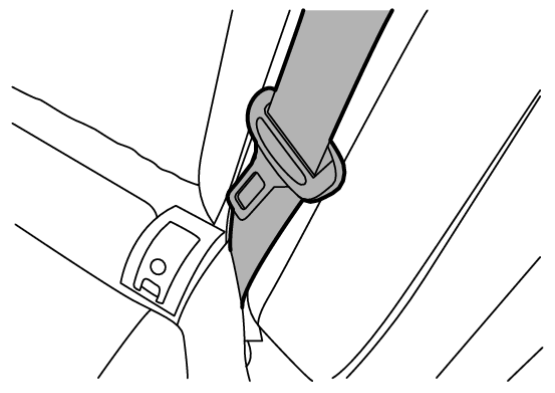
- After installing seat cushion, check the seat belt retractor webbing direction are as shown in figure.
![[Previous]](../../../buttons/fprev.png)
![[Next]](../../../buttons/fnext.png)


