DTC P0459: Evaporative Emission Control System Purge Control Valve Circuit High Input
CIRCUIT OPERATION
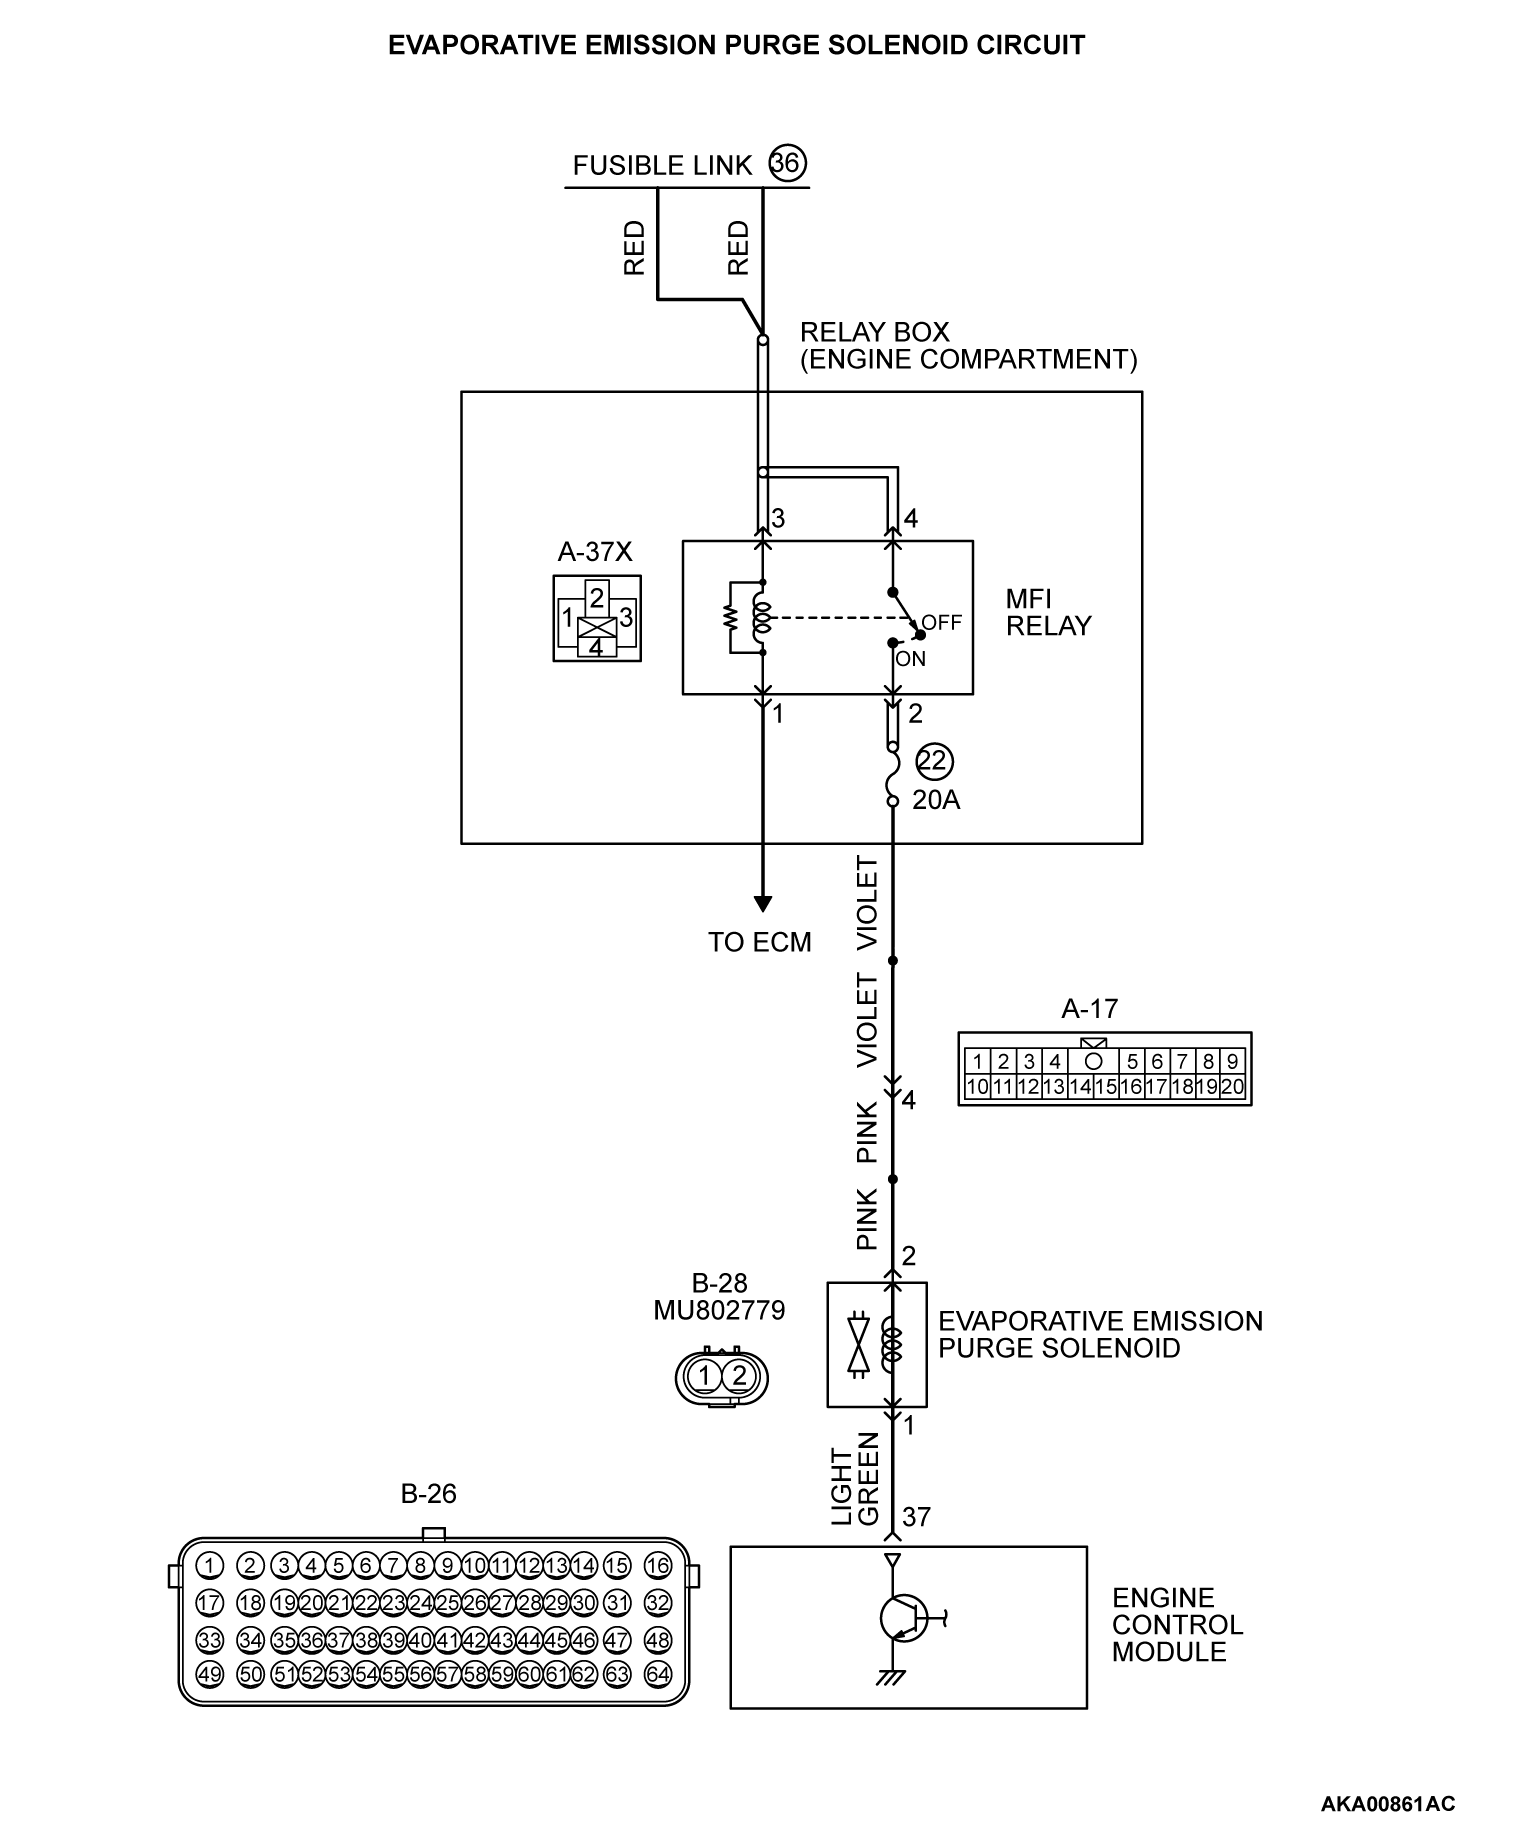
- The evaporative emission purge solenoid power is supplied from the MFI relay (terminal No. 2).
- The ECM controls ground evaporative emission purge solenoid by turning the power transistor in the ECM "ON" and "OFF".
TECHNICAL DESCRIPTION
- In response to a signal from the ECM, the evaporative emission purge solenoid valve controls the flow rate of the purge air to be introduced into the intake manifold.
DESCRIPTIONS OF MONITOR METHODS
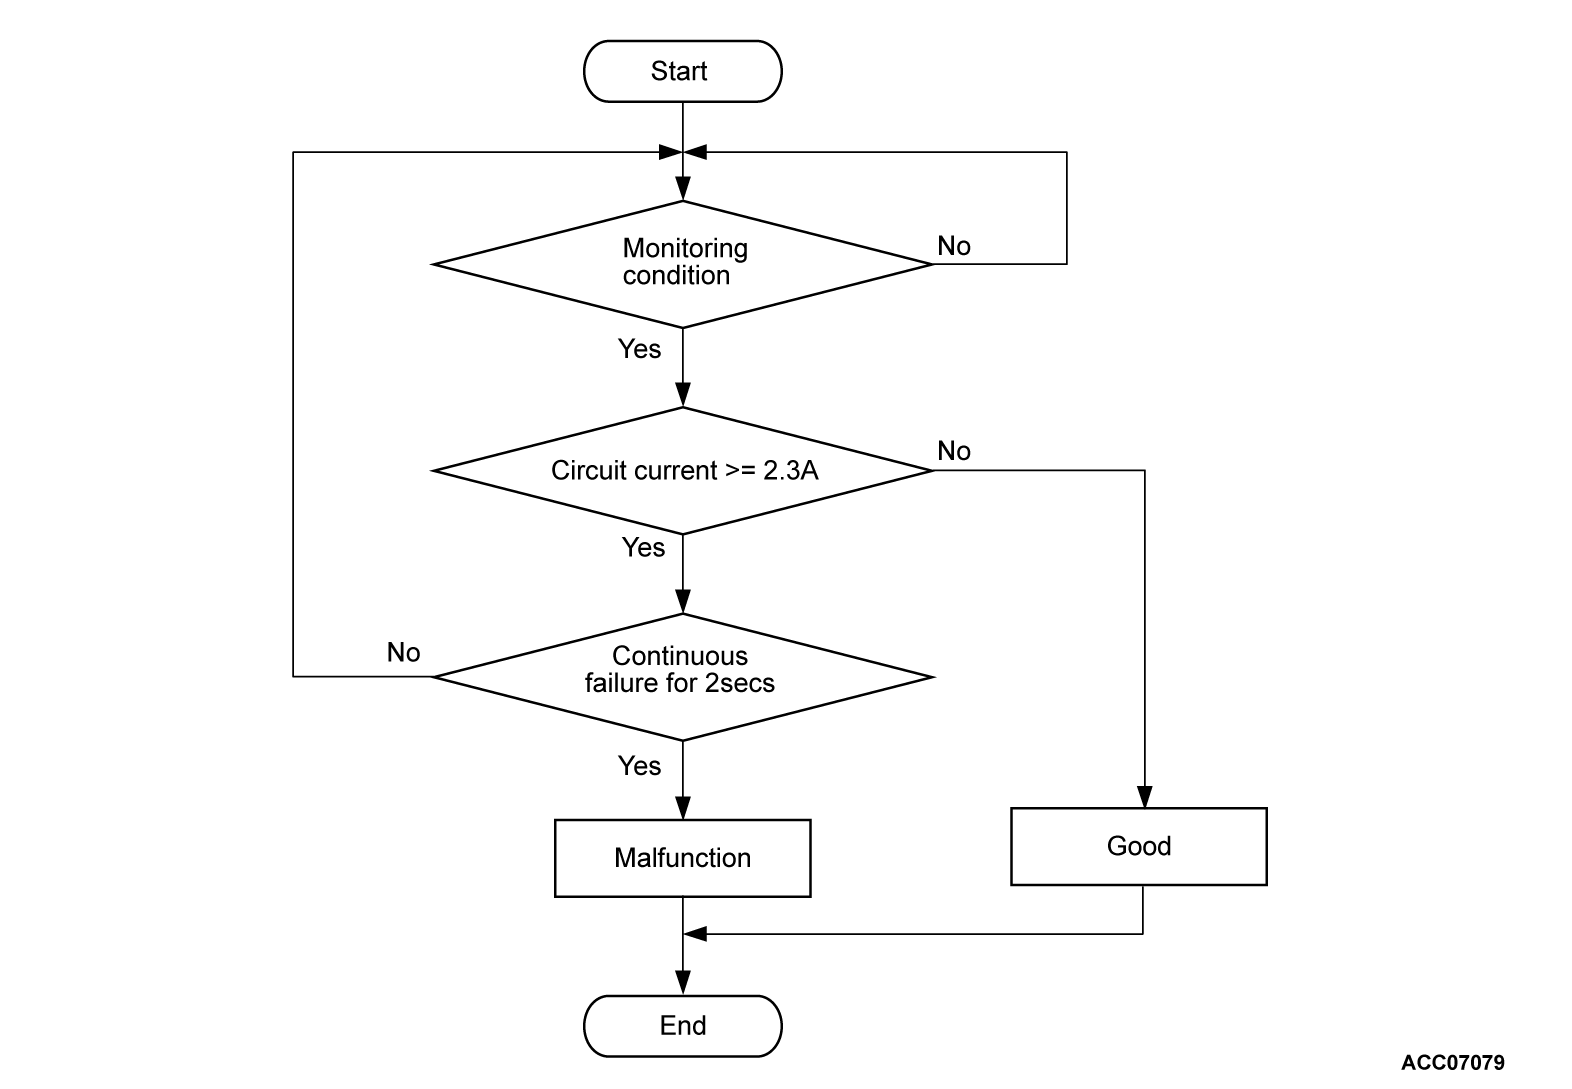
- The ECM detects short malfunction.
MONITOR EXECUTION
- Continuous
MONITOR EXECUTION CONDITIONS (Other monitor and Sensor)
Other Monitor (There is no temporary DTC stored in memory for the item monitored below)
- Not applicable
Sensor (The sensor below is determined to be normal)
- Not applicable
DTC SET CONDITIONS
Check Conditions
- Engine is running.
- Battery positive voltage is between 10 and 16.5 volts.
Judgment Criterion
- The coil current is more than 2.3 amperes with the evaporative emission purge solenoid driving for 2 seconds.
FAIL-SAFE AND BACKUP FUNCTION
- None
TROUBLESHOOTING HINTS (The most likely causes for this code to be set are:)
- Evaporative emission purge solenoid failed.
- Open or shorted evaporative emission purge solenoid circuit, harness damage or connector damage.
- ECM failed.
DIAGNOSIS
Required Special Tools:
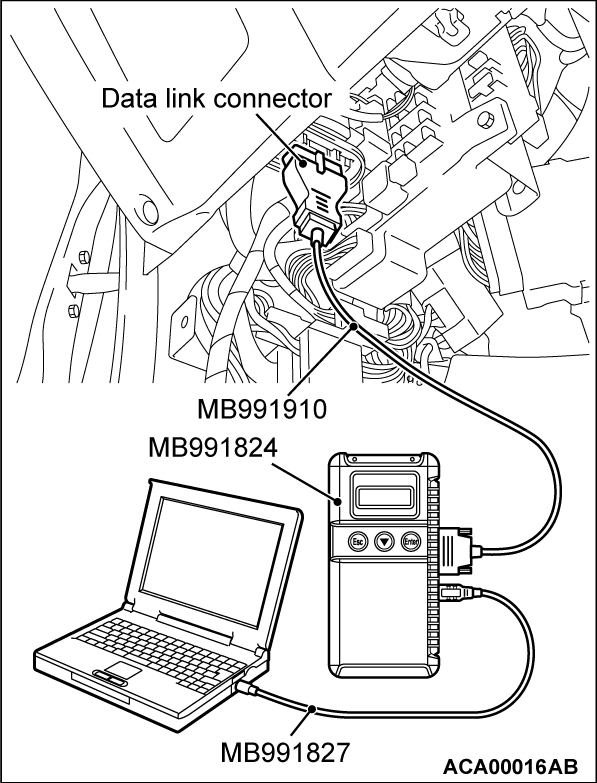
- MB991958: Scan Tool (M.U.T.-III Sub Assembly)
- MB991824: V.C.I.
- MB991827: USB Cable
- MB991910: Main Harness A
- MB992110: Power Plant ECU Check Harness
STEP 1. Using scan tool MB991958, check actuator test item 10: Evaporative Emission Purge Solenoid.
| caution | To prevent damage to scan tool MB991958, always turn the ignition switch to the "LOCK" (OFF) position before connecting or disconnecting scan tool MB991958. |
(1) Connect scan tool MB991958 to the data link connector.
(2) Turn the ignition switch to the "ON" position.
(3) Set scan tool MB991958 to the actuator test mode for item 10, Evaporative Emission Purge Solenoid.
- An operation sound should be heard and vibration should be felt when the evaporative emission purge solenoid is operated.
(4) Turn the ignition switch to the "LOCK" (OFF) position.
Is the solenoid operating properly?
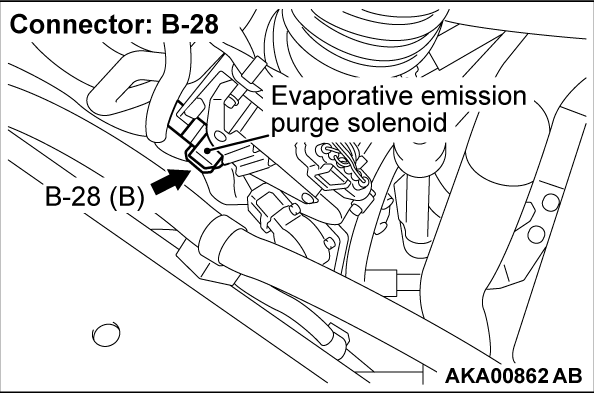
STEP 2. Check harness connector B-28 at evaporative emission purge solenoid for damage.
Is the harness connector in good condition?
STEP 3. Check the evaporative emission purge solenoid.
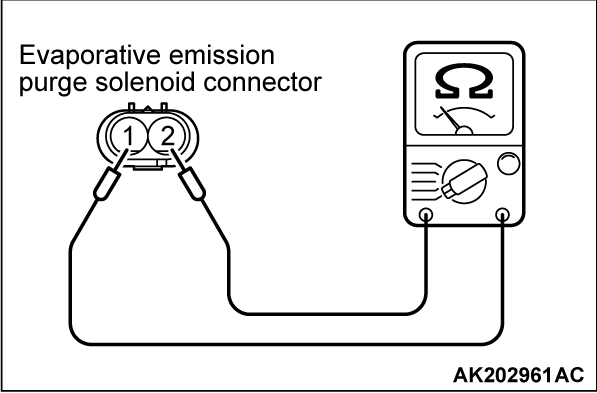
(1) Disconnect the evaporative emission purge solenoid connector B-28.
(2) Measure the resistance between evaporative emission purge solenoid side connector terminal No. 1 and No. 2.
Standard value: 22 - 26 Ω [at 20°C (68°F)]
Is the measured resistance between 22 and 26 Ω [at 20°C (68°F)]?
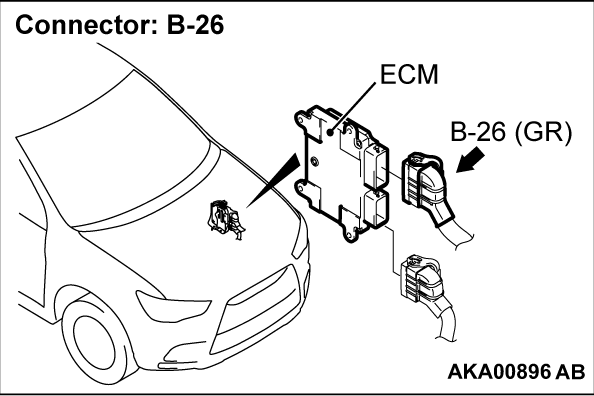
STEP 4. Check harness connector B-26 at MFI for damage.
Is the harness connector in good condition?
STEP 5. Check of short to power supply between MFI connector B-26 (terminal No. 37) and evaporative emission purge solenoid connector B-28 (terminal No. 1).
Is the harness wire in good condition?
STEP 6. Using scan tool MB991958, check actuator test item 10: Evaporative Emission Purge Solenoid.
(1) Turn the ignition switch to the "ON" position.
(2) Set scan tool (M.U.T.-III) to the actuator test mode for item 10, Evaporative Emission Purge Solenoid.
- An operation sound should be heard and vibration should be felt when the evaporative emission purge solenoid is operated.
(3) Turn the ignition switch to the "LOCK" (OFF) position.
Is the solenoid operating properly?
![[Previous]](../../../buttons/fprev.png)
![[Next]](../../../buttons/fnext.png)
