DTC P0ADB: Main contactor P circuit low
DTC P0ADF: Main contactor N circuit low
DTC P0ADF: Main contactor N circuit low
| caution | Before replacing the ECU, ensure that the communication circuit is normal. |
DESCRIPTIONS OF MONITOR METHODS
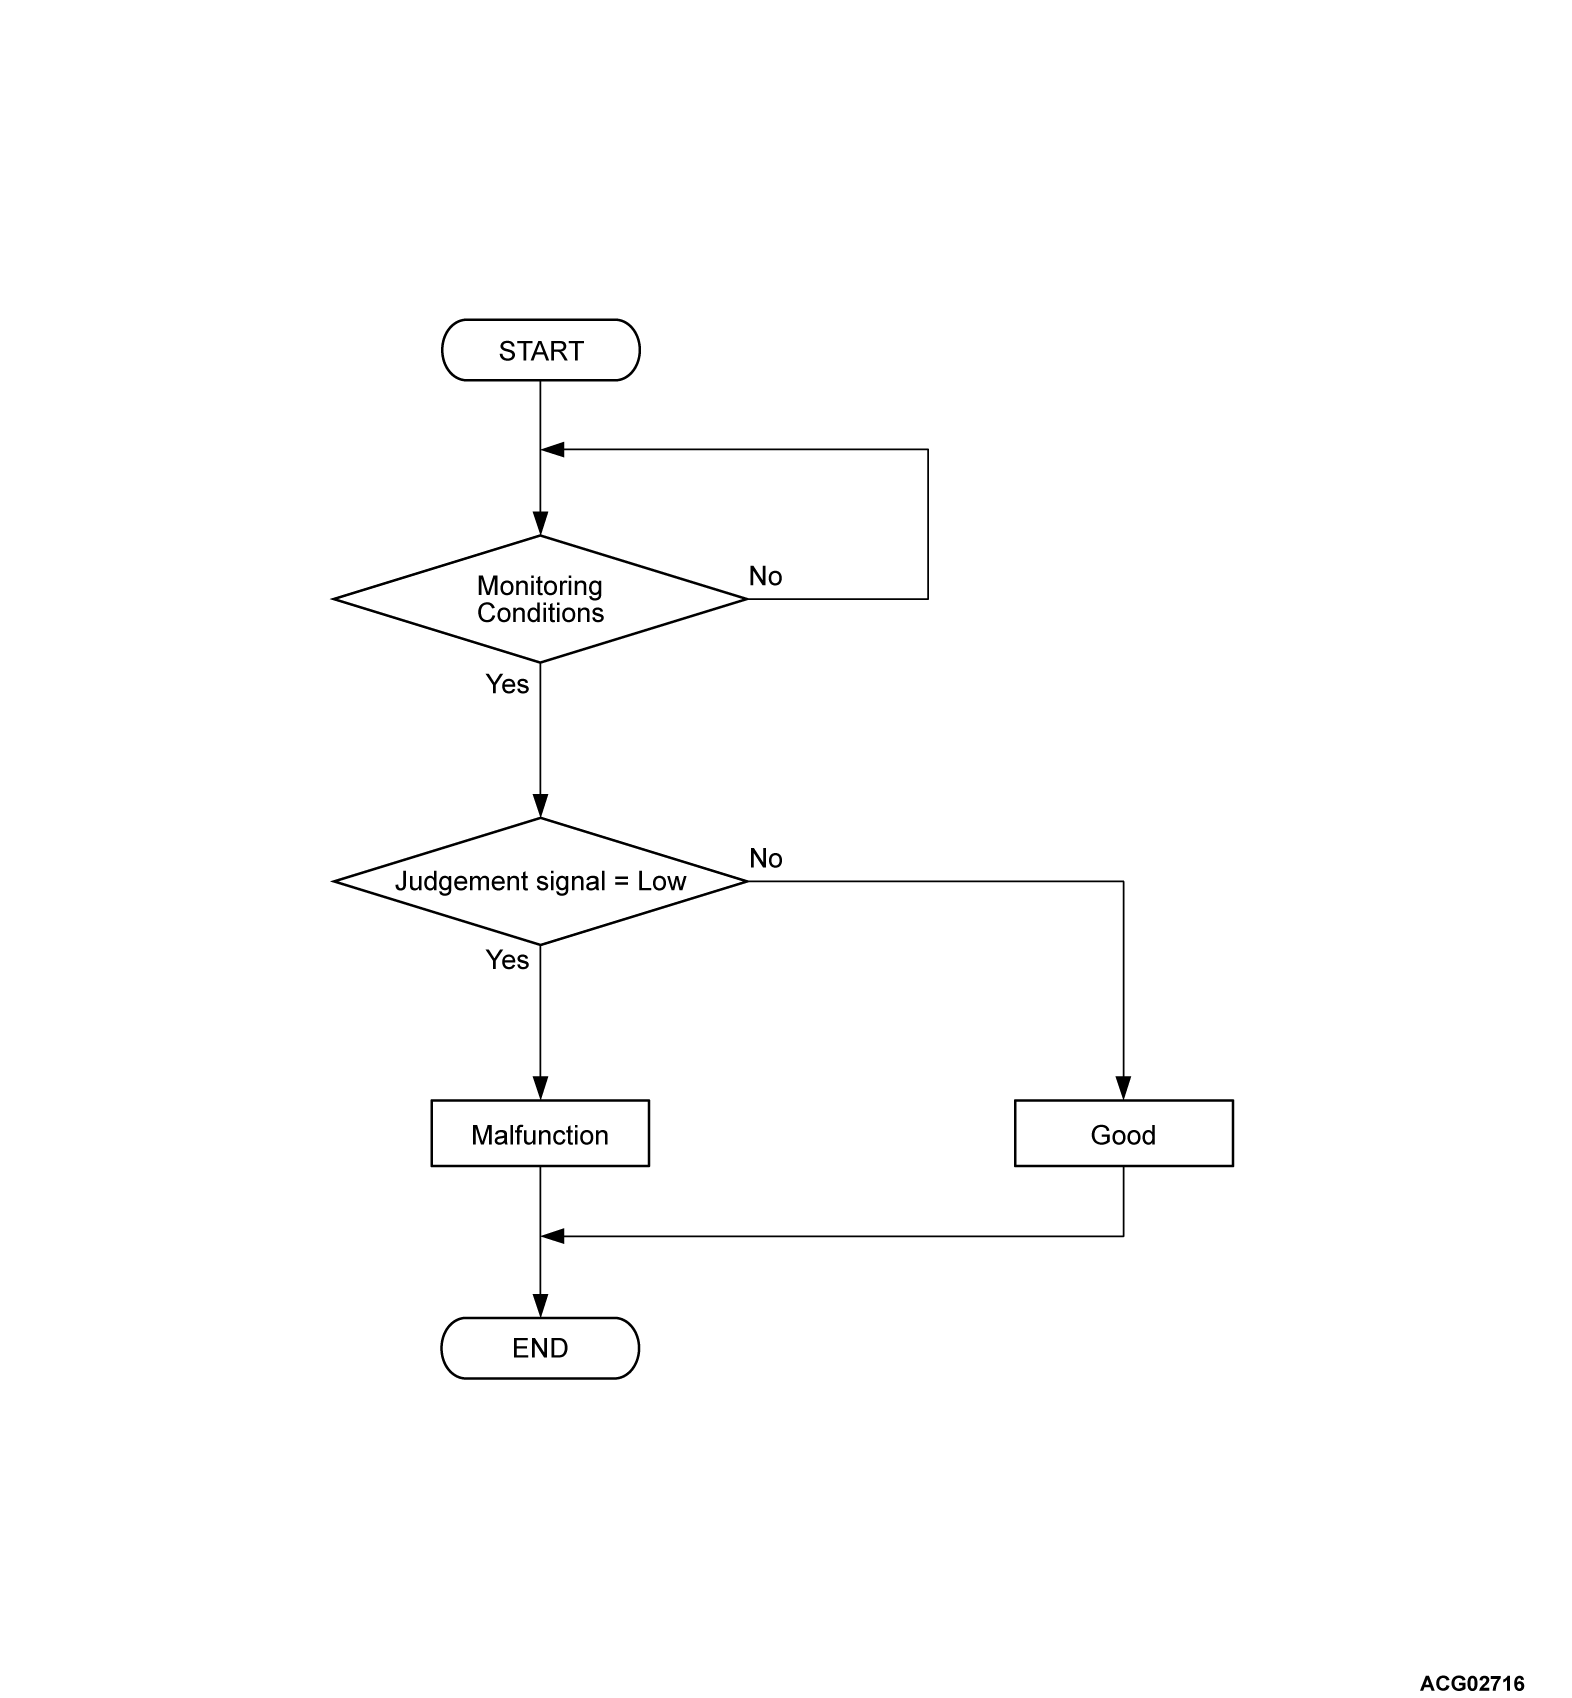
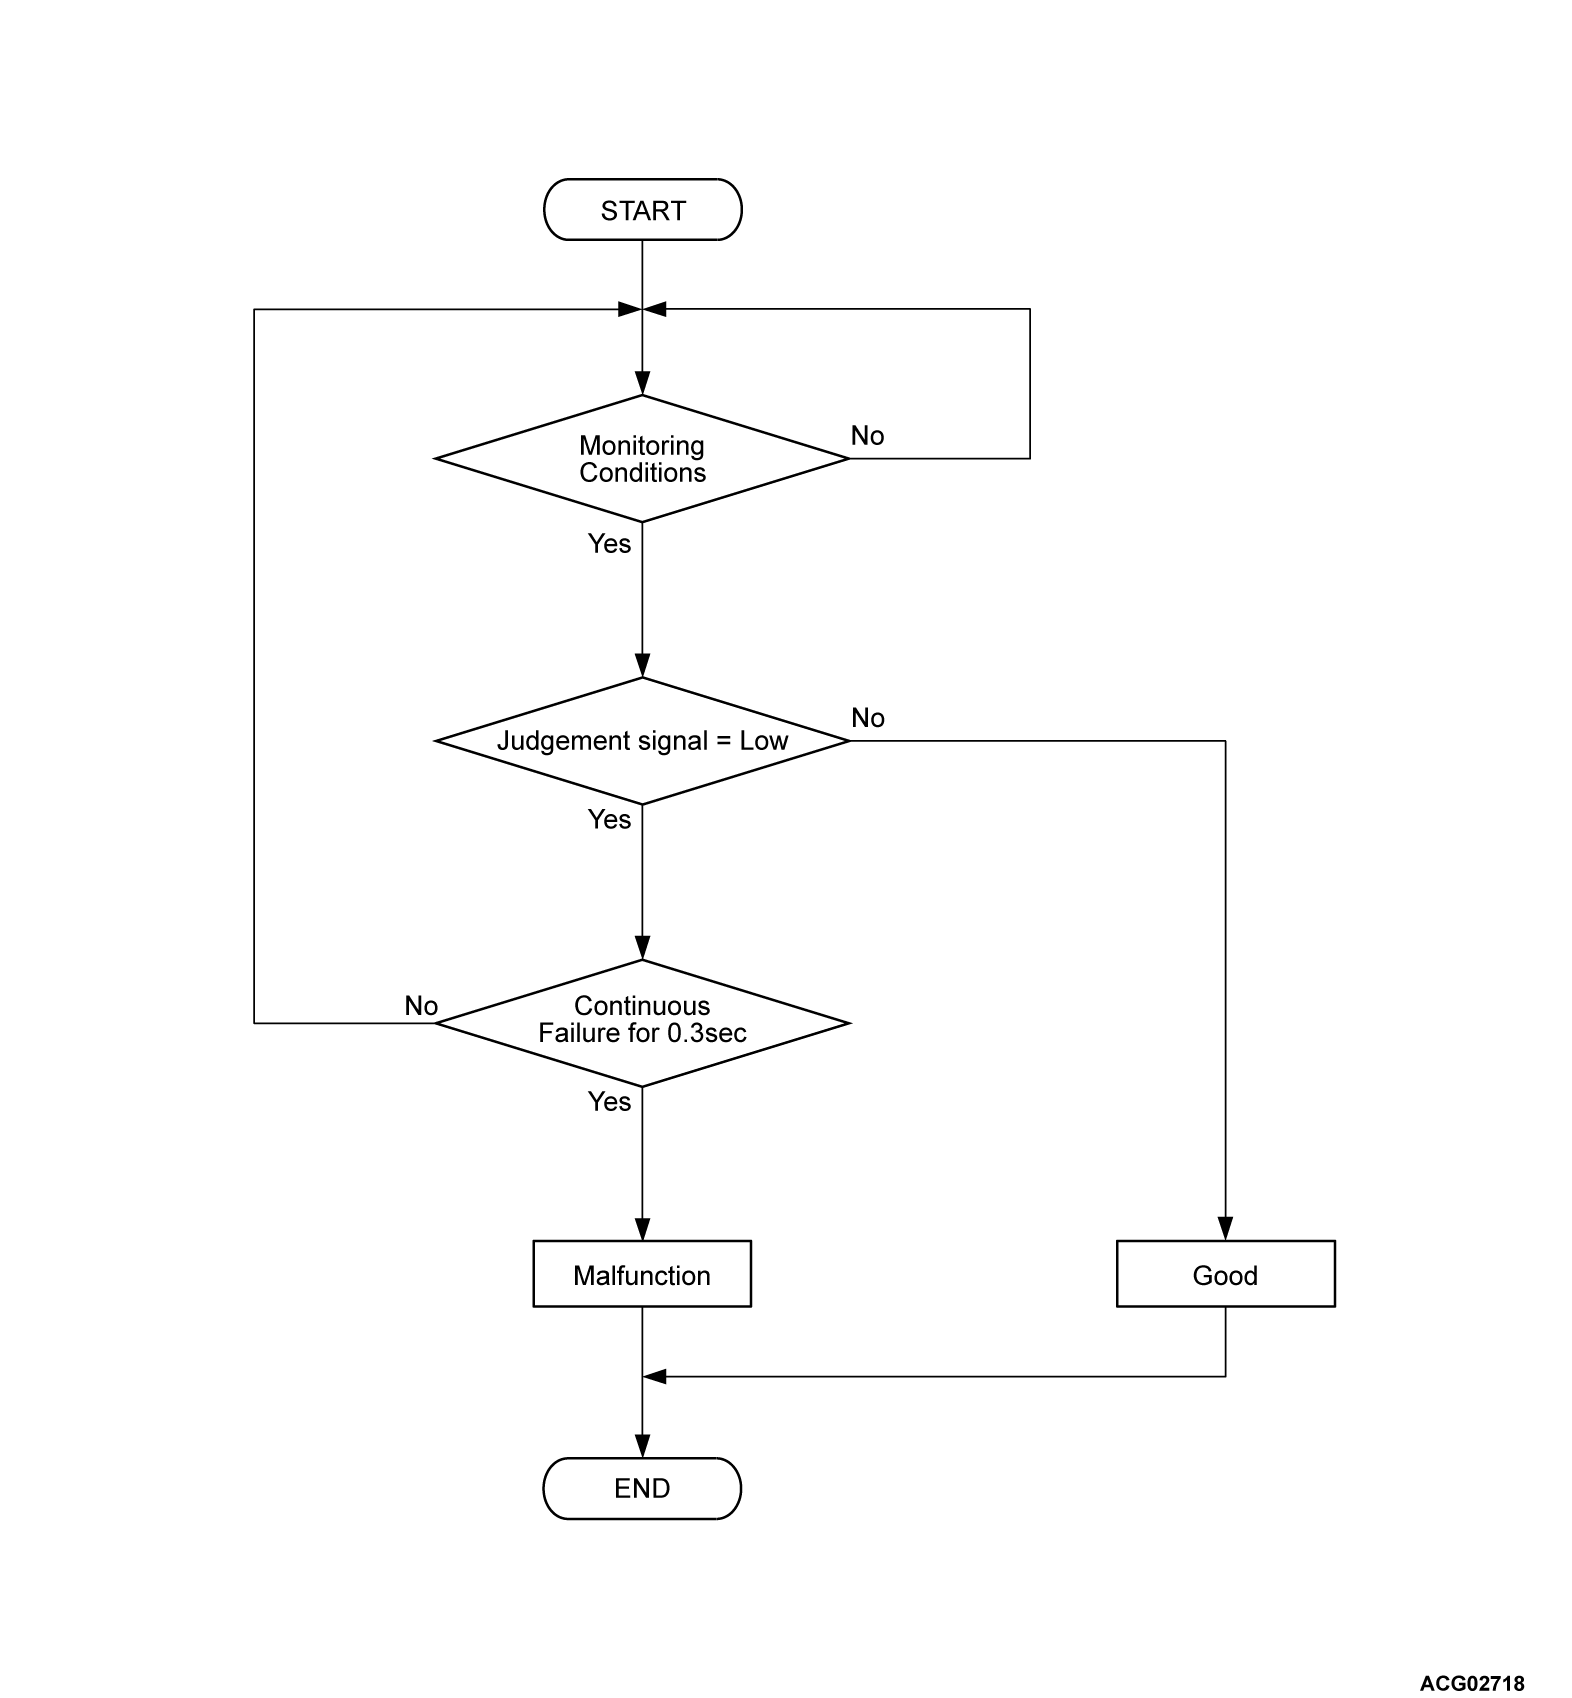
- Contactor excitation circuit status is judged by voltage and current of an intelligent power device (IPD) in the PHEV-ECU.
- Each fail is judged under the following conditions.
- Main contactor (P) control circuit shorted low: Main contactor (P) control circuit active command on.
- Main contactor (N) control circuit shorted low: Main contactor (N) control circuit active command on.
MONITOR EXECUTION
- Continuous
MONITOR EXECUTION CONDITIONS (Other monitor and Sensor)
Other Monitor (There is no temporary DTC stored in memory for the item monitored below)
- Not applicable
Sensor (The sensor below is determined to be normal)
- Not applicable
DTC SET CONDITIONS
Check Conditions <DTC P0ADB>
- The PHEV-ECU power supply voltage is more than 9.0 volts.
- The main contactor (P) contactor activation command on.
Judgment Criterion <DTC P0ADB>
- Judgment signal from intelligent power device (IPD) for main contactor (P) is low for immediately.
Check Conditions <DTC P0ADF>
- The PHEV-ECU power supply voltage is more than 9.0 volts.
- The main contactor (N) contactor activation command on.
Judgment Criterion <DTC P0ADF>
- Judgment signal from intelligent power device (IPD) for main contactor (N) is low for 0.3 seconds.
PROBABLE CAUSES
- Damaged harness or connector.
- Malfunction of the main contactor (P) or (N).
- Malfunction of the PHEV-ECU.
DIAGNOSIS
Required Special Tools
- MB991223: Wiring harness set
- MB992006: Extra fine probe
STEP 1. Check the signal line for short to ground circuit (PHEV-ECU connector and main drive lithium-ion battery connector).
Check the wiring harness between PHEV-ECU connector (terminal CNT+, CNT-) and the main drive lithium-ion battery connector.
Is the check result normal?
STEP 2. Check the main drive lithium-ion battery main contactor (P) and (N) <On-vehicle check>.
Check resistance of main contactor (P) and (N) coil with harness connector (Refer to GROUP 54Dc - On-vehicle Service, Check on Coil Resistance of Contactor  ).
).
 ).
).Is the check result normal?
STEP 3. Check the main drive lithium-ion battery main contactor (P) and (N).
(1) Remove the main contactor (Refer to GROUP 54Dc - Main Drive Lithium-ion Battery Disassembly and Assembly, Rear JB Assembly, Rear JB Bus Bars (A, B, C, D, M, N, P and T), Contactor and Fuse Removal and Installation  ).
).
 ).
).(2) Check the internal resistance in the coil in the main contactors (P) and (N) (Refer to GROUP 54Dc - Main Drive Lithium-ion Battery Disassembly and Assembly, Contactor Check  ).
).
 ).
).Is the check result normal?
STEP 4. Check the signal line for short to ground circuit (main drive lithium-ion battery connector and main contactor).
- DTC P0ADB: Check the wiring harness between main drive lithium-ion battery connector and the main contactor (P) <CNT+ line>.
- DTC P0ADF: Check the wiring harness between main drive lithium-ion battery connector and the main contactor (N) <CNT- line>.
Is the check result normal?
![[Previous]](../../../buttons/fprev.png)
![[Next]](../../../buttons/fnext.png)


