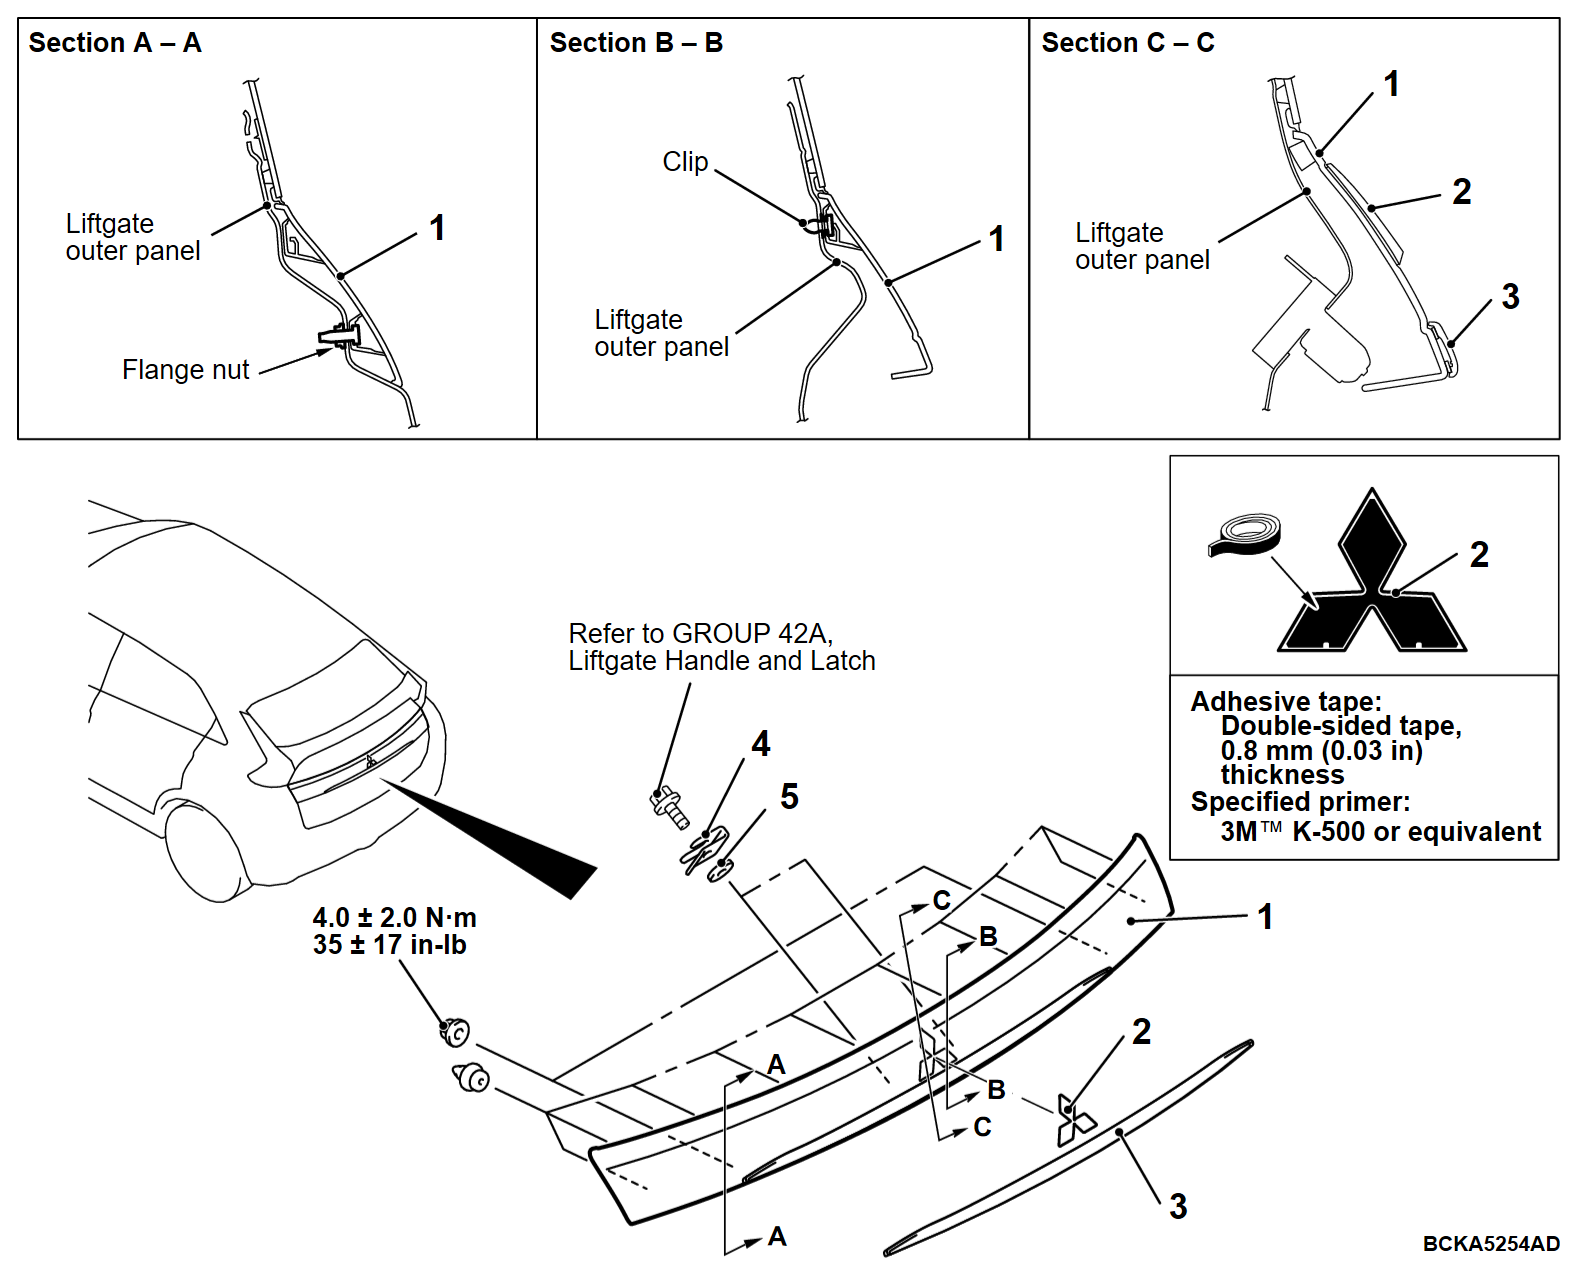
REMOVAL AND INSTALLATION
<Up to 20 Model year>
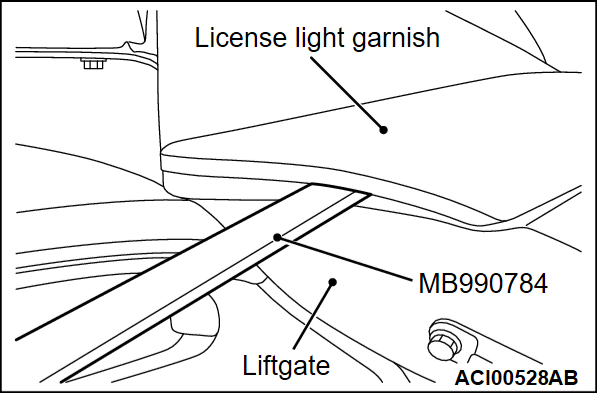
- MB990784: Ornament remover
Required special tool:
REMOVAL SERVICE POINTS <Up to 20 Model year>
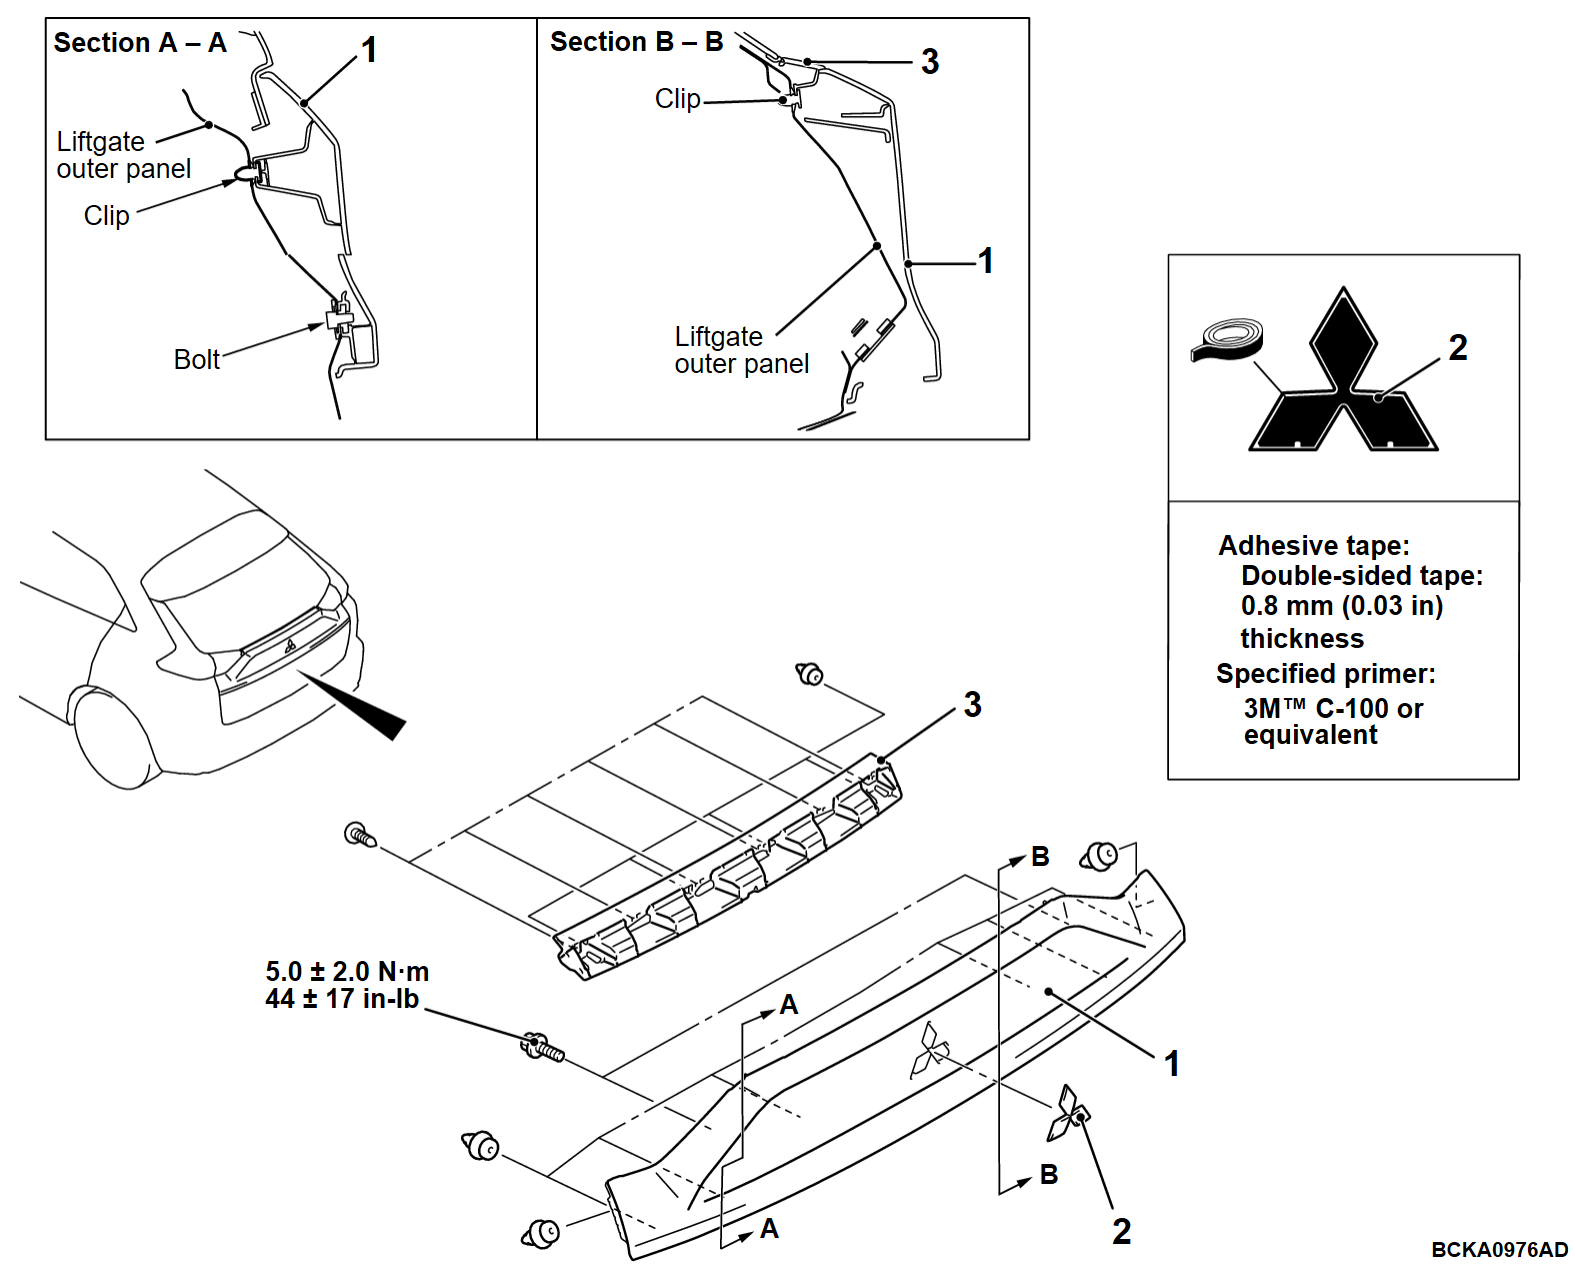
<<A>> LICENSE LIGHT GARNISH REMOVAL
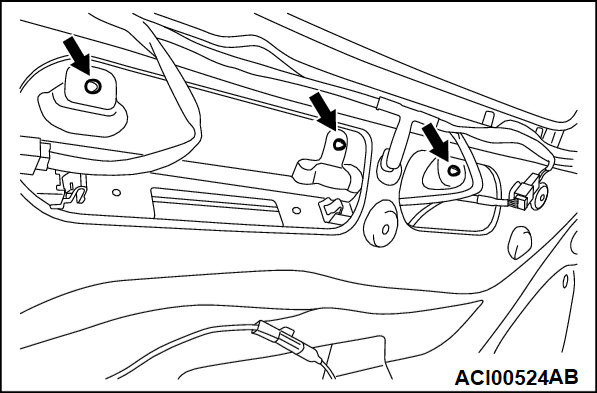
1. Use a 6 mm (0.2 inch) socket wrench to remove the three clips from the inside of the vehicle.
2. Insert the special tool Ornament Remover (MB990784) through the opening of the left license light to lift the license light garnish.
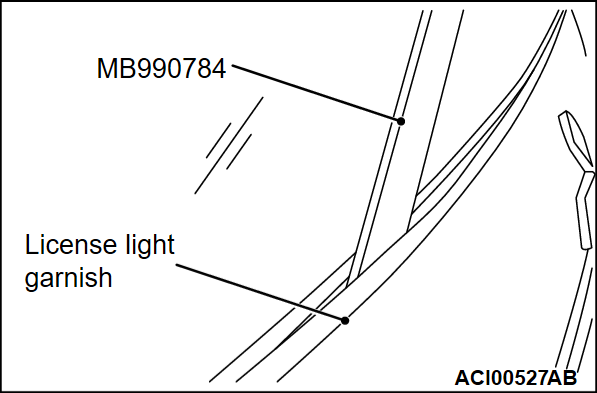
3.
Insert the special tool Ornament Remover (MB990784) to the center of the license light garnish and slide it toward the outside to remove the clip.
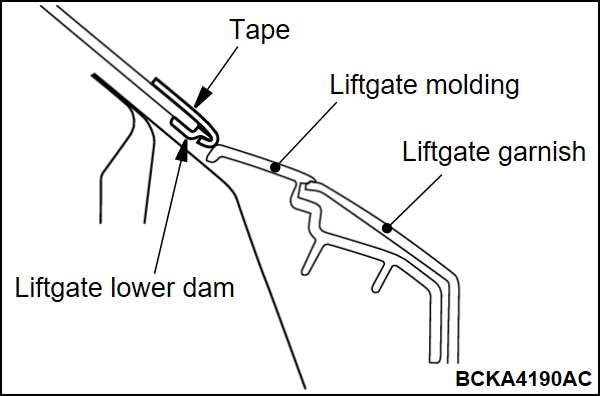
| caution | Do not let the special tool Ornament Remover (MB990784) contact the extra window lower molding directly. If the special tool Ornament Remover (MB990784) contacts the extra window lower molding, protect it with a tape. |
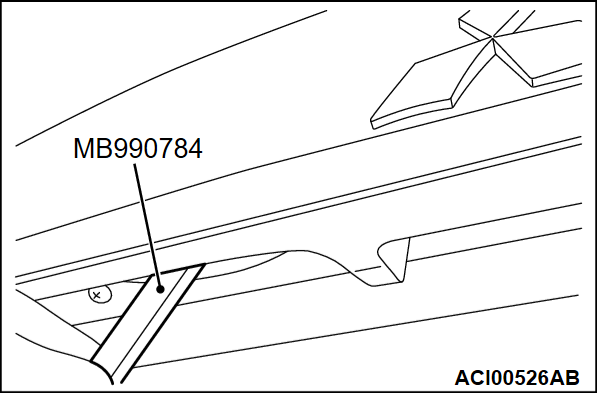
4.
Insert the special tool Ornament Remover (MB990784) to the position shown to remove the clip on the outer lower side of the license light garnish.
| caution | Be careful not to let the special tool Ornament Remover (MB990784) get into the slit of the clip base. |
INSTALLATION SERVICE POINTS <Up to 20 Model year>
>>A<< LICENSE LIGHT GARNISH INSTALLATION
| caution | When installing the license light garnish, roll up the extra window lower molding and secure it with a tape to prevent it from getting caught. |
![[Previous]](../../../buttons/fprev.png)
![[Next]](../../../buttons/fnext.png)

