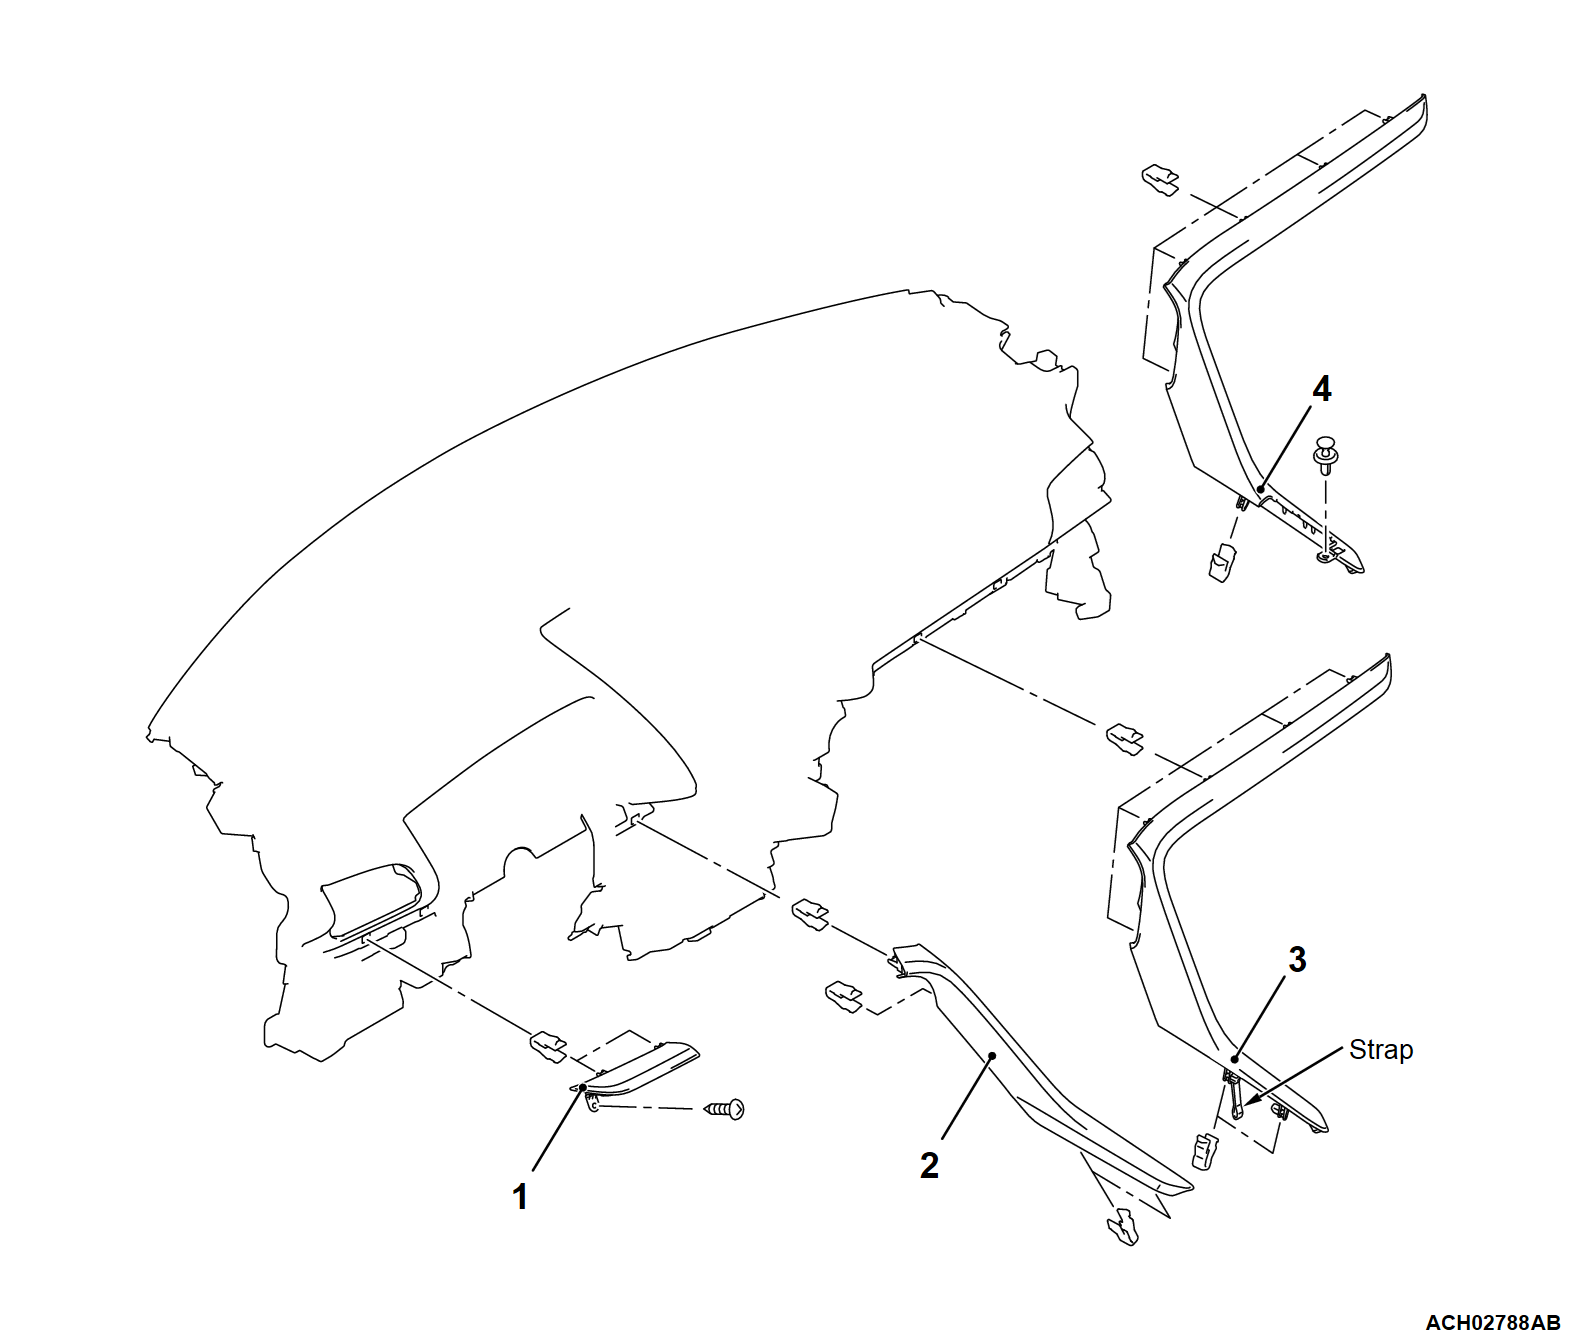
REMOVAL AND INSTALLATION
Required Special Tool:
- MB990784: Ornament Remover
REMOVAL SERVICE POINTS
<<A>> INSTRUMENT PANEL GARNISH REMOVAL
Insert the special tool MB990784 into the notch on the lower side of the instrument panel garnish to remove it.
<<B>> INSTRUMENT PANEL GARNISH REMOVAL
1. Lift the vehicle's front side of the instrument panel garnish from the instrument panel slightly. At this time, do not disengage each clip of the garnish from the instrument panel.
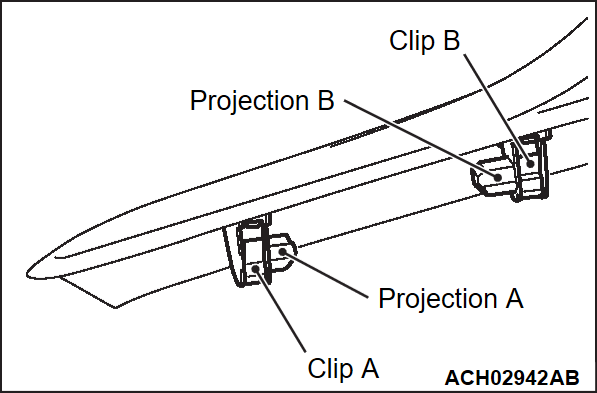
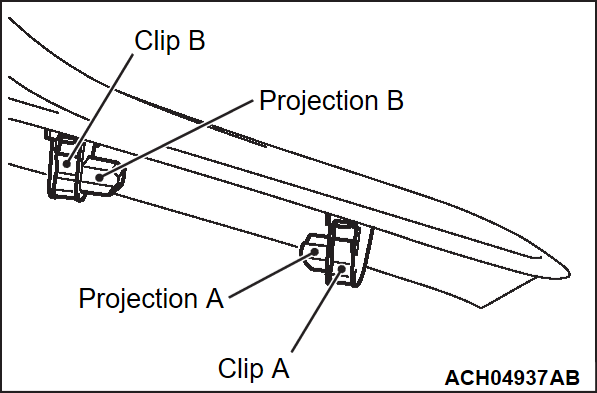
2. Lift the vehicle's rear side of the garnish slightly and disengage clips A and B of the garnish from the shift lever panel.
3. Move the garnish in the rear direction of the vehicle. Then, lift the garnish and disengage projection A of the garnish from the shift lever panel.
4. Lift the garnish while moving it in the front direction of the vehicle, and disengage projection B of the garnish from the shift lever panel.
<<C>> INSTRUMENT PANEL GARNISH REMOVAL
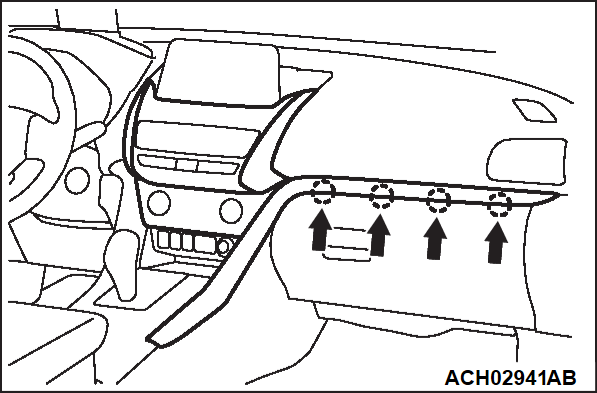
1. Insert the special tool MB990784 into each notch on the lower side of the instrument panel garnish.
2. Lift the garnish from the instrument panel slightly. At this time, do not disengage each clip of the garnish from the instrument panel.
3. Lift the vehicle's rear side of the garnish slightly and disengage clips A and B of the garnish from the shift lever panel.
4. Move the garnish in the rear direction of the vehicle. Then, lift the garnish and disengage projection A of the garnish from the shift lever panel.
5. Lift the garnish while moving it in the front direction of the vehicle, and disengage projection B of the garnish from the shift lever panel.
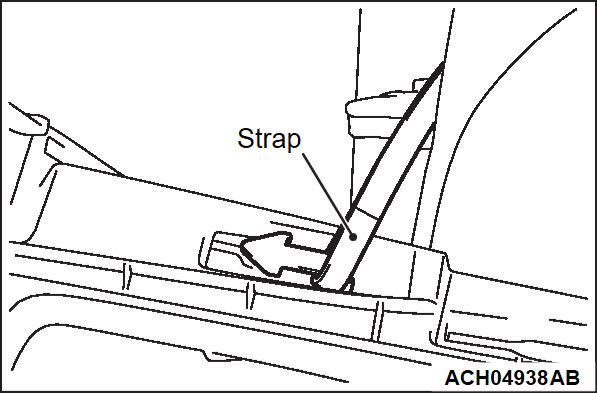
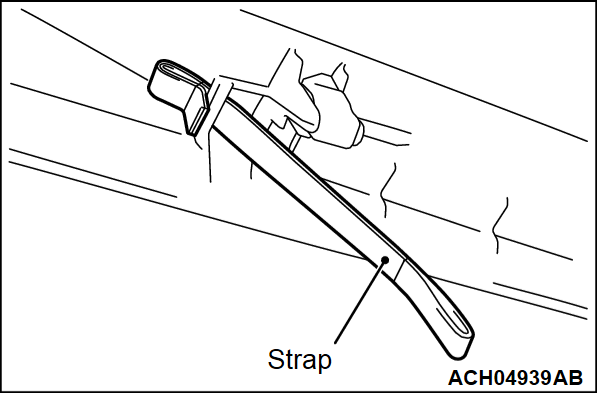
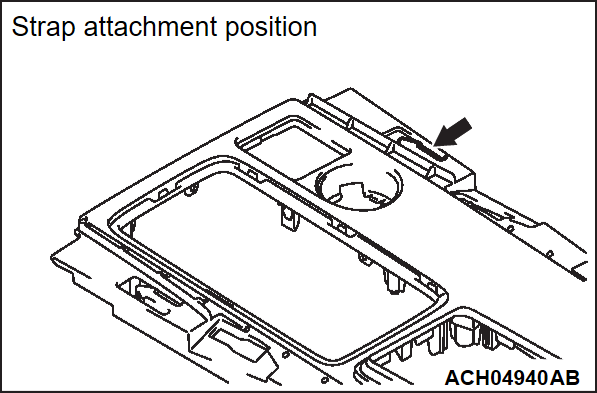
6. Remove the strap of the garnish from the shift lever panel.
![[Previous]](../../../buttons/fprev.png)
![[Next]](../../../buttons/fnext.png)
