Inspection
COMPONENT PART
Check the front suspension for the following:
- Check each component for looseness or play.
- Inspect each component for abnormal wear or damage.
STRUT ASSEMBLY DAMAGE, OIL LEAK CHECK
1. Raise the vehicle.
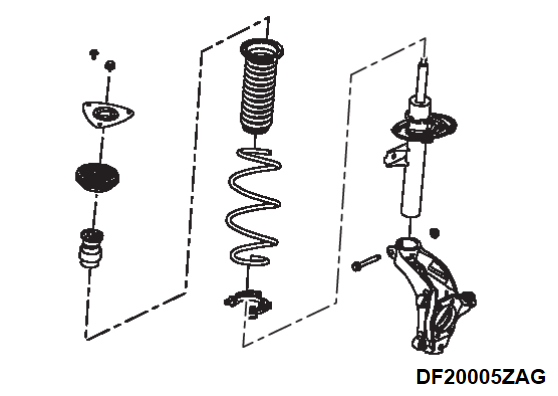
2. Visually inspect the strut for damage or oil leak.
3. Visually inspect that the rubber seats (upper and lower) have not dropped off.
4. Visually inspect the bound bumper for damage.
5. Visually inspect the mount insulator, upper rubber seat, and lower rubber seat for cracks.
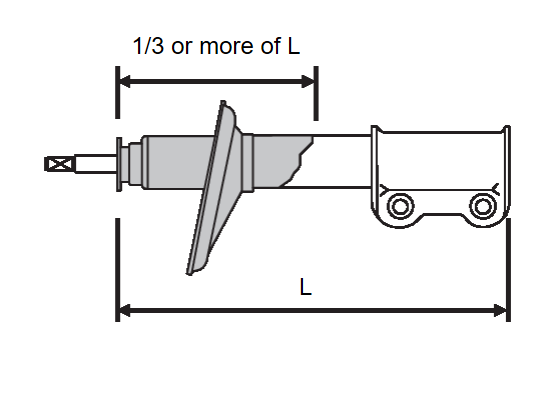
6. If there is an oil leak, check the condition of the strut and determine if  to
to  are applicable, and perform following measures.
 to
to  are applicable, and perform following measures.
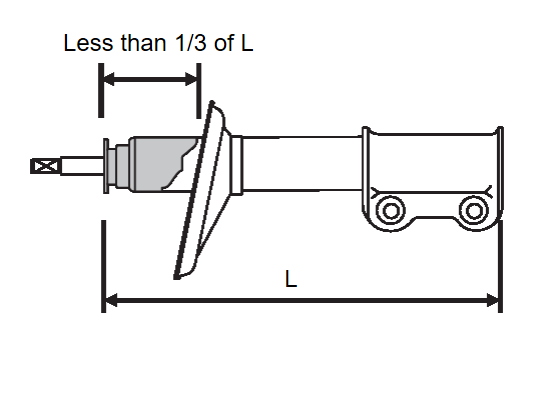
 | Oil mark less than 1/3 of the whole in longest part | |
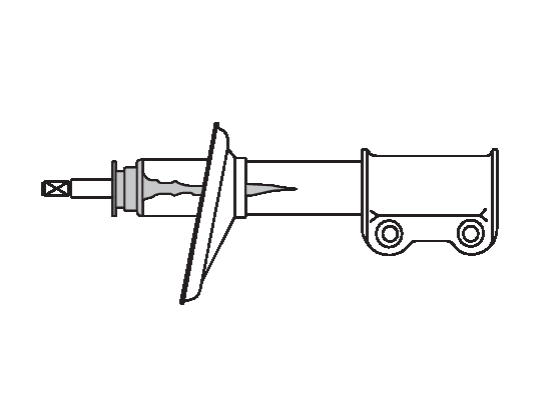
 | Oil mark dripping in strips (regardless of length) | |
 | Oil mark 1/3 or more of the whole in longest part |
- In case of
 : Wipe off the dirt affixed on the strut, and inspection is completed
 - In case of
 : Replace with new strut (Refer to Removal and Installation
 ).
). - In case of
 : Replace with new strut (Refer to Removal and Installation
 ).
).
| note | When the function of the oil seal is normal and bleeding amount is minute, the bleeding and evaporation of oil will balance out, causing condition of  . . |
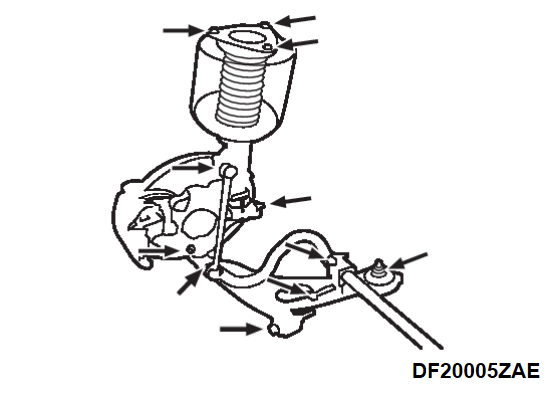
LOOSENING, RATTLING, DAMAGE OF SUSPENSION MOUNTING PARTS AND CONNECTING PARTS CHECK
2. Raise the vehicle.
Loosening and rattling of the mounting parts, connecting parts
Damage of all parts
1. Visually inspect all parts of suspension for damage.
2. Visually inspect that the rubber seats (upper and lower) have not dropped off.
3. Visually inspect coil springs for rusting or corrosions.
4. Visually inspect moving parts of the coil springs and suspensions for pinched foreign objects such as stones.
TRANSVERSE LINK BALL JOINT LOOSENESS CHECK
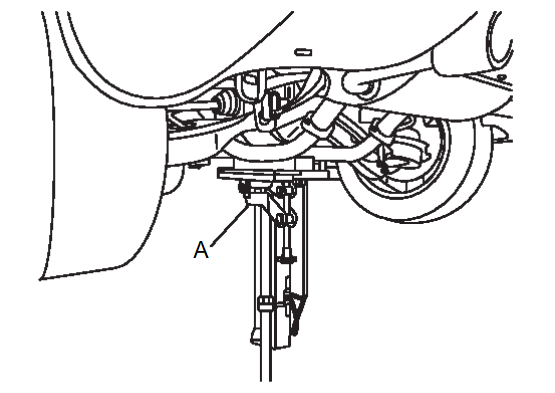
| warning | When moving the front tires up and down by hand, place a jack (A) at the rear floor jack lift point to stabilize the vehicle or the vehicle could rock and fall off the lift resulting in serious personal injury or death. |
1. Raise the vehicle.
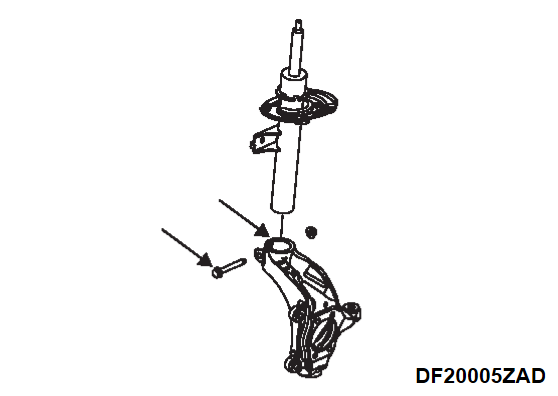
2. Inspect the mounting bolt of the steering knuckle and strut assembly for loosening and the fitting position for rattling.
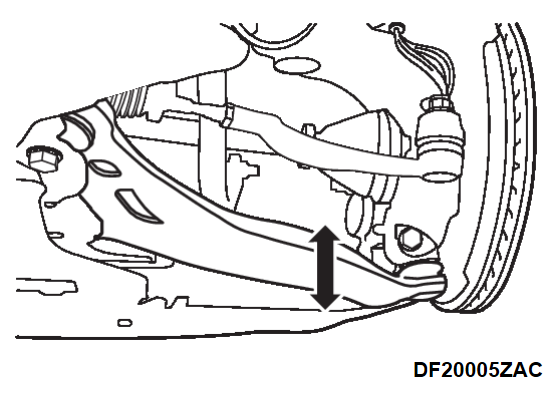
3. Move the transverse link vertically to inspect the ball joint for looseness in the axial direction.
| caution |
|
4. If there is looseness, replace the transverse link assembly. Refer to Removal and Installation .
.
 .
.BALL JOINT DUST COVER CHECK
| caution | If grease is leaking or evidence of leaking from the dust cover due to cracks or damage, replace the transverse link. |
1. Raise the vehicle.
2. Using your fingers, press the dust cover to check for a crack or damage.
3. If the dust cover has any crack or damage, replace the transverse link. Refer to Removal and Installation .
.
 .
.![[Previous]](../../../buttons/fprev.png)
![[Next]](../../../buttons/fnext.png)
 .
.