DISASSEMBLY AND ASSEMBLY
DISASSEMBLY SERVICE POINTS
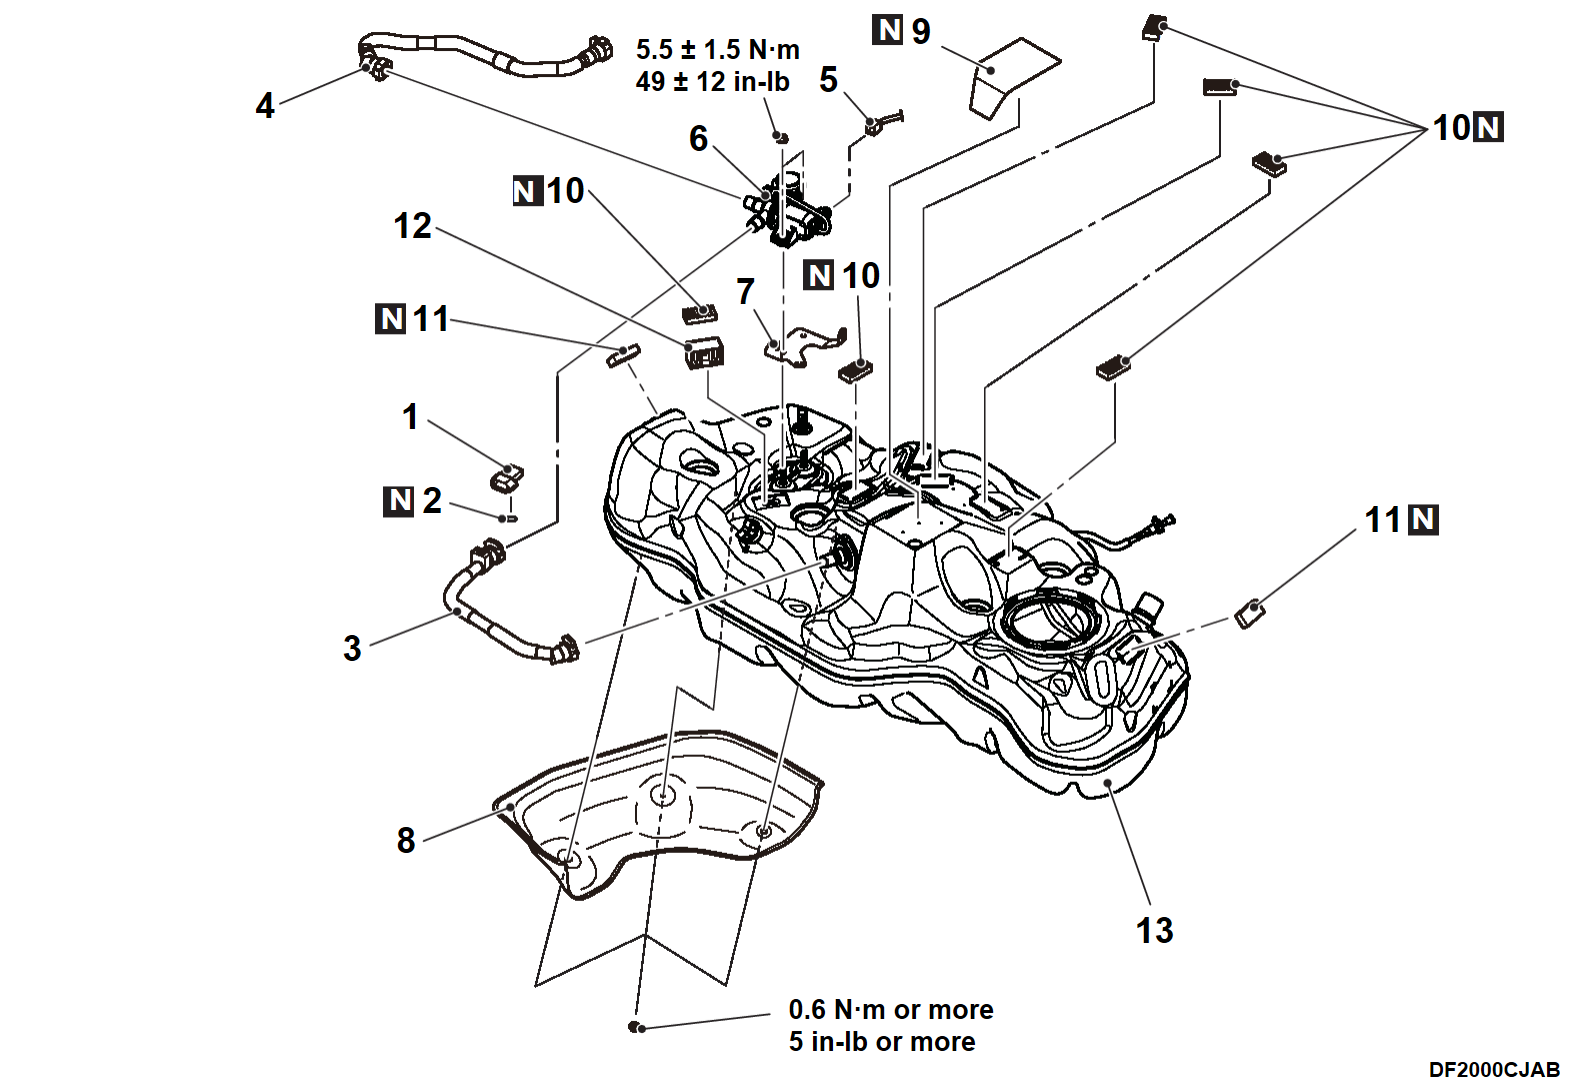
<<A>> FUEL VAPOR HOSE/FUEL VAPOR HOSE A DISCONNECTION
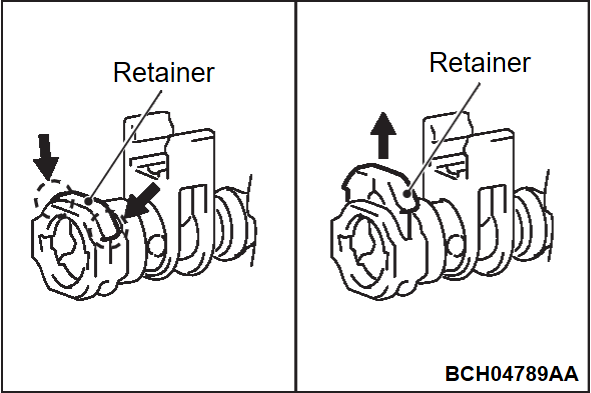
While pushing the arrow part of the illustration, pull up on the retainer.
<<B>> FLOOR SUB-HARNESS REMOVAL
Remove the floor sub-harness (Refer to Engine, Motor and Emission Control - Evaporative Emission Control System FUEL TANK SOLENOID VALVE REPLACEMENT ).
).
 ).
).ASSEMBLY SERVICE POINT
>>A<< FLOOR SUB-HARNESS INSTALLATION
Install the floor sub-harness (Refer to Engine, Motor and Emission Control - Evaporative Emission Control System FUEL TANK SOLENOID VALVE REPLACEMENT ).
).
 ).
).>>B<< FUEL VAPOR HOSE A / FUEL VAPOR HOSE INSTALLATION
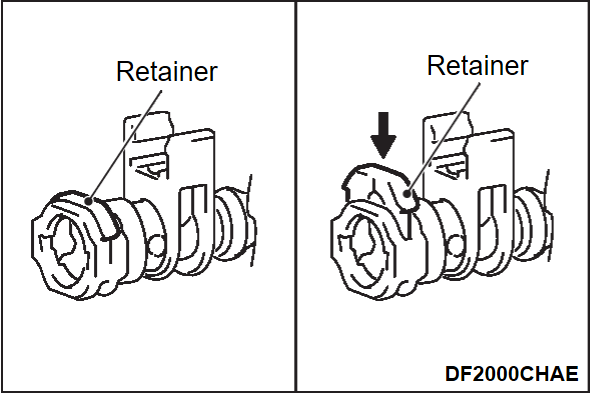
1. Pull up the retainer of fuel tube to unlock before installing.
2. Push the retainer in the direction of the arrow and connect the fuel tube. After the installation of the fuel tube, slightly pull the fuel tube to check that it is connected securely.
| caution | After the installation of the fuel tube, slightly pull the fuel tube to check that it is connected securely. At this time, also check that there is approximately 1 mm (0.03 inch) play. |
![[Previous]](../../../buttons/fprev.png)
![[Next]](../../../buttons/fnext.png)


