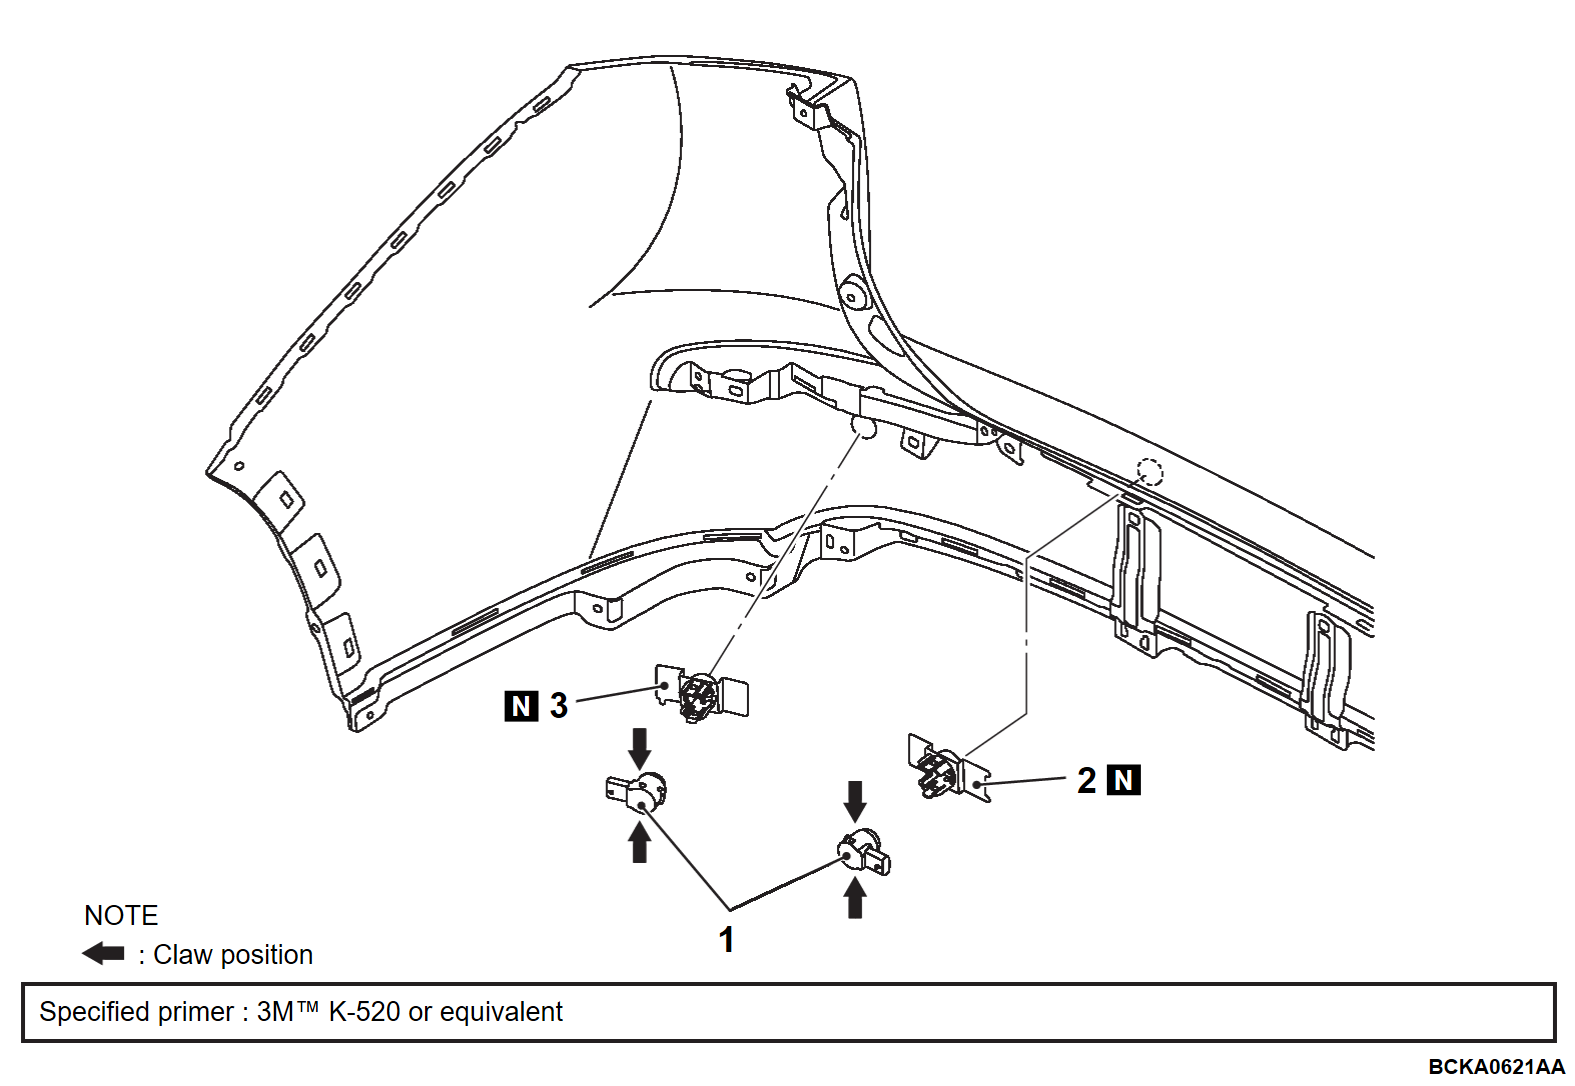
Removal and Installation
Pre-removal and Post-installation Operation Rear Bumper Assembly Removal and Installation (Refer to REAR BUMPER ASSEMBLY REMOVAL AND INSTALLATION  ). ). |
INSTALLATION SERVICE POINT
>>A<< REAR SONAR SENSOR, REAR SONAR SENSOR INNER HOLDER, REAR SONAR SENSOR OUTER HOLDER INSTALLATION
| caution |
|
1.
| caution | Before the next operation, leave the decreased parts for 3 minutes or more to dry. Do not touch the coated surface. |
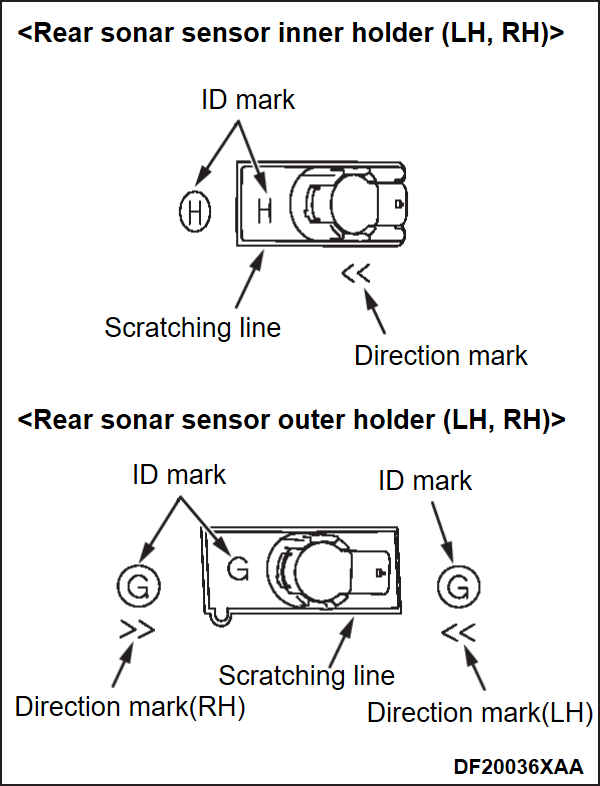
Use parts cleaner (MZ100387 or equivalent) to degrease the circumference inside the scratching line.
2.
| caution | The primer strengthens the adhesive, so be sure to apply it. However, too thick application will weaken the adhesive. |
Soak a sponge in the primer, and apply evenly to the circumference inside the scratching line.
3. After applying the primer, let it dry for 3 minutes or more.
4.
Install the sonar sensor holder to the rear bumper assembly.
| caution | Sensor connector accord with the position of the direction mark of the rear bumper assembly side. |
5. Install the rear sonar sensor to the sonar sensor holder.
![[Previous]](../../../buttons/fprev.png)
![[Next]](../../../buttons/fnext.png)

