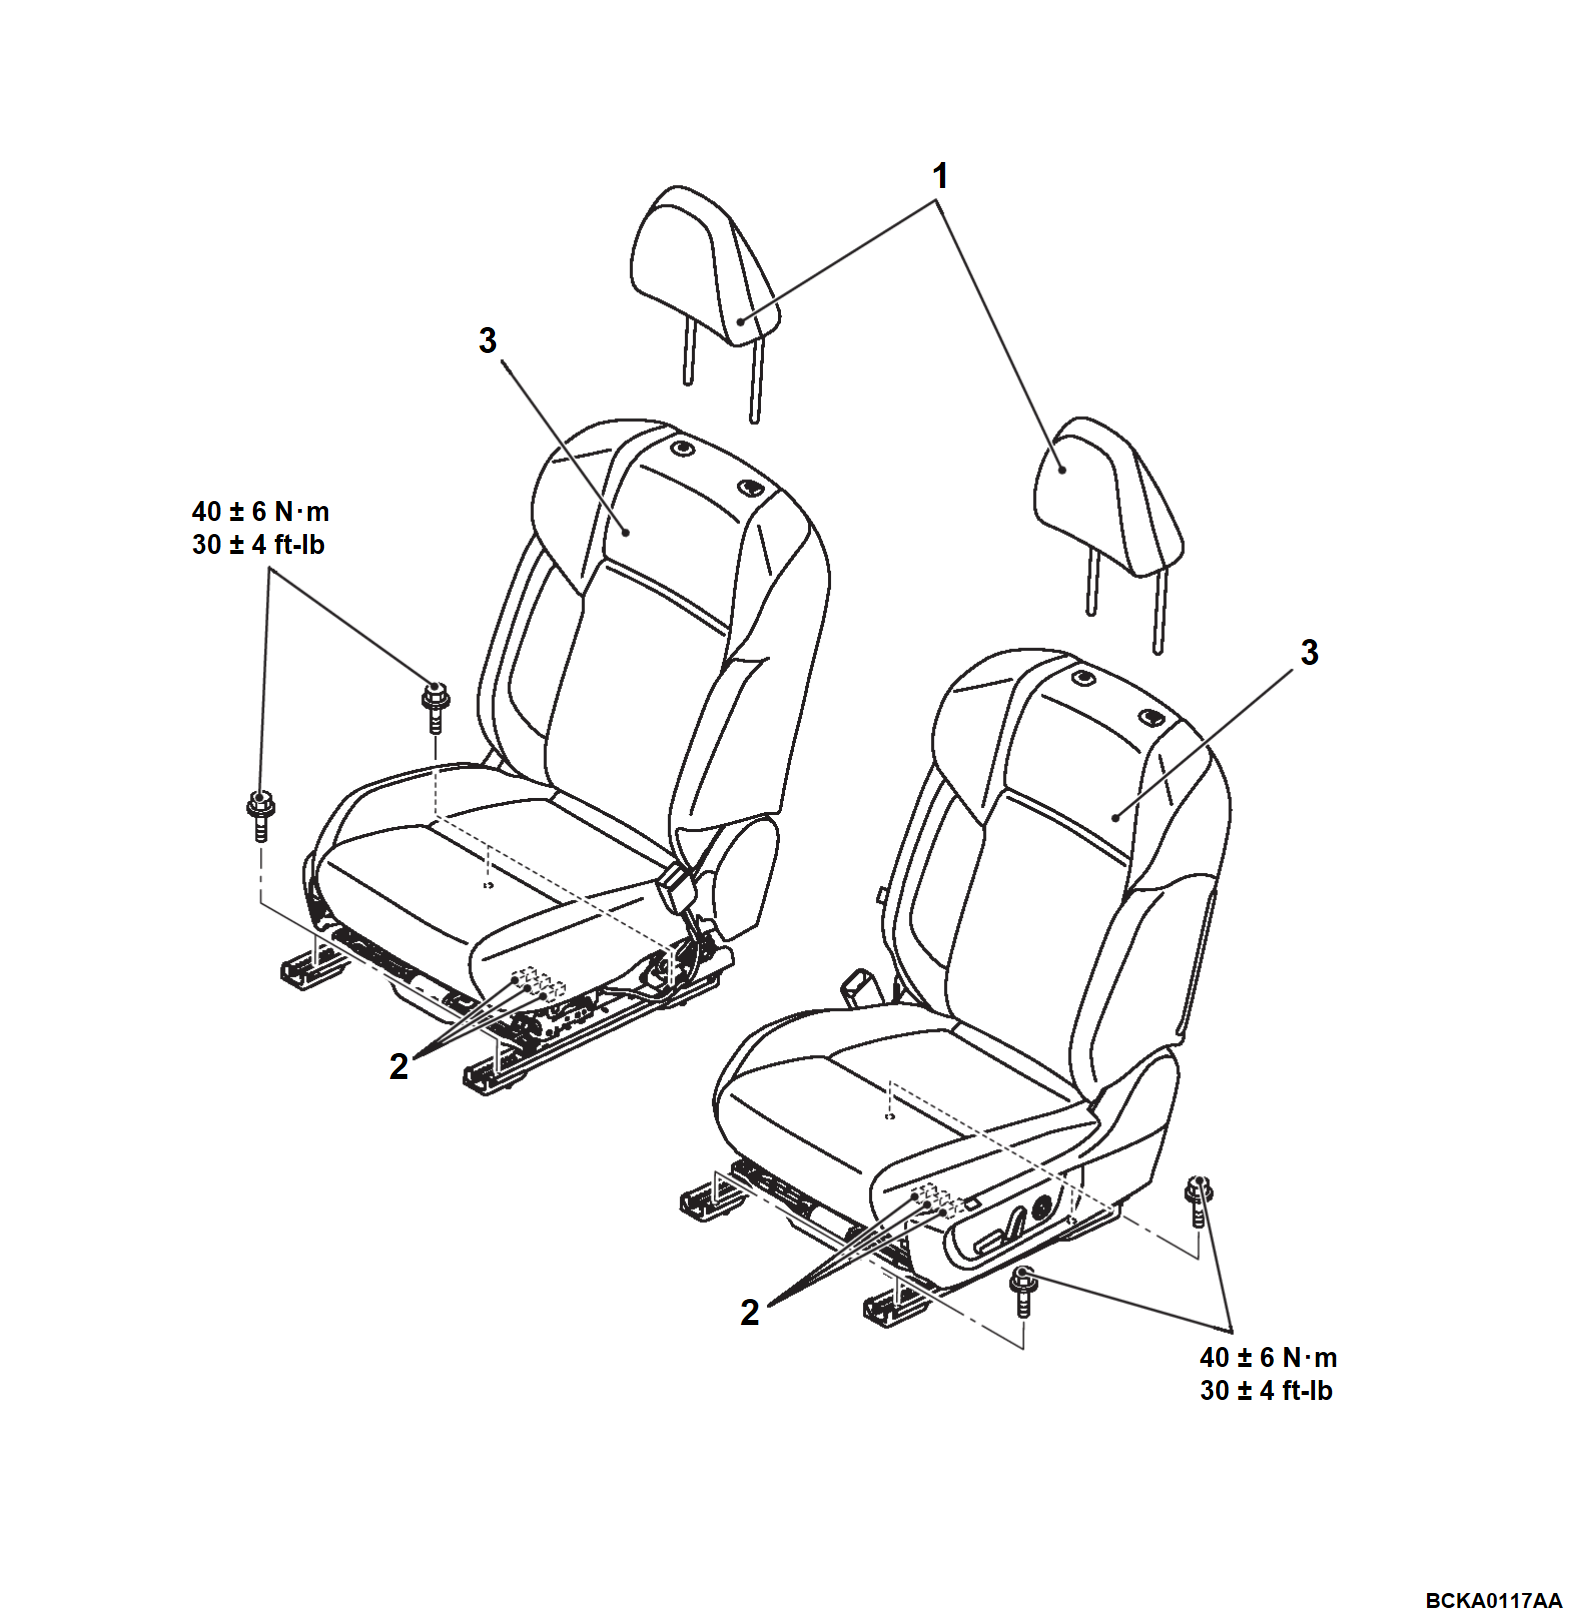
REMOVAL AND INSTALLATION
| warning |
|
| caution |
|
| note | When disassembling the front seat, adjust the cushion to the highest position before removing the front seat. |
INSTALLATION SERVICE POINT
>>A<< FRONT SEAT ASSEMBLY INSTALLATION
1. Tilt the front seat assembly backward, and connect the harness connector under the seat.
2. Insert the seat pins to holes of the body securely.
3. Confirm that both the seat slides are locked, and then temporarily tighten the front side bolts so that no load is applied to the seat cushion.
4. Tighten the front inner side bolt to the specified torque.
Tightening torque: 40 ± 6 N·m (30 ± 4 ft-lb)
5. Tighten the front outer side bolt to the specified torque.
Tightening torque: 40 ± 6 N·m (30 ± 4 ft-lb)
6. Move the seat forward.
7. Confirm that both the seat slides are locked, and then temporarily tighten the rear side bolts so that no load is applied to the seat cushion.
8. Tighten the rear outer side bolt to the specified torque.
Tightening torque: 40 ± 6 N·m (30 ± 4 ft-lb)
9. Tighten the rear inner side bolt to the specified torque.
Tightening torque: 40 ± 6 N·m (30 ± 4 ft-lb)
![[Previous]](../../../buttons/fprev.png)
![[Next]](../../../buttons/fnext.png)

