Removal and Installation
| warning | Before servicing, ignition switch OFF, disconnect battery negative terminal and wait for 3 minutes or more. |
REMOVAL
| caution |
|
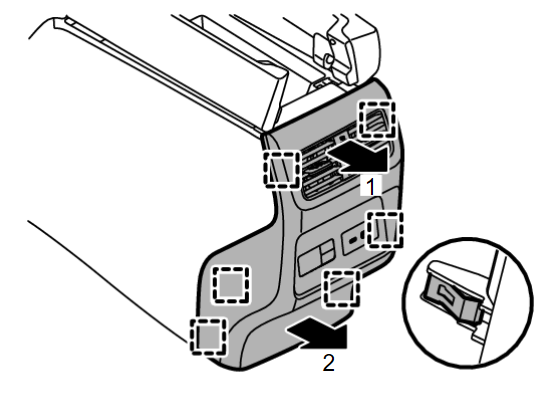
1. Disengage fixing clip and metal clips, and then remove instrument side panel (LH  and RH
  ) according to numerical order 1→2 indicated by arrows as shown in the figure.
 and RH
  ) according to numerical order 1→2 indicated by arrows as shown in the figure.
 | : Clip |
 | : Metal clip |
2. Remove console finisher assembly.
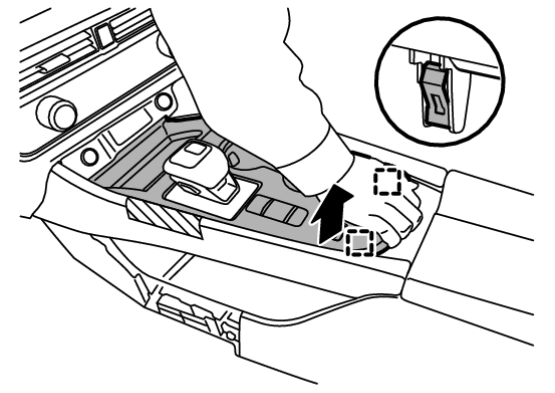
(3) Pull up console finisher assembly, and then disengage fixing metal clips by arrow as shown in the figure.
 | : Metal clip |
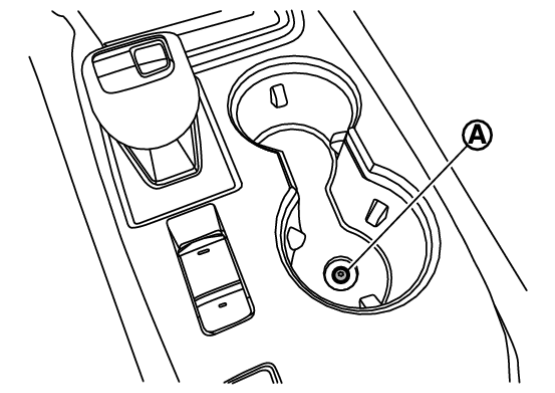
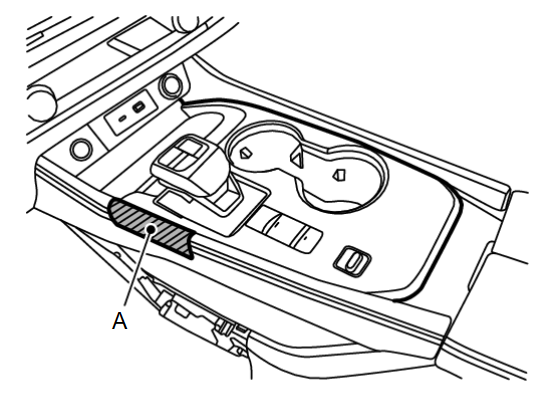
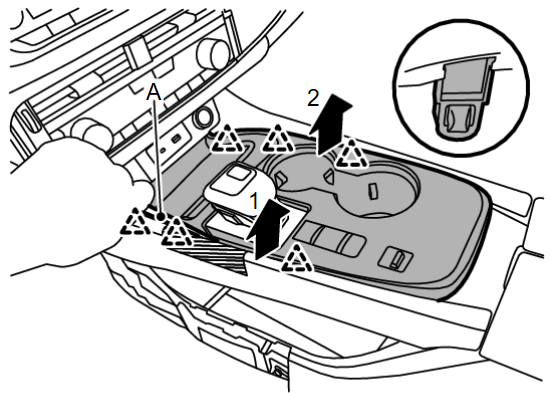
(4) Disengage fixing pawls using a remover tool (A), and then pull up console finisher assembly according to numerical order 1→2 indicated by arrows as shown in the figure.
 | : Pawl |
(5) Disconnect harness connectors, and then remove console finisher assembly.
3. Remove electric shift selector. Refer to Removal and Installation .
.
 .
.4. Remove console rear finisher.
(1) Open the console lid.
(2) Disengage fixing metal clips according to numerical order 1→2 indicated by arrows as shown in the figure, and then pull out console rear finisher.
 | : Metal clip |
(3) Disconnect harness connectors, and then remove console rear finisher.
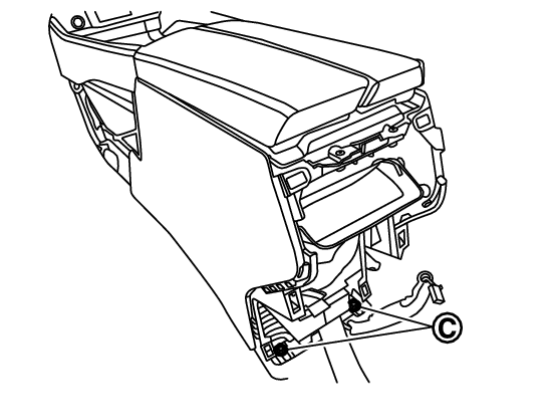
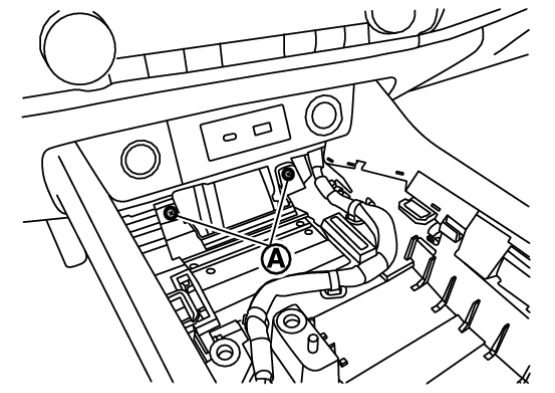
5. Remove center console assembly fixing screws  , mounting bolts
  and nuts
  .
.
 , mounting bolts
  and nuts
  .
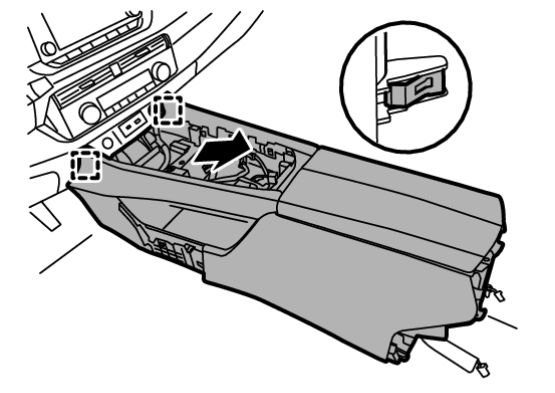
.6. Remove center console assembly.
(1) Disconnect harness connector and harness clips.
7. Remove the following parts after removing center console assembly.
- Rear ventilator duct 1: Refer to Removal and Installation
 .
. - Rear ventilator duct 2: Refer to Removal and Installation
 .
. - Mood light (center console): Refer to Removal & Installation
 .
.
INSTALLATION
Install in the reverse order of removal.
![[Previous]](../../../buttons/fprev.png)
![[Next]](../../../buttons/fnext.png)

