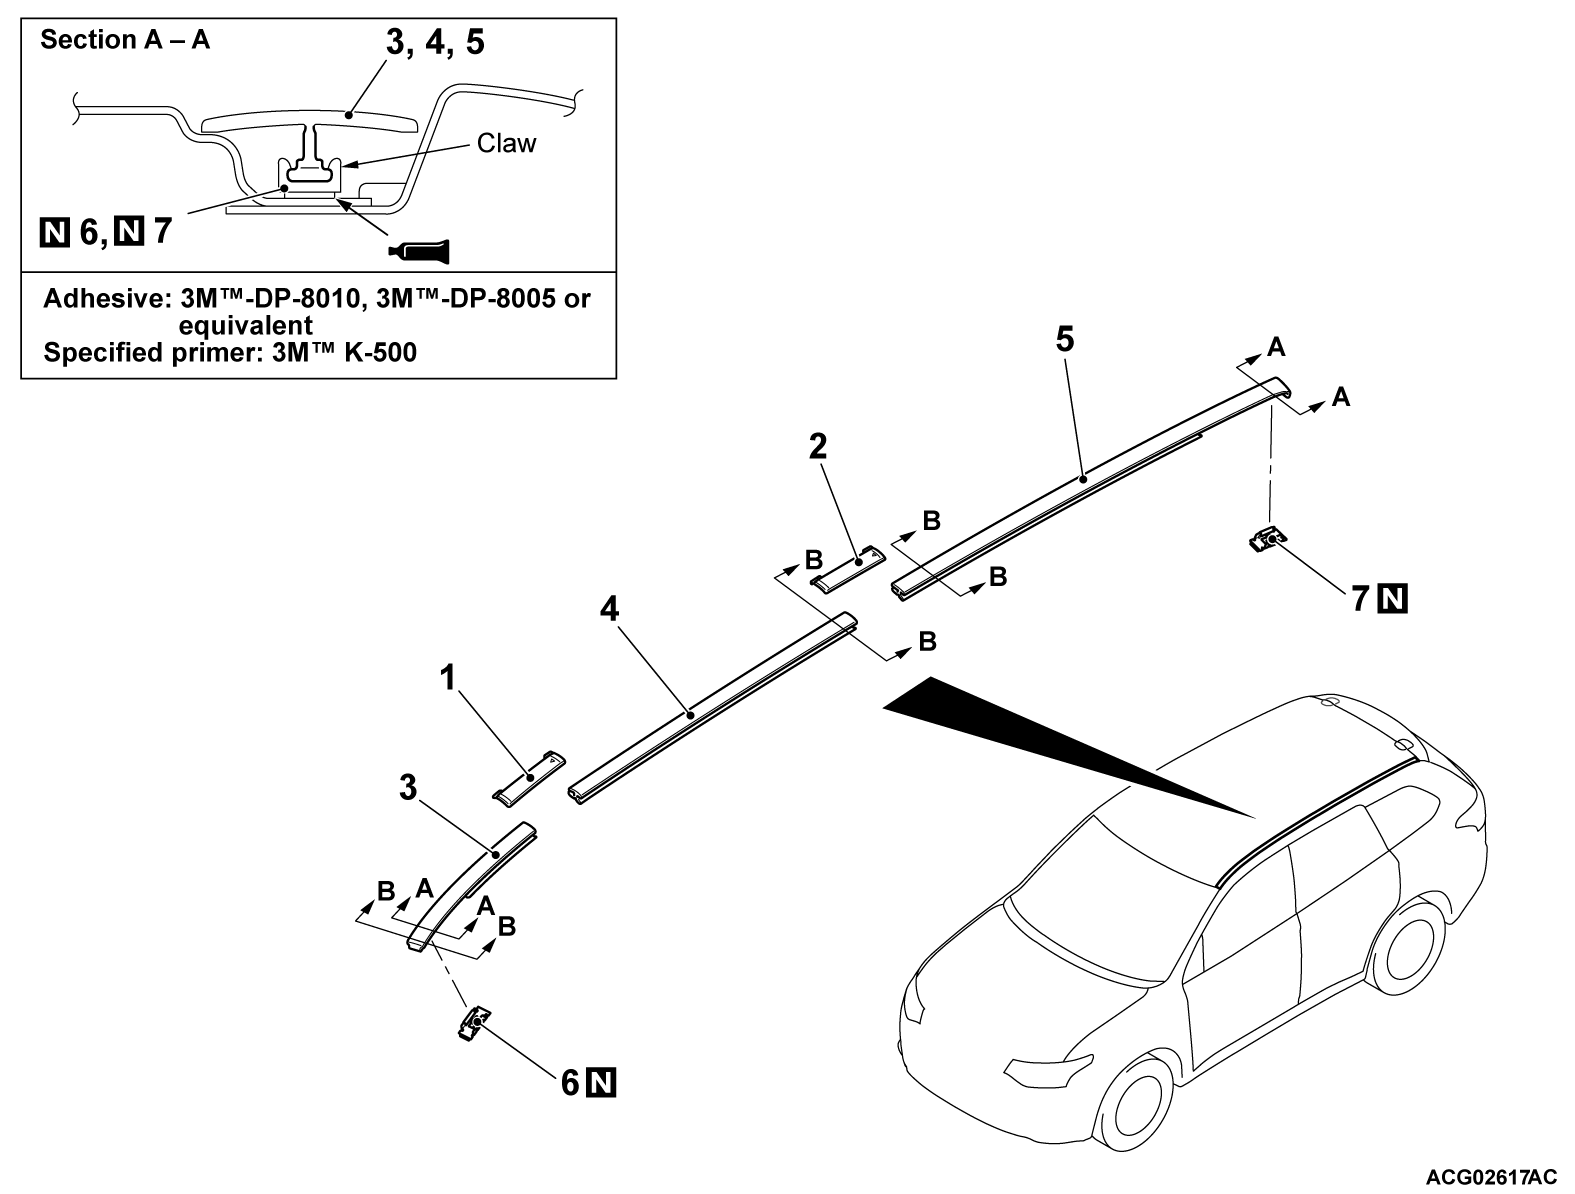
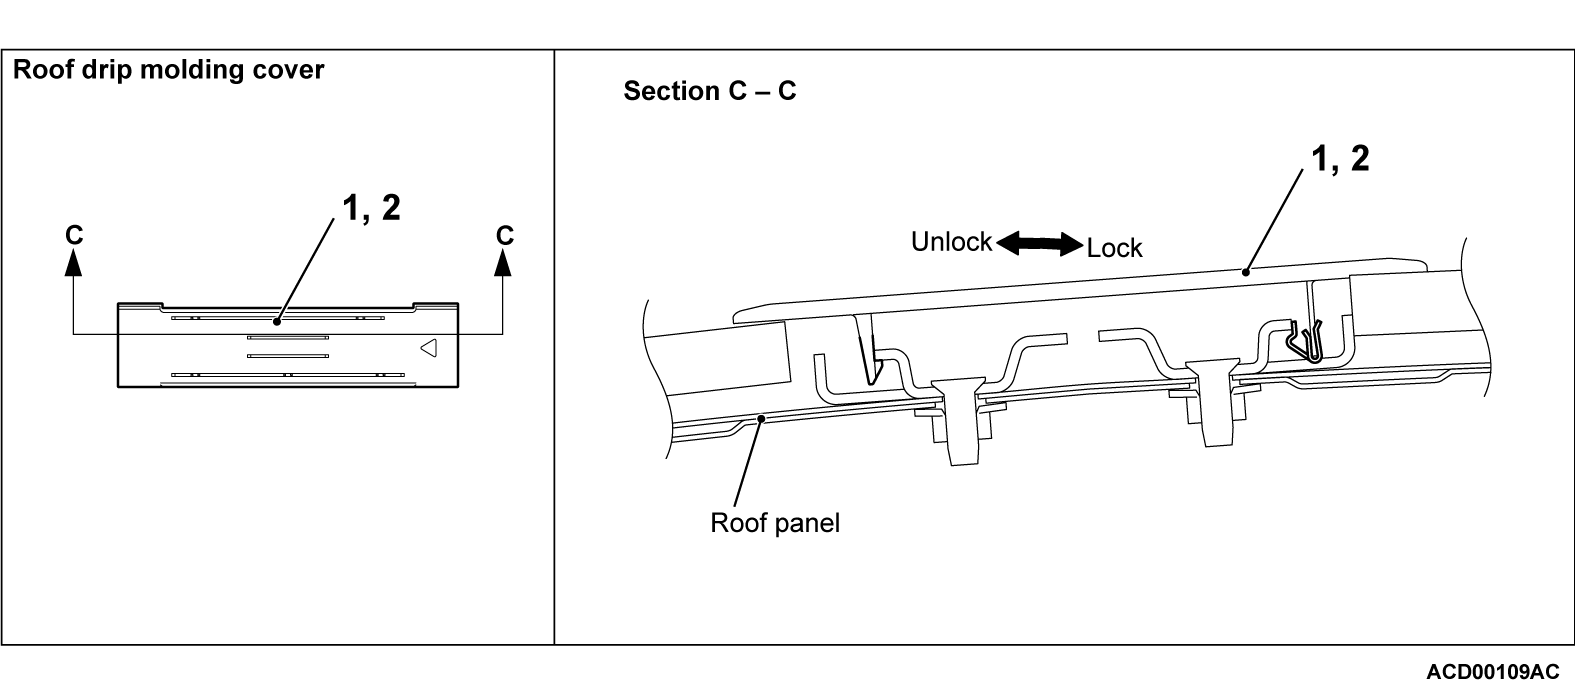
REMOVAL AND INSTALLATION
INSTALLATION SERVICE POINT
>>A<< ROOF DRIP MOLDING CLIP INSTALLATION
Apply the specified sealant to the roof drip molding clip surface, and install the roof drip molding clip.
Specified adhesive: 3M™-DP-8010, 3M™-DP-8005 or equivalent
1. Remove any remnants of the old tape. Then degrease the adhesion surface by using a cloth moistened with 3M™ AAD Part number 8906 or equivalent.
2. Apply the specified adhesive to the adhesion surface of the roof molding clip.
Specified adhesive: 3M™-DP-8010, 3M™-DP-8005 or equivalent
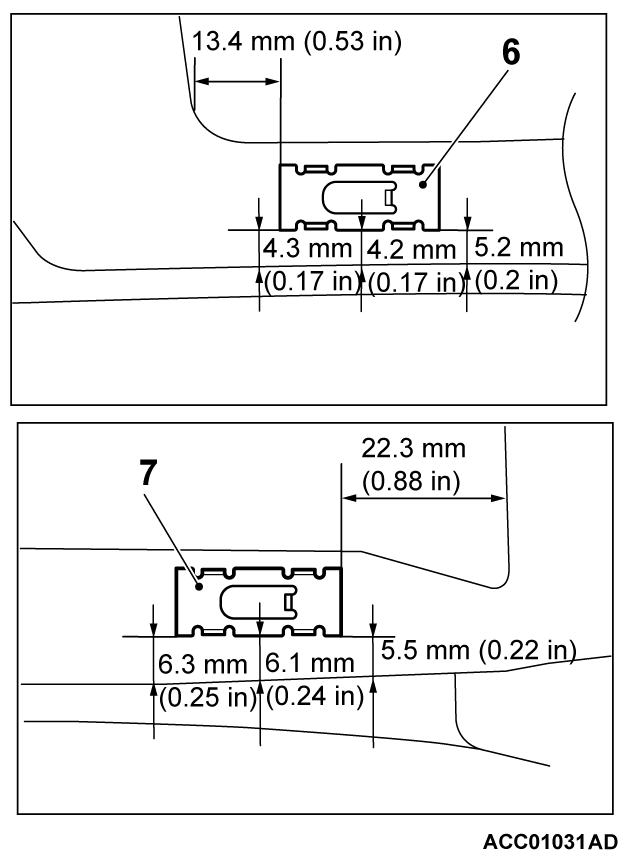
3. Adhere the roof drip molding clip as shown.
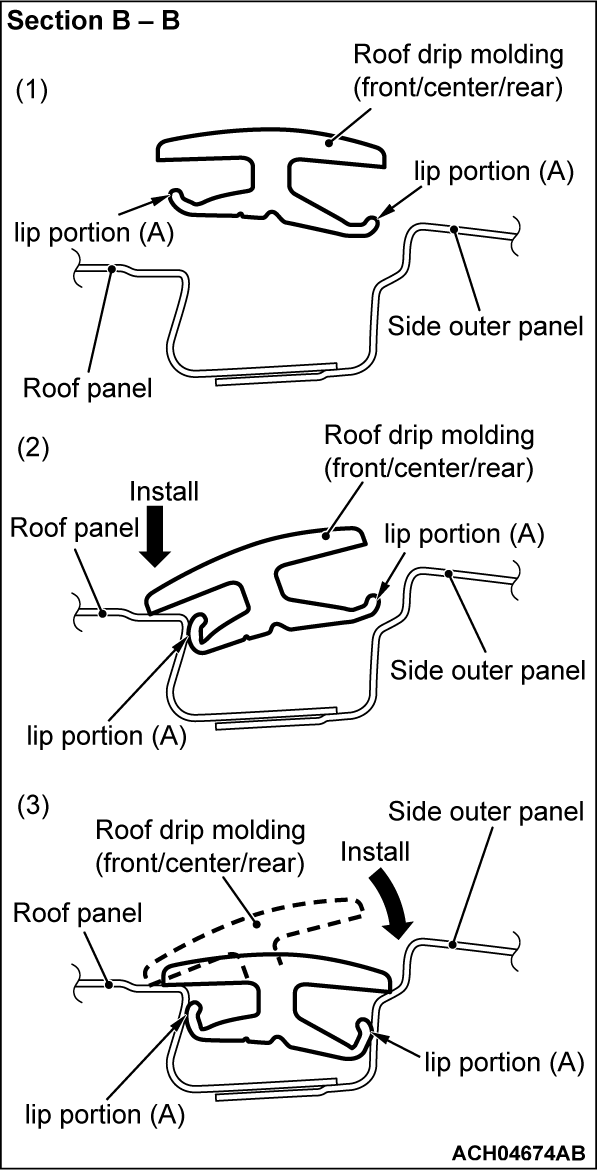
4. Wait for at least 10 minutes. Then install the roof drip molding.
![[Previous]](../../../buttons/fprev.png)
![[Next]](../../../buttons/fnext.png)


