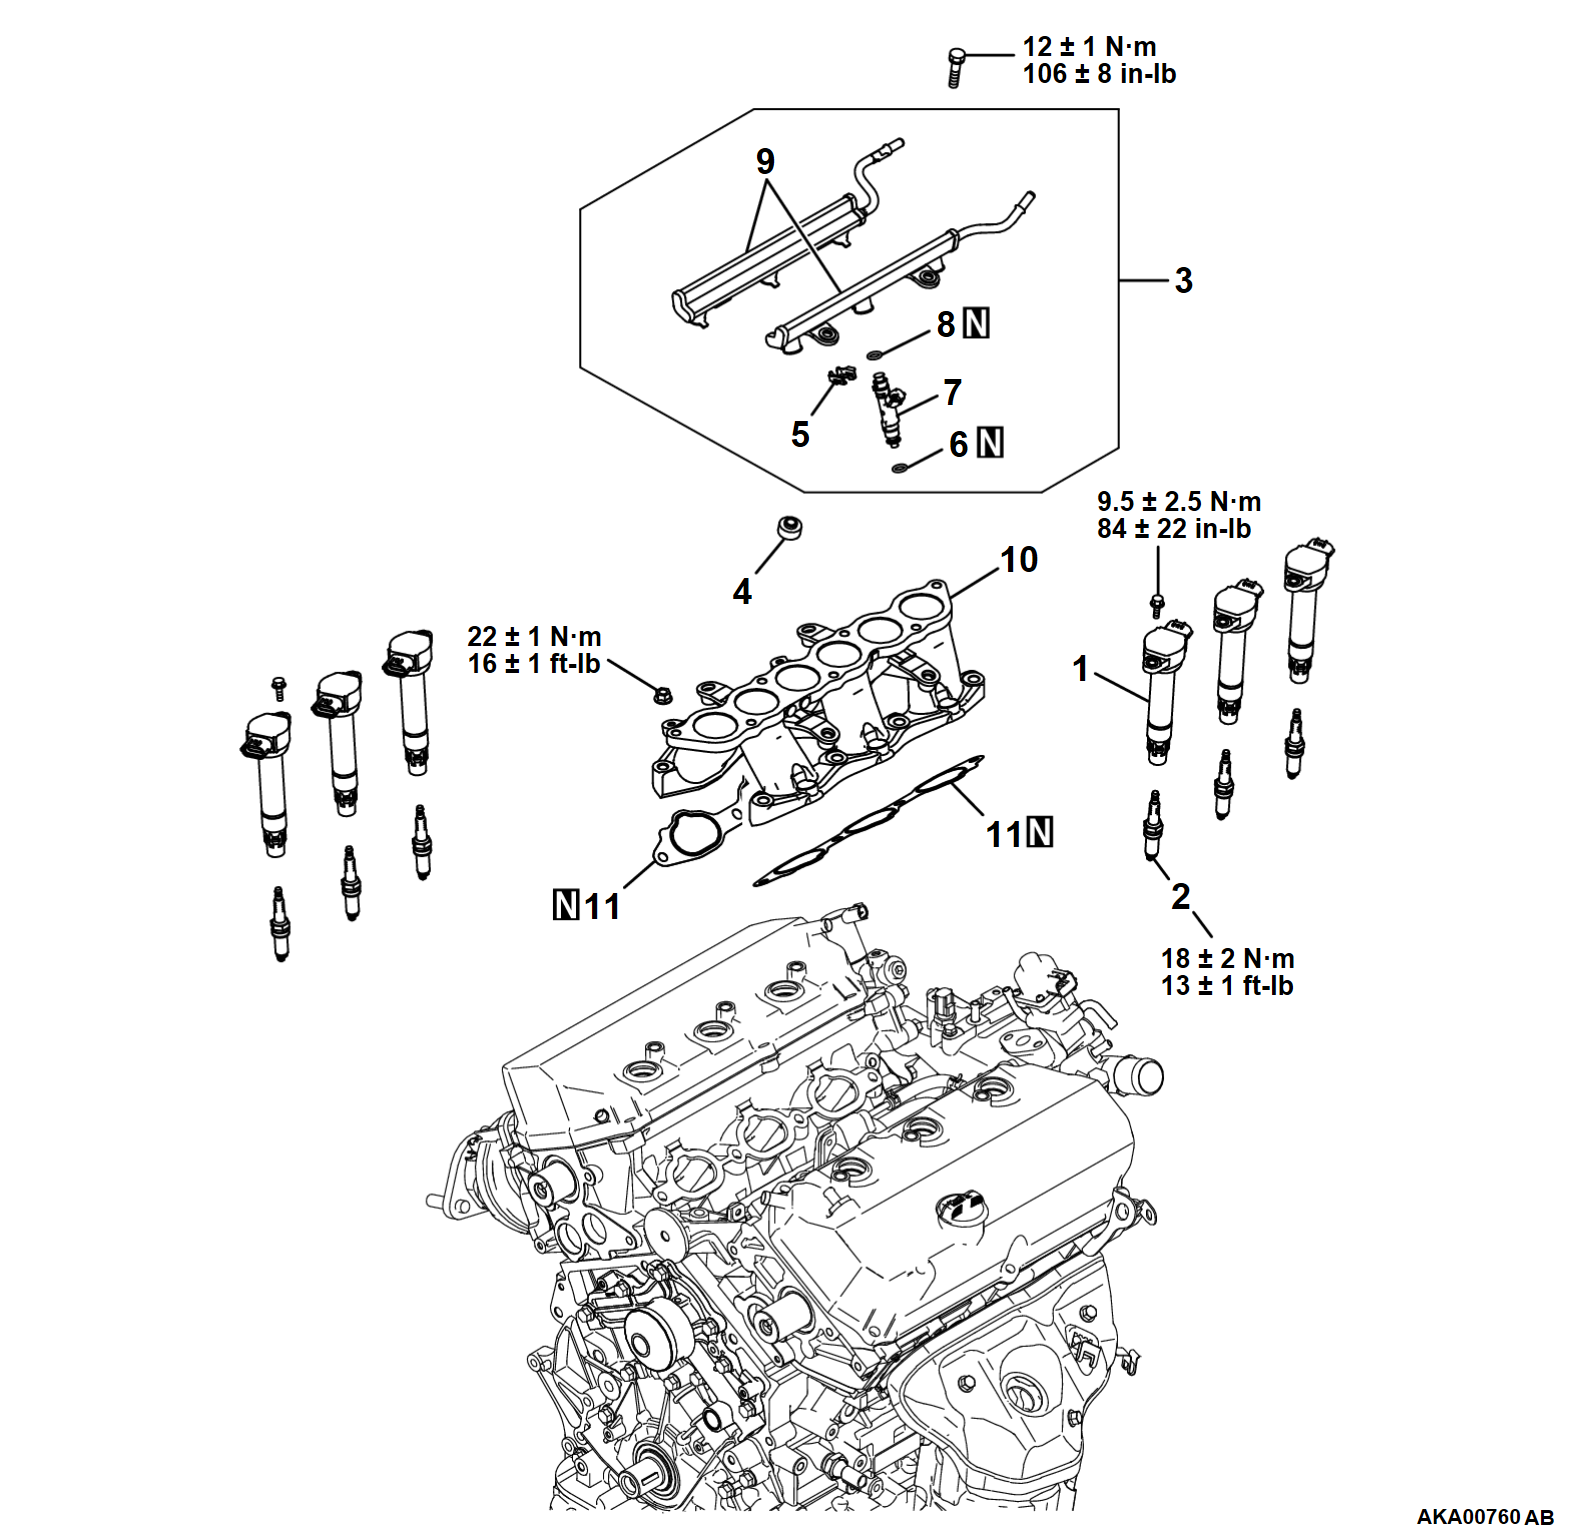
REMOVAL AND INSTALLATION
Required Special Tools:
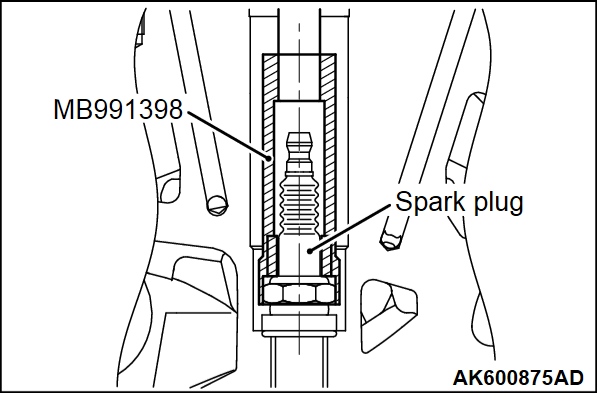
- MB991398: Spark Plug Wrench
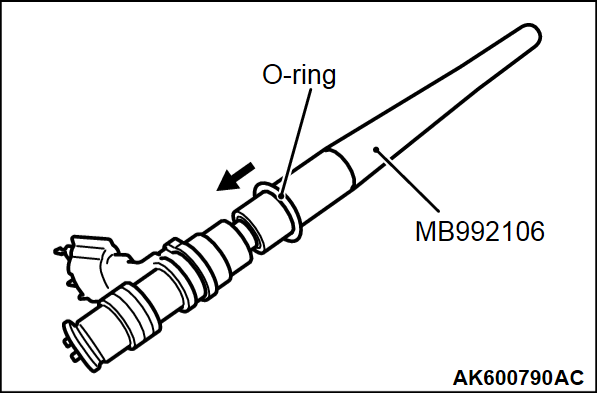
- MB992106: O-ring Installer
INSTALLATION SERVICE POINTS
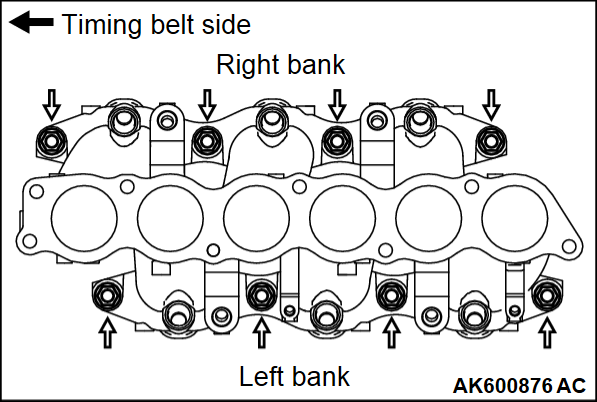
>>A<< INTAKE MANIFOLD INSTALLATION
1. Tighten the nuts on the left bank to 6.5 ± 1.5 N·m (58 ± 13 in-lb).
2. Tighten the nuts on the right bank to the specified torque.
Tightening torque: 22 ± 1 N·m (16 ± 1 ft-lb)
3. Tighten the nuts on the left bank to the specified torque.
Tightening torque: 22 ± 1 N·m (16 ± 1 ft-lb)
4. Tighten the nuts on the right bank and those on the left bank again in that order.
Tightening torque: 22 ± 1 N·m (16 ± 1 ft-lb)
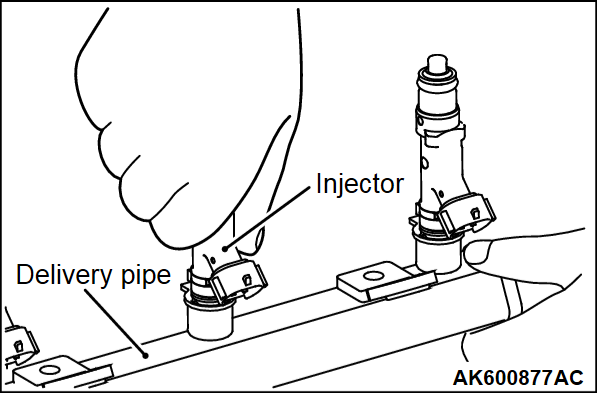
>>B<< INJECTOR INSTALLATION
1. Apply clean gasoline to the O-ring.
2. Insert the injector into the fuel rail.
3. Make sure the injector rotates smoothly. If not, remove the injector to check the O-ring for damage, and replace the O-ring if necessary. Then reinsert the injector and check that it rotates smoothly.
>>C<< O-RING INSTALLATION
When inserting an O-ring into the injector on the injection nozzle side, use special tool MB992106 to gradually expand the O-ring, and fit it in place.
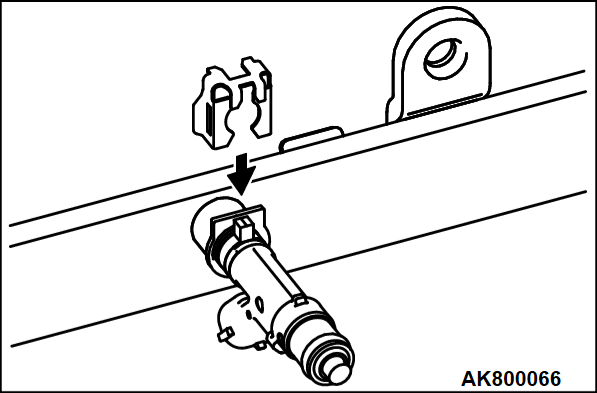
>>D<< INJECTOR SUPPORT INSTALLATION
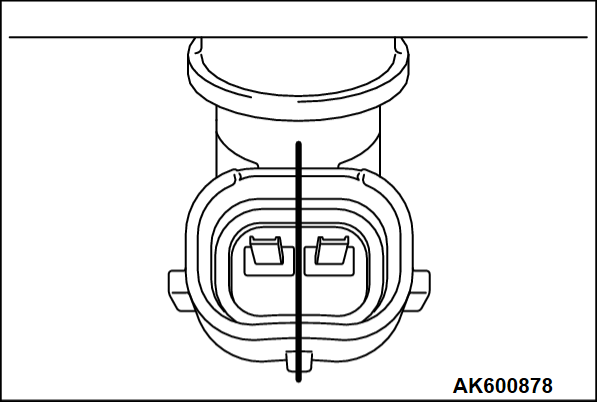
1. Make sure that the protrusion of the injector is at the center as shown in the illustration.
2. Securely assemble the injector to the injector groove and fuel rail collar.
![[Previous]](../../../buttons/fprev.png)
![[Next]](../../../buttons/fnext.png)
