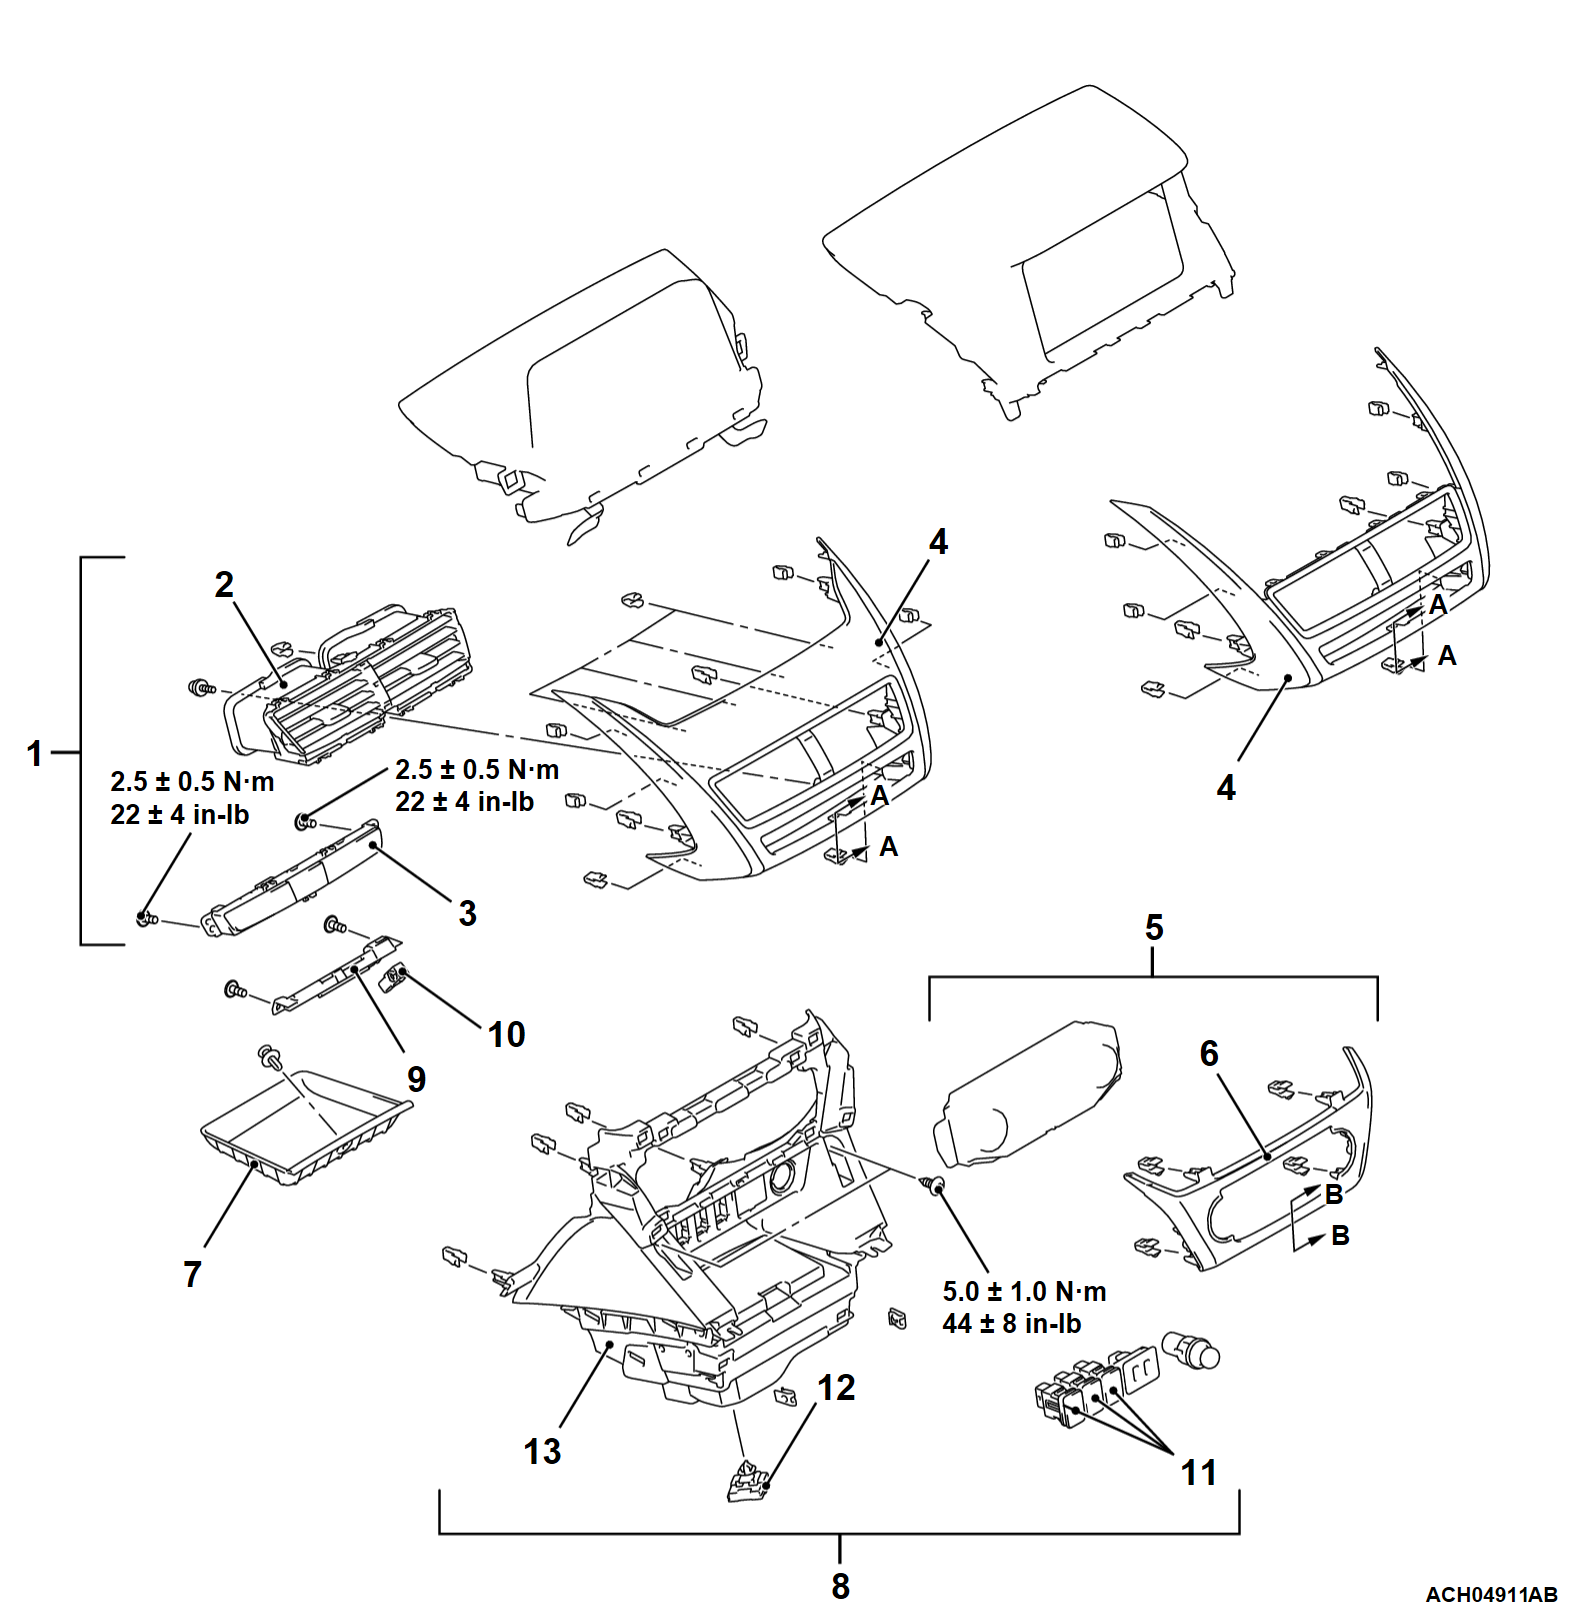
<<A>> | | 1. | Instrument panel air outlet panel assembly |
| | 2. | Instrument panel air outlet center |
| | 3. | Hazard warning light switch |
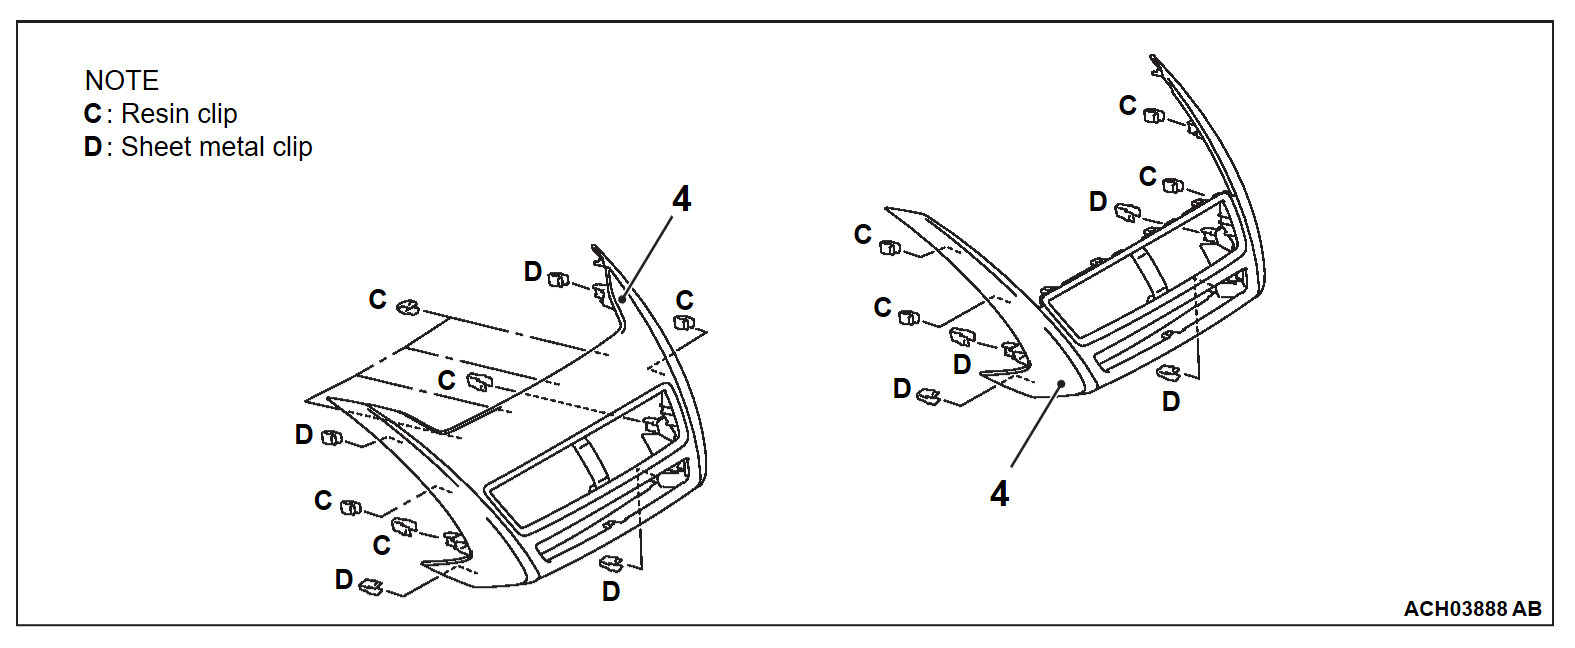
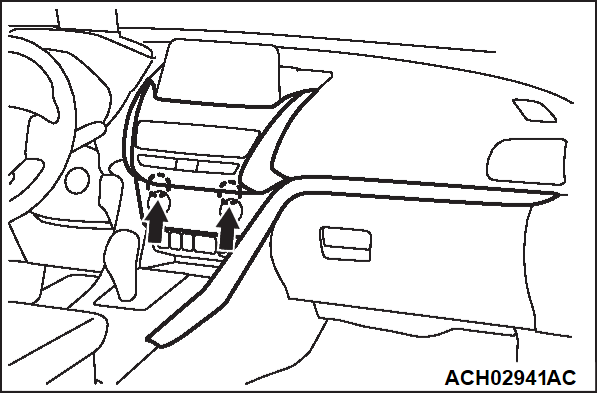
| | 4. | Instrument panel air outlet panel |
| | • | Multivision display assembly (Refer to GROUP 54A - Multivision Display  ) <Smartphone link display audio>. ) <Smartphone link display audio>. |
| | • | Radio and CD player assembly (Refer to GROUP 54A - Radio and CD Player  ) <Display audio>. ) <Display audio>. |
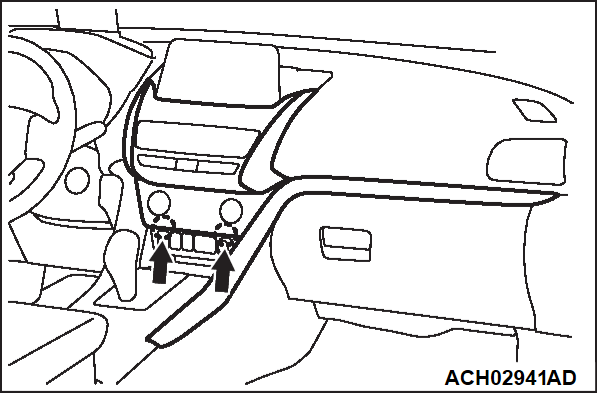
<<B>> | | 5. | A/C controller panel assembly |
| | • | A/C controller assembly (Refer to GROUP 55 - A/C Control Unit  ). ). |
| | 6. | A/C controller panel |
| | 7. | Instrument panel mat |
| | • | Floor console center (Refer to  ). ). |
| | 8. | Instrument panel console box center assembly |
| | • | ECALL relay box assembly (Refer to GROUP 54A - ECALL Relay Box Assembly  ) <Vehicles with TCU>. ) <Vehicles with TCU>. |
| | • | TCU (Refer to GROUP 54A - TCU  ) <Vehicles with TCU>. ) <Vehicles with TCU>. |
| | 9. | Instrument panel light assembly |
| | 10. | Spotlight |
| | 11. | Switch or switch plug |
| | • | USB adapter or USB adapter plug (Refer to GROUP 54A - USB Cable  ). ). |
| | • | Accessory socket assembly (Refer to GROUP 54A - Accessory Socket  ). ). |
| | 12. | Jumper wiring harness <Vehicles without TCU> |
| | 13. | Instrument panel console box center |
![[Previous]](../../../buttons/fprev.png)
![[Next]](../../../buttons/fnext.png)


