REMOVAL AND INSTALLATION
Pre-removal Operation | Post installation Operation |
REMOVAL SERVICE POINT
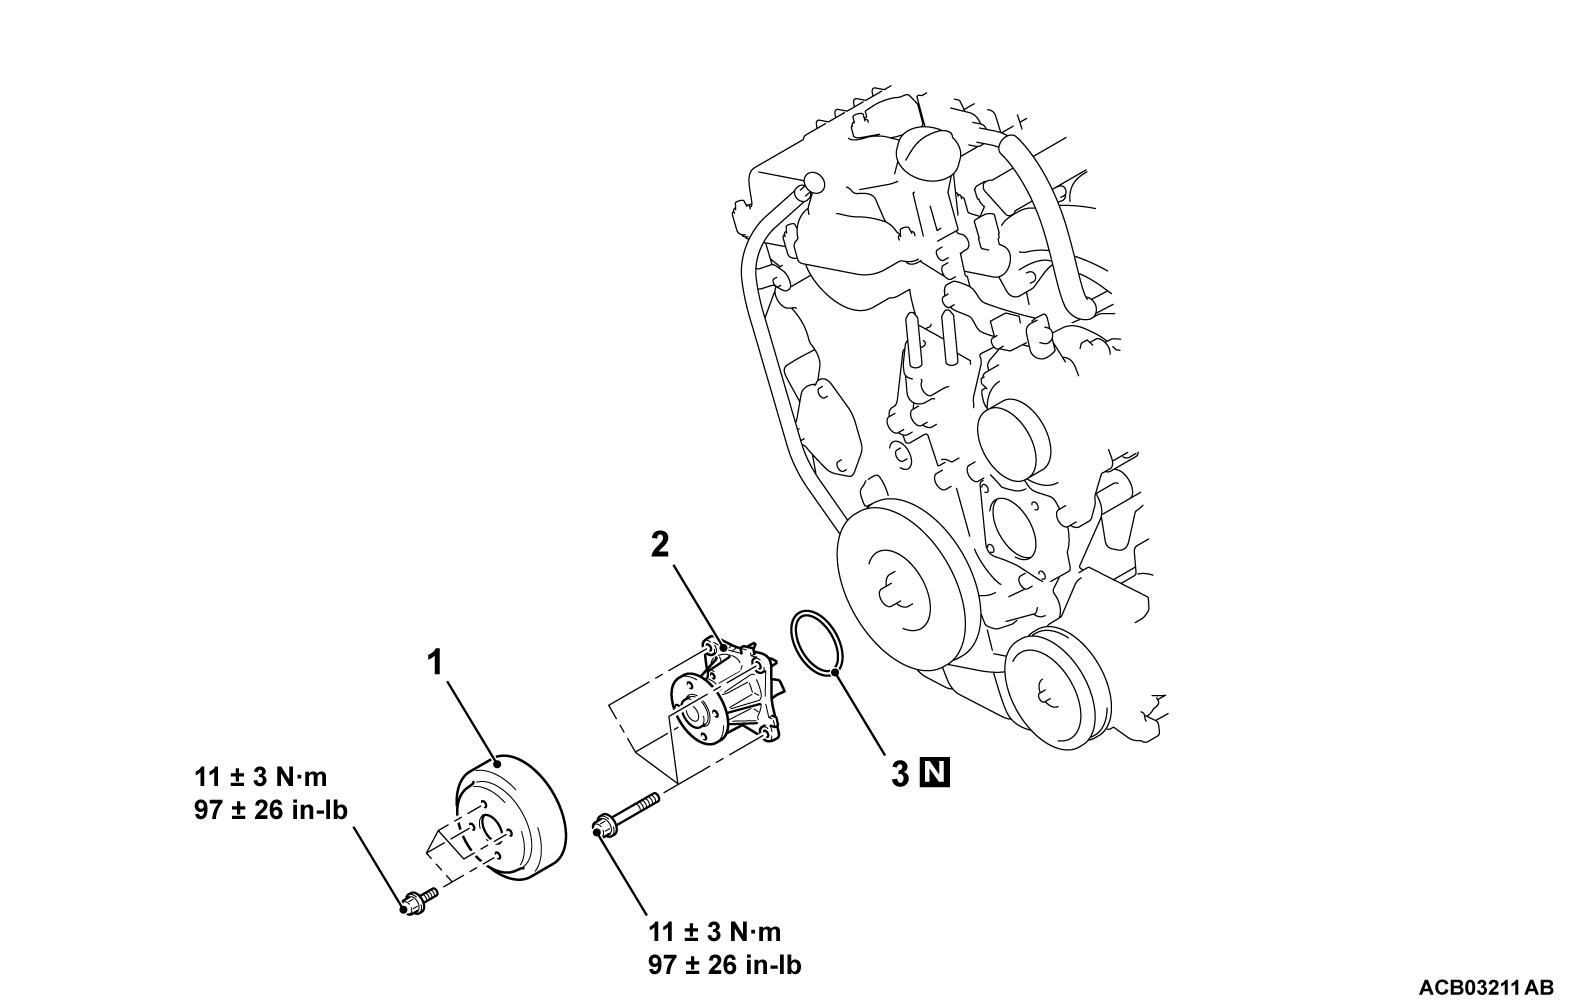
<<A>> WATER PUMP PULLEY REMOVAL
| caution |
|
Use the used drive belt to fix the water pump pulley, and remove the water pump pulley mounting bolts.
INSTALLATION SERVICE POINT
>>A<< O-RING/WATER PUMP INSTALLATION
1. Carefully remove the drying material and other foreign materials on the installation groove for the water pump O-ring.
2. Carefully remove the drying material and other foreign materials on the water pump installation area of the timing chain case assembly.
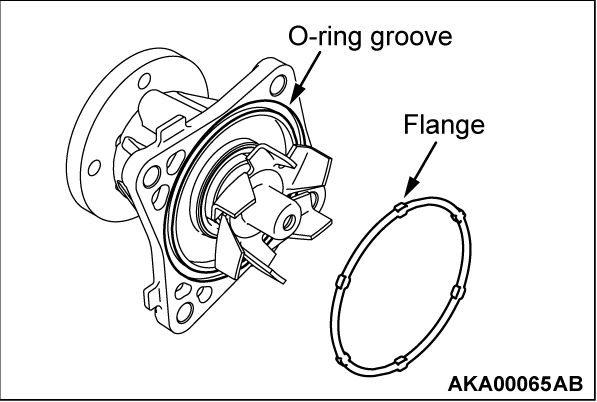
3. Push the flange of the new O-ring into the O-ring groove of the water pump to securely install the O-ring. Sufficiently apply water or the coolant to the O-ring with a brush so that the O-ring does not fall.
4. Gently inverting the water pump, check whether the O-ring does not fall.
5.
| caution | When installing the water pump, pay attention not to let the O-ring fall down or be bitten. Otherwise, a coolant leak may be caused. |
Install the water pump to the timing chain case. At that time, be careful that the O-ring does not fall or the O-ring is not jammed.
6. Tighten the water pump mounting bolts to the specified torque.
Tightening torque: 11 ± 3 N·m (97 ± 26 in-lb)
![[Previous]](../../../buttons/fprev.png)
![[Next]](../../../buttons/fnext.png)


