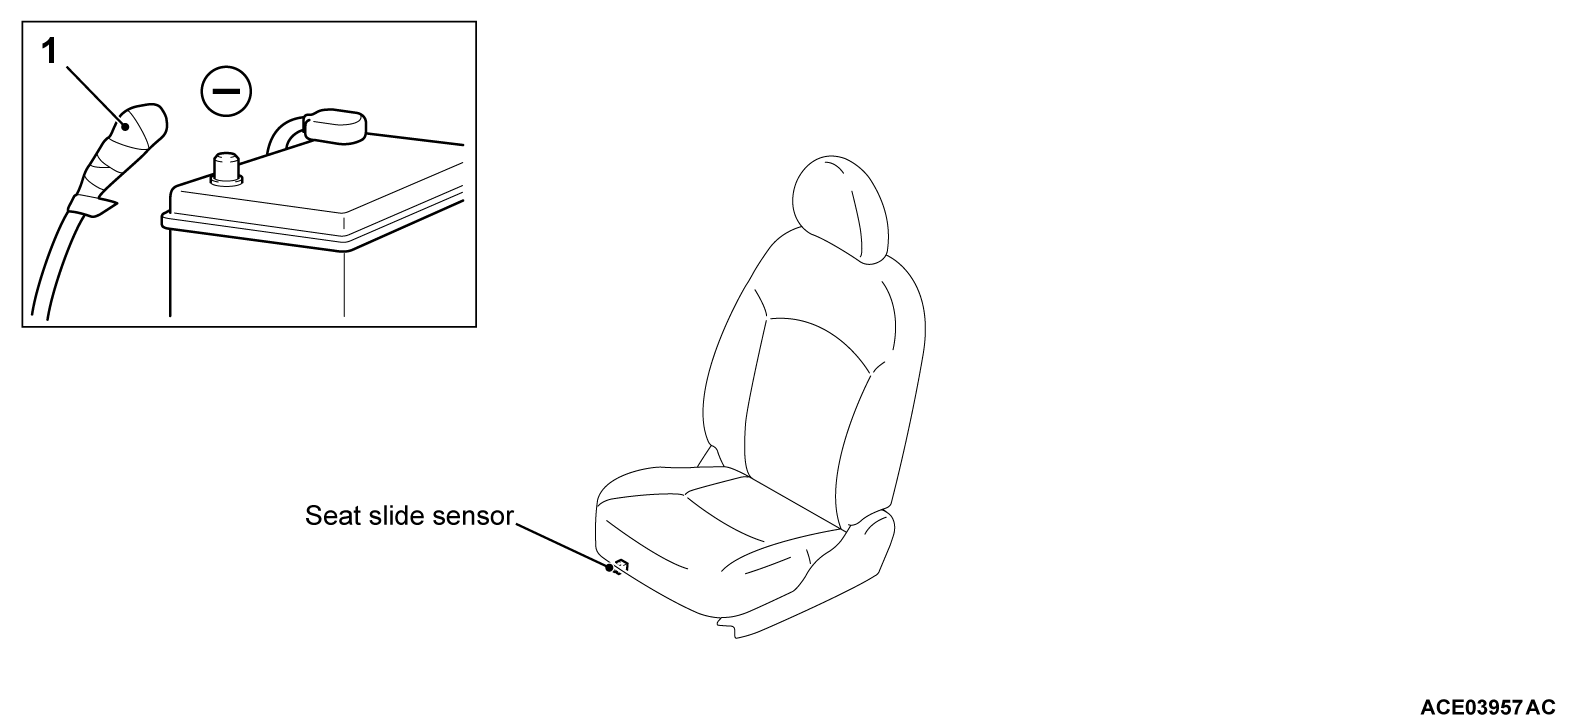
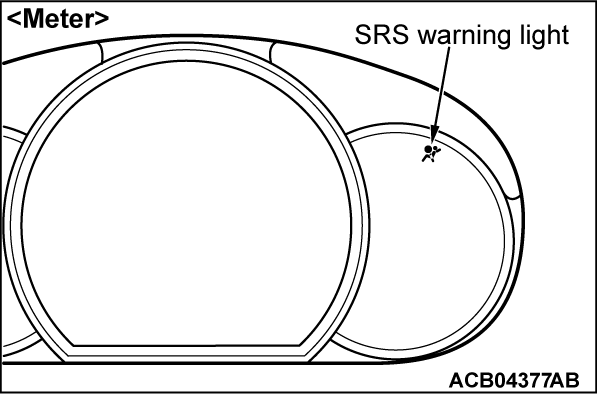
REMOVAL AND INSTALLATION
| warning |
|
Pre-removal Operation
|
REMOVAL SERVICE POINT
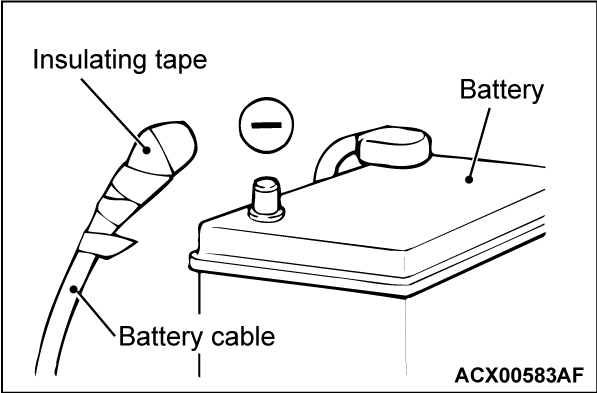
<<A>> NEGATIVE (-) BATTERY CABLE DISCONNECTION
| danger | Wait at least 60 seconds after disconnecting the battery cable before doing any further work (Refer to  ). ). |
| warning | Battery posts, terminals and related accessories contain lead and lead compounds. WASH HANDS AFTER HANDLING. |
Disconnect the negative (-) battery cable from the battery and tape the terminal to prevent accidental connection and air bag(s) deployment.
INSTALLATION SERVICE POINTS
>>A<< PRE-INSTALLATION INSPECTION
Check the seat slide sensor for dents, breakage and bending and measure the resistance between the terminals, even when installing a new seat slide sensor.
![[Previous]](../../../buttons/fprev.png)
![[Next]](../../../buttons/fnext.png)


