Removal and Installation
REMOVAL
1. Remove tires. Refer to Exploded View .
.
 .
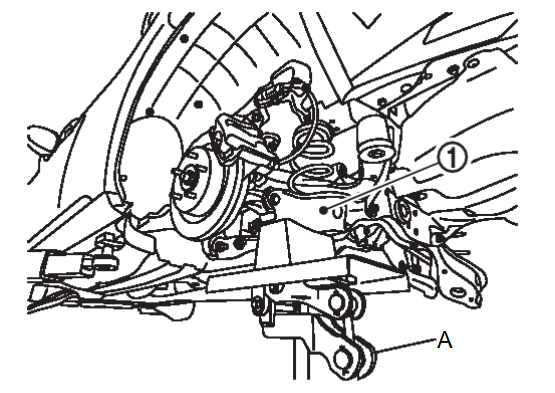
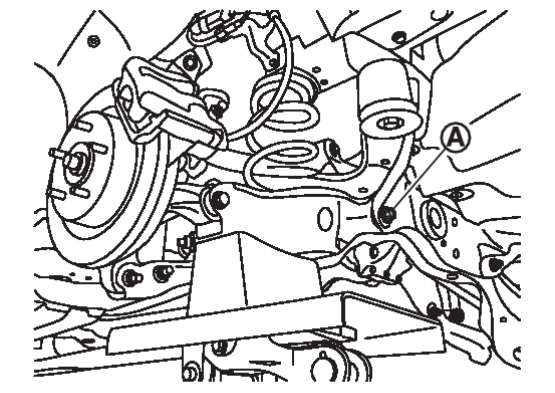
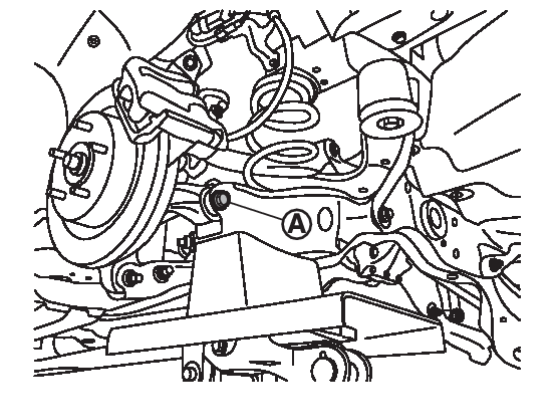
.2. Using jack (A) to rear lower link  .
.
 .
.| caution |
|
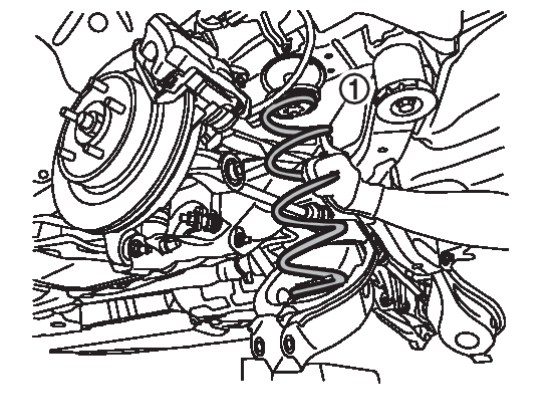
5. Slowly lower jack, remove upper rubber seat and coil spring  .
.
 .
.| caution | Operate while checking that jack supporting status is stable. |
6. Remove lower rubber seat from rear lower link.
7. Perform inspection after removal. Refer to Inspection .
.
 .
.INSTALLATION
Note the following, and install in the reverse order of removal.
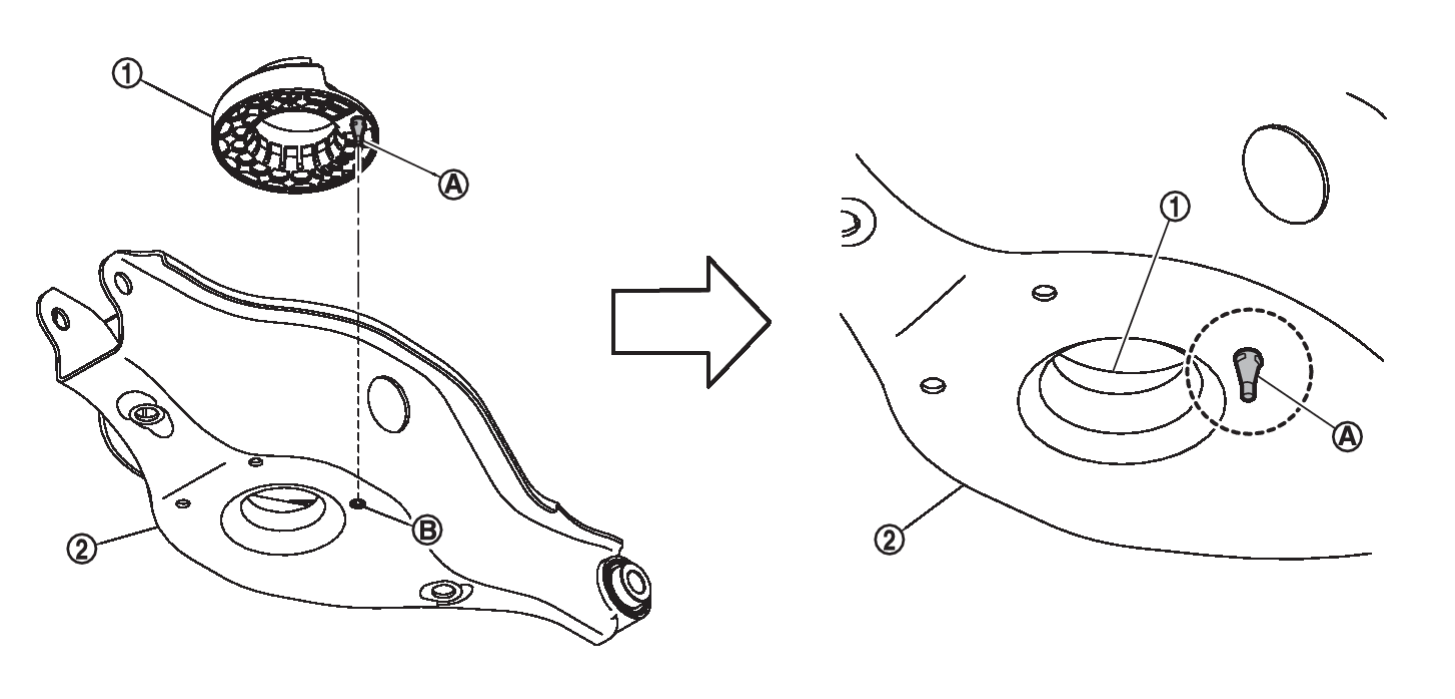
- Install lower rubber seat
 with its protrusion
  on the lower area aligned with the hole
  of rear lower link
 .
.caution The lower rubber seat protrusion  must be securely inserted into the hole
  of rear lower link
 .
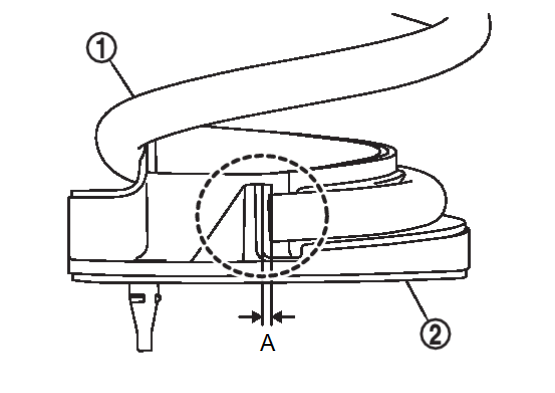
. - Install coil spring
 by aligning lower end of coil spring with lower rubber seat
  as shown in the figure.
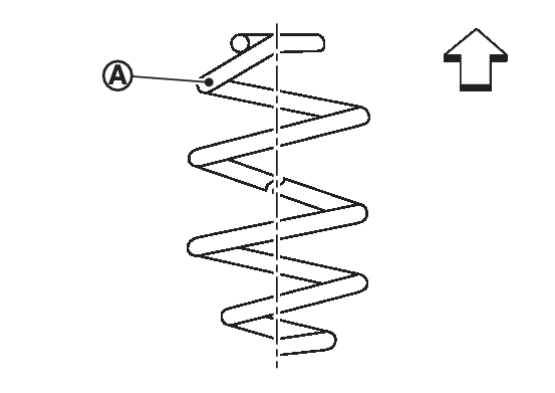
Dimension (A) : 5 mm (0.20 in) or less caution Set coil spring so that its paint marks  and
and  are aligned with the position from the bottom end of the coil spring shown in the figure.
: Upper side 
: 3.75 turns - Perform final tightening of fixing parts at the vehicle installation position (rubber bushing), under unladen conditions with tires on level ground.
- Perform inspection after installation. Refer to Inspection
 .
.
![[Previous]](../../../buttons/fprev.png)
![[Next]](../../../buttons/fnext.png)
