DISASSEMBLY AND ASSEMBLY
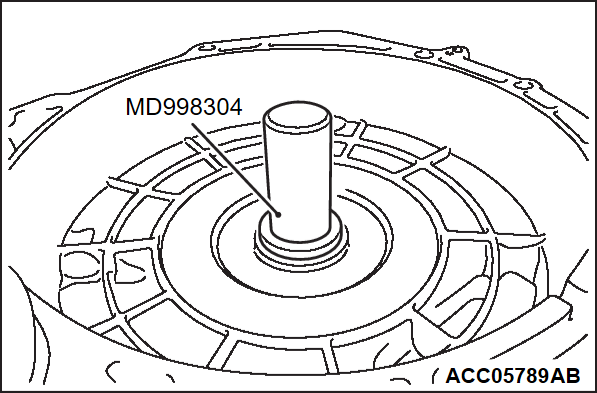
- MD998304: Oil seal installer
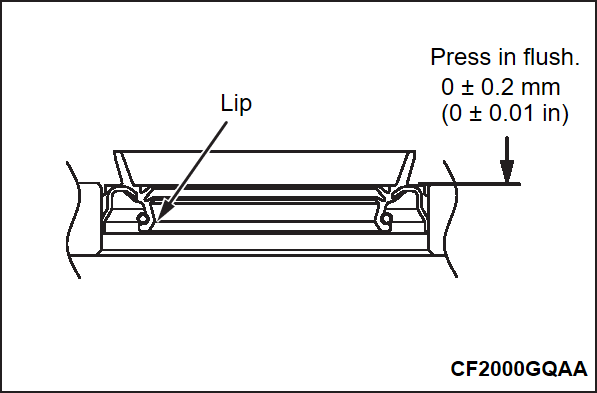
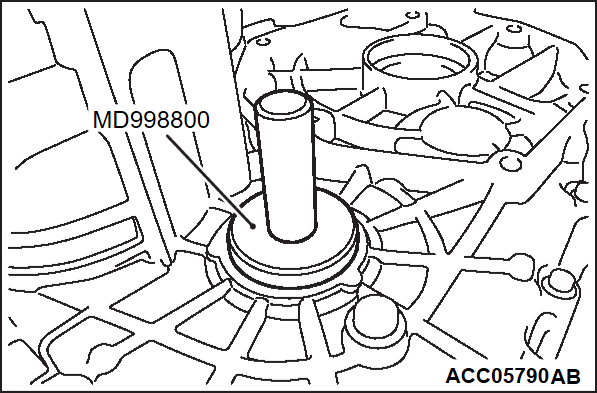
- MD998800: Oil seal installer
Required special tools:
DISASSEMBLY SERVICE POINTS
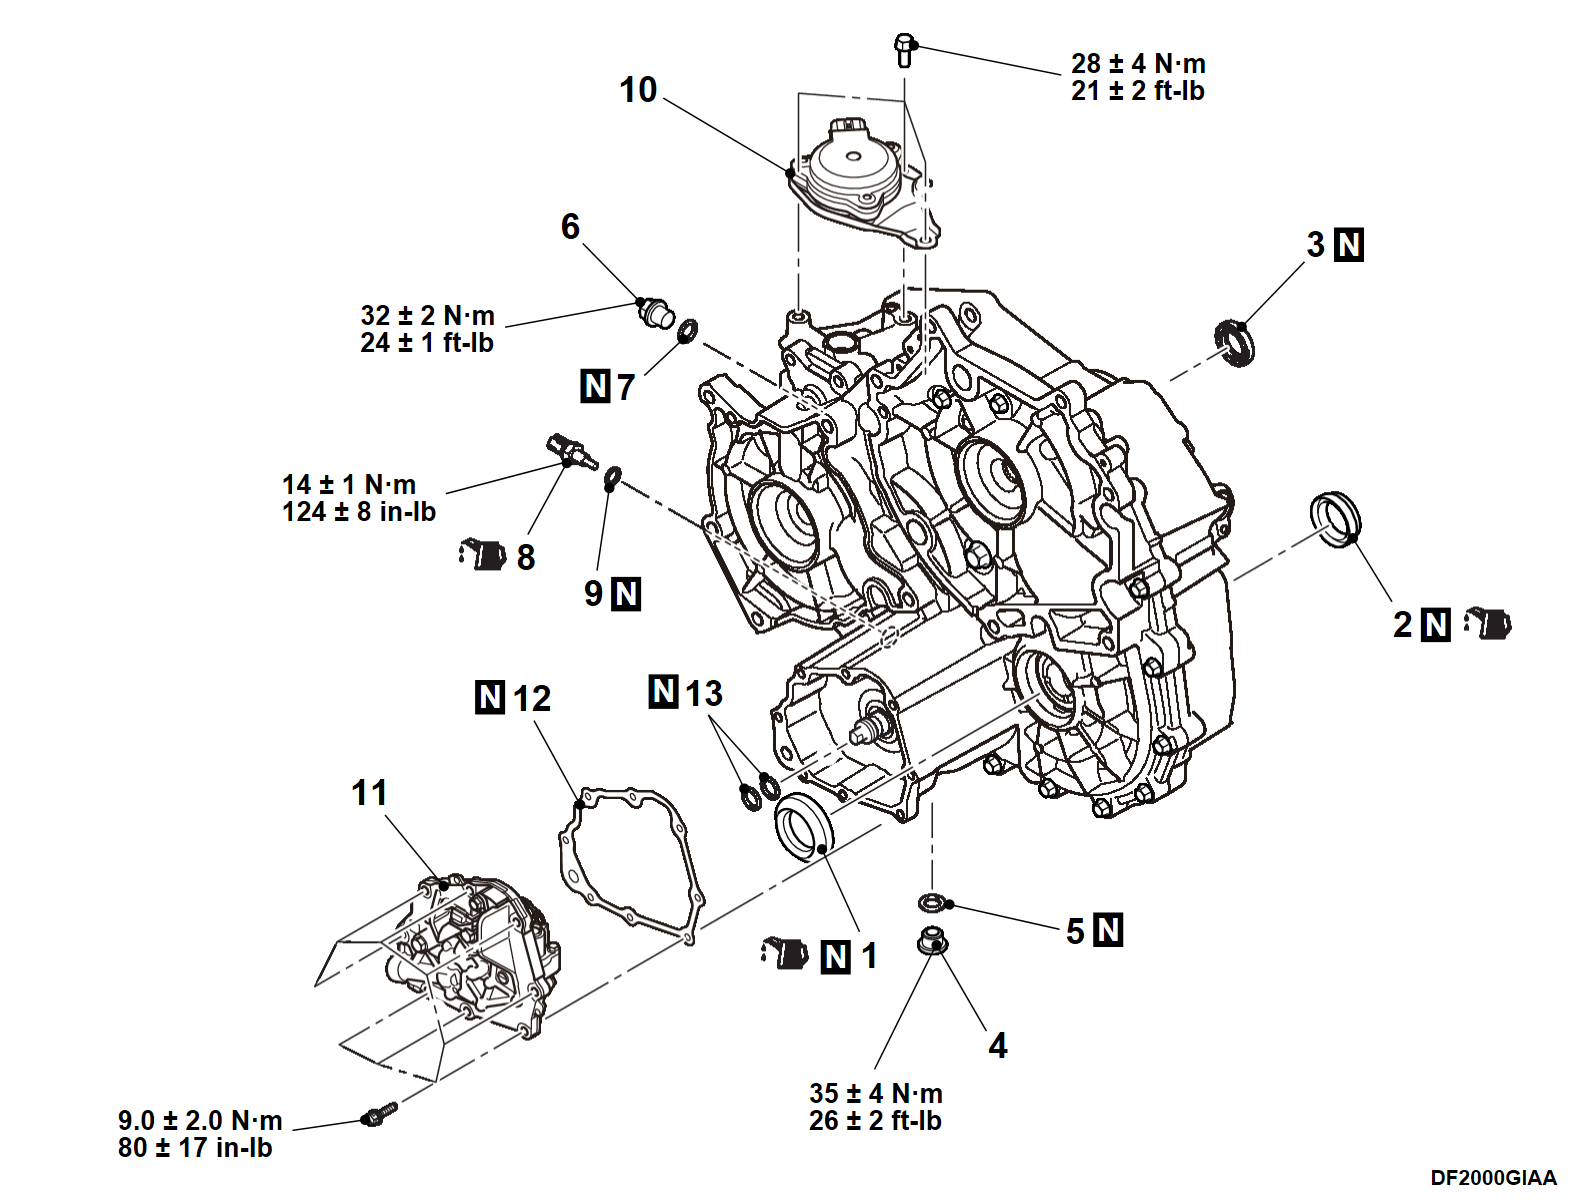
<<A>> ELECTRICAL PARKING ACTUATOR REMOVAL
Remove the electrical parking actuator from the front transaxle.
| caution |
|
<<B>> VALVE BODY ASSEMBLY REMOVAL
| caution |
|
1. Some of the ATF remains in the valve body chamber. Place a pan under the valve body to collect it.
ASSEMBLY SERVICE POINTS
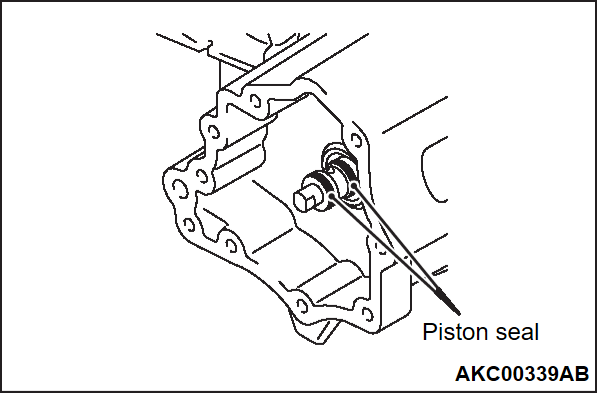
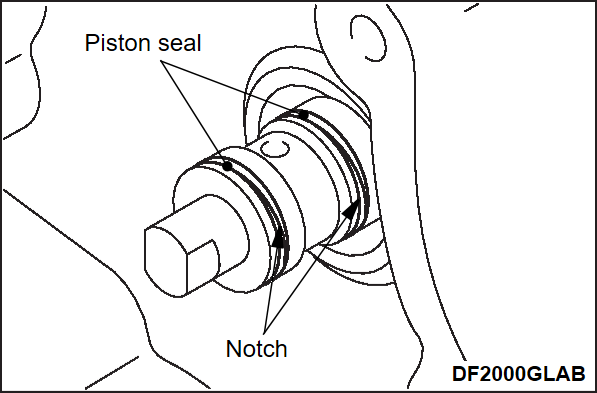
>>A<< PISTON SEAL INSTALLATION
| caution |
|
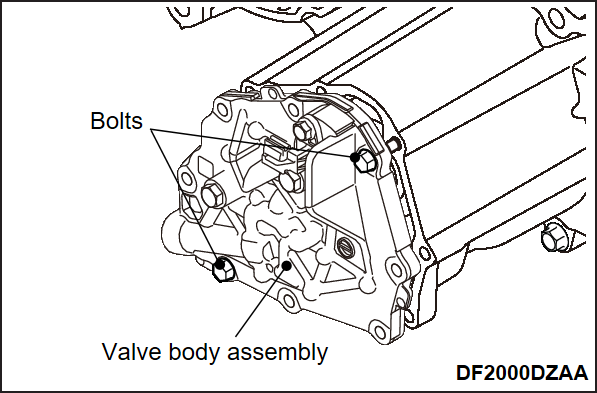
>>B<< VALVE BODY ASSEMBLY INSTALLATION
| caution | When the valve body assembly is removed, refill the ATF into the valve body chamber (Refer to Transaxle – Front Transaxle, On-vehicle Service TRANSAXLE FLUID CHANGE ). ). |
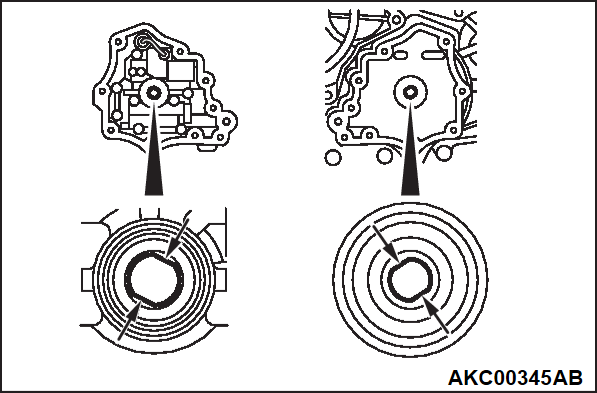
1. Align the flat surfaces on the oil pump drive with these on the transaxle to install the valve body assembly.
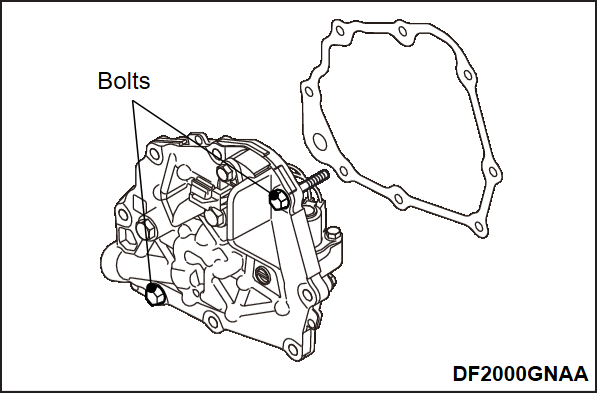
2. Install two bolts of another shank length in two positions shown to position the valve assembly and the gasket.
| caution |
|
3. Align the notch on the oil pump drive with these on the transaxle to install the valve body assembly.
4. Tighten the two bolts to push in the valve body assembly.
5. Tighten the other bolts by hand.
6. Replace the temporarily installed bolts with original ones.
7. Tighten the mounting bolt to the specified torque.
Tightening torque: 9.0 ± 2.0 N·m (80 ± 17 in-lb)
| note | Tighten the bolts diagonally and evenly. |
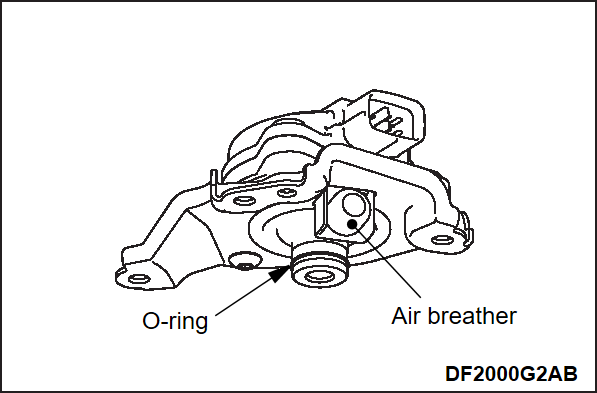
>>C<< ELECTRICAL PARKING ACTUATOR INSTALLATION
| caution |
|
1. Apply ATF to the O-ring.
2. Engage the spline to install the electrical parking actuator to the front transaxle.
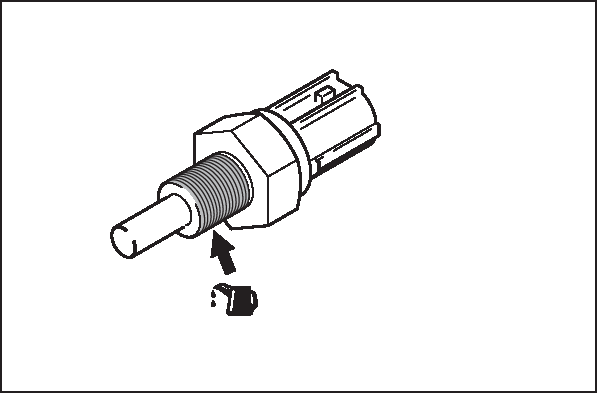
>>D<< TRANSAXLE FLUID TEMPERATURE SENSOR INSTALLATION
2. Tighten the transaxle fluid temperature sensor to the specified torque.
Tightening torque: 14 ± 1 N·m (124 ± 8 in-lb)
>>E<< OIL SEAL INSTALLATION
| caution |
|
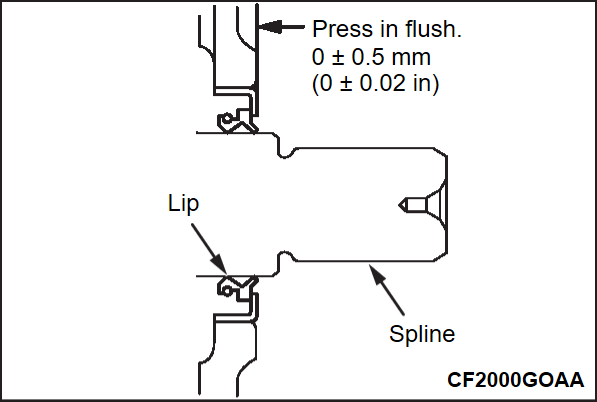
Using the special tool crankshaft front oil seal installer (MD998304), install the oil seal on the front transaxle.
![[Previous]](../../../buttons/fprev.png)
![[Next]](../../../buttons/fnext.png)
