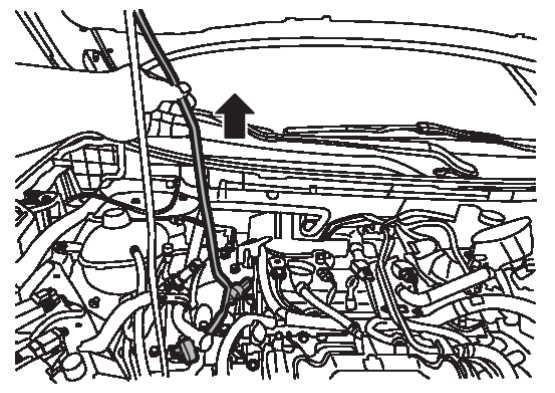
Removal and Installation
| caution | Perform lubricant return operation before each refrigeration system disassembly. However, if a large amount of refrigerant or lubricant leak is detected, never perform lubricant return operation. Refer to Perform Lubricant Return OperationPerform Lubricant Return Operation . . |
REMOVAL
1. Use a refrigerant collecting equipment (for HFO-1234yf) to discharge the refrigerant. Refer to Recycle Refrigerant .
.
 .
.2. Remove engine under cover and engine under cover front. Refer to Removal and Installation .
.
 .
.3. Drain engine coolant from cooling system. Refer to Draining .
.
 .
.4. Remove front side of front fender protector RH, and then move front fender protector RH to secure work space. Refer to Exploded View .
.
 .
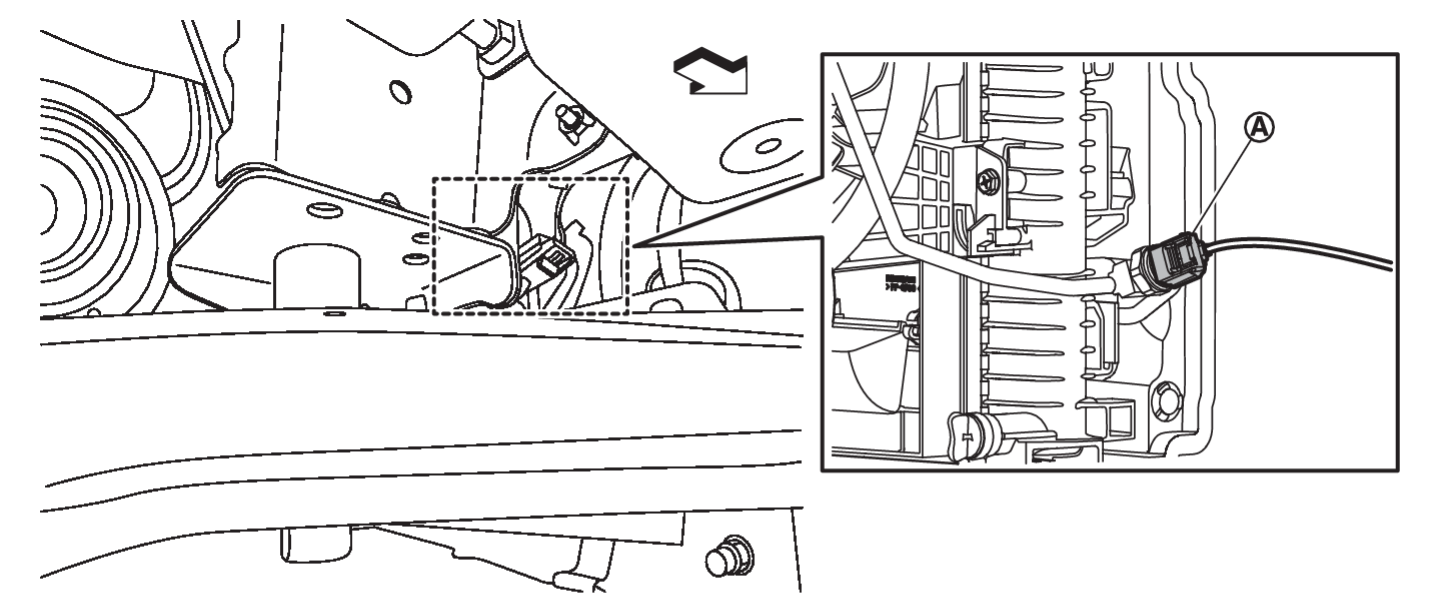
.5. Disconnect reservoir tank hose from reservoir tank.
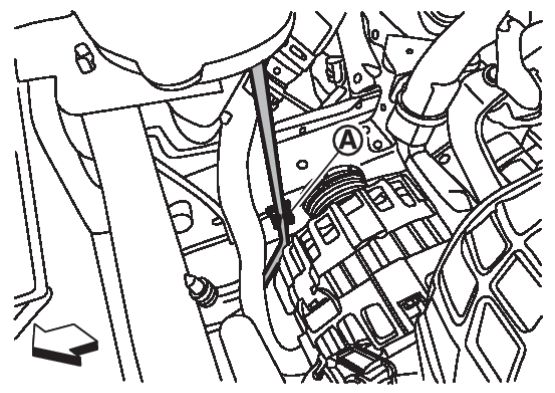
7. Disconnect low-pressure flexible hose from internal heat exchanger pipe. Refer to Removal and Installation .
.
 .
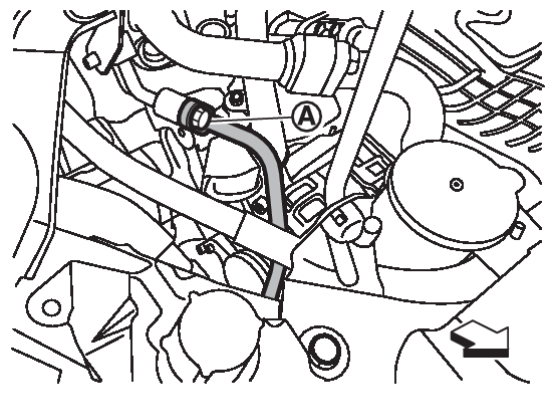
.8. Remove mounting bolt  , and then disconnect high-pressure pipe from Internal heat exchanger pipe.
 , and then disconnect high-pressure pipe from Internal heat exchanger pipe.
 | : Vehicle front |
| caution | Cap or wrap the joint of the A/C piping with suitable material such as vinyl tape to avoid the entry of air. |
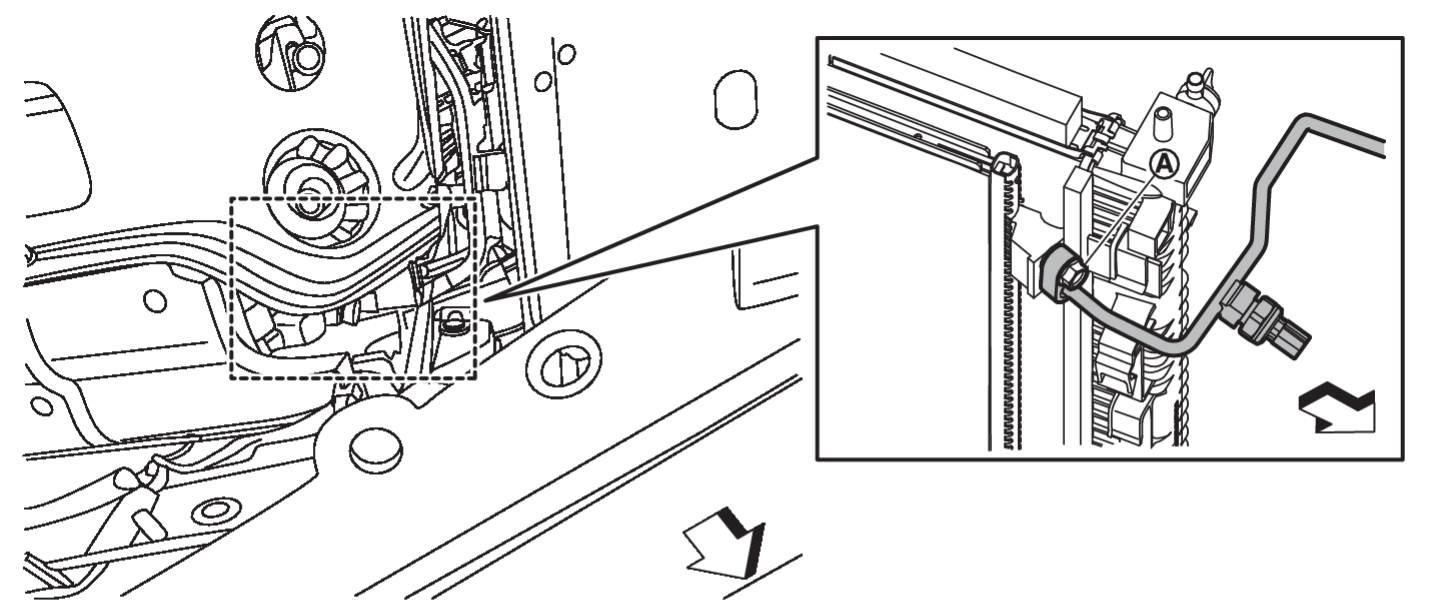
9. Remove mounting bolt  , and then disconnect high-pressure pipe from condenser & liquid tank assembly.
 , and then disconnect high-pressure pipe from condenser & liquid tank assembly.
 | : Vehicle front |
| caution | Cap or wrap the joint of the A/C piping and condenser & liquid tank assembly with suitable material such as vinyl tape to avoid the entry of air. |
INSTALLATION
Note the following items, then install in the reverse order of removal.
| caution |
|
![[Previous]](../../../buttons/fprev.png)
![[Next]](../../../buttons/fnext.png)
