Adjustment
DESCRIPTION
PREPARATION BEFORE ADJUSTING
| note | For details, refer to the regulations in your own country. |
Before performing aiming adjustment, check the following.
- Adjust the tire pressure to the specification.
- Fill with fuel, coolant and each oil.
- Maintain the unloaded vehicle condition. (Remove luggage from the passenger compartment and the luggage room.)
note Never remove temporary tire, jack and on-vehicle tool. - Wipe out dirt on the headlight.
caution Never use organic solvent (thinner, gasoline etc.). - Ride alone on the driver seat.
AIMING ADJUSTMENT PROCEDURE
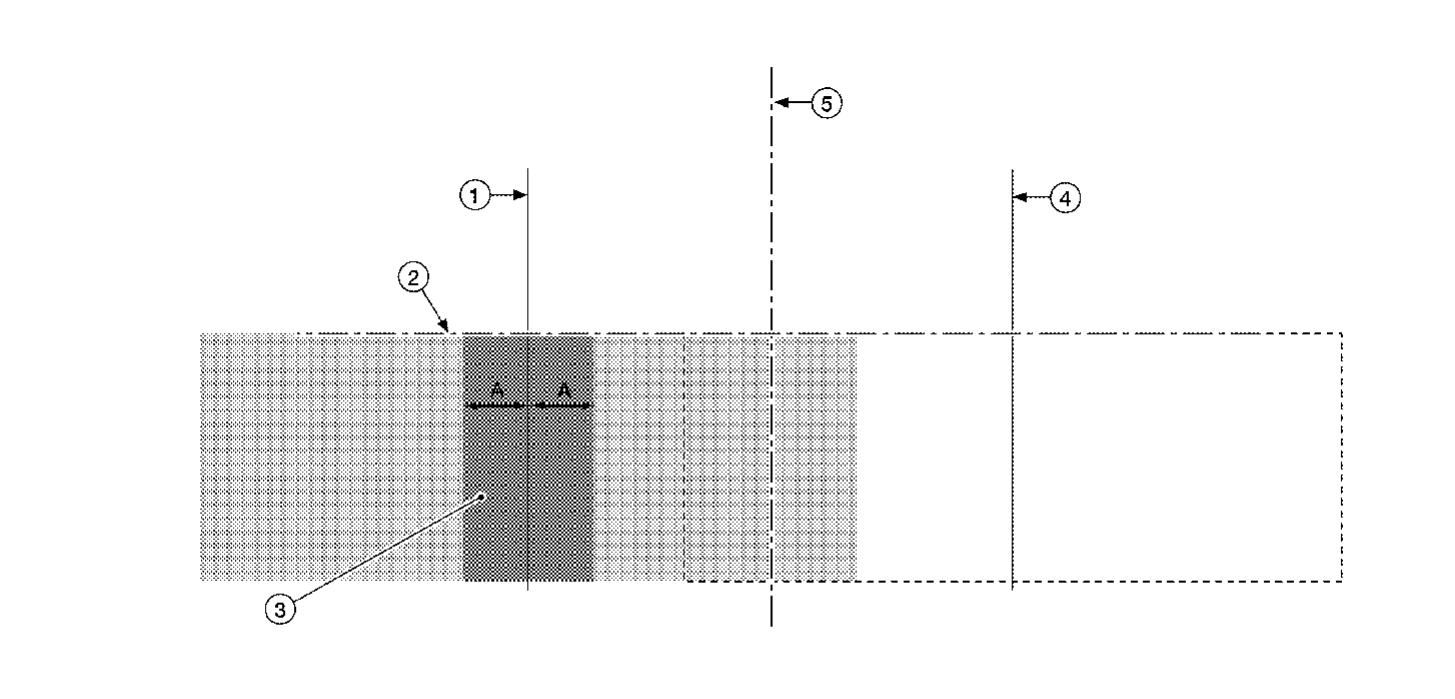
Aiming Chart
| |||||||||||||||||||
| note |
|
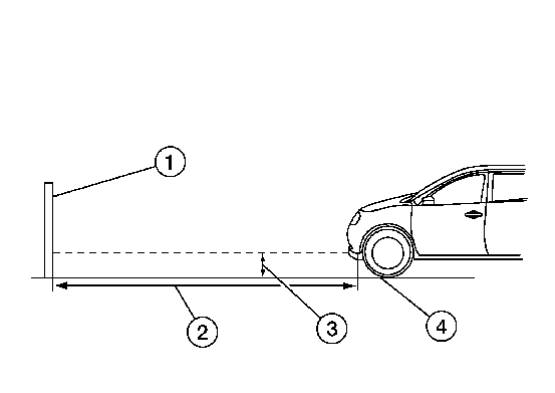
1. Set the distance between the screen and the center of the front fog light lens as shown. Aiming screen or a matte white surface
 7.62 m (25 ft)
 Floor to center of front fog light lens
 Floor
Floor
 Aiming screen or a matte white surface
 7.62 m (25 ft)
 Floor to center of front fog light lens
 Floor
Floor2. Turn front fog lamps ON.
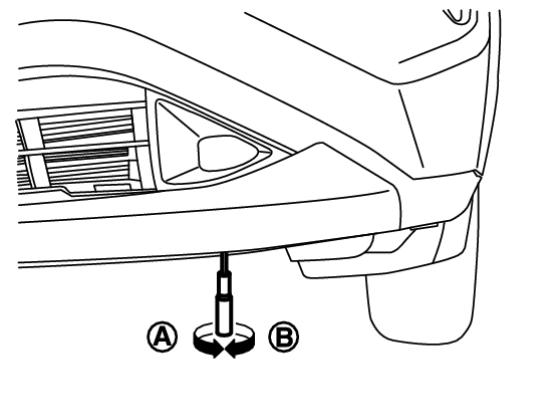
3. Access adjusting screw from underneath front bumper fascia. Adjust front fog lamps using adjusting screw so that the top edge of the high intensity zone is at the front fog light centers above ground.
![[Previous]](../../../buttons/fprev.png)
![[Next]](../../../buttons/fnext.png)

 : DOWN
 : UP
: UP

