Adjustment
DESCRIPTION
PREPARATION BEFORE ADJUSTING
| note |
|
Before performing aiming adjustment, check the following.
- Adjust the tire pressure to the specification.
- Fill with fuel, coolant and each oil.
- Maintain the unloaded vehicle condition. (Remove luggage from the passenger compartment and the luggage room.)
note Never remove temporary tire, jack and on-vehicle tool. - Wipe out dirt on the headlight.
caution Never use organic solvent (thinner, gasoline etc.). - Ride alone on the driver seat.
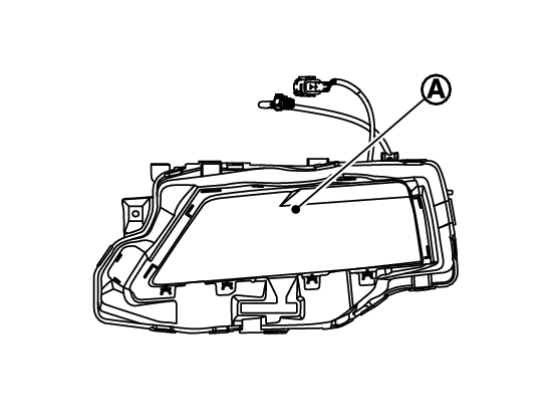
BULB CENTER WHEN ADJUSTING THE AIMING
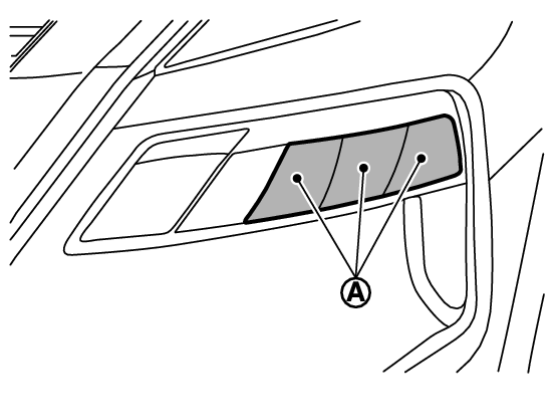
When performing aiming adjustment, set headlight (Lo) center at headlight center mark  .
.
 .
.AIMING ADJUSTMENT PROCEDURE
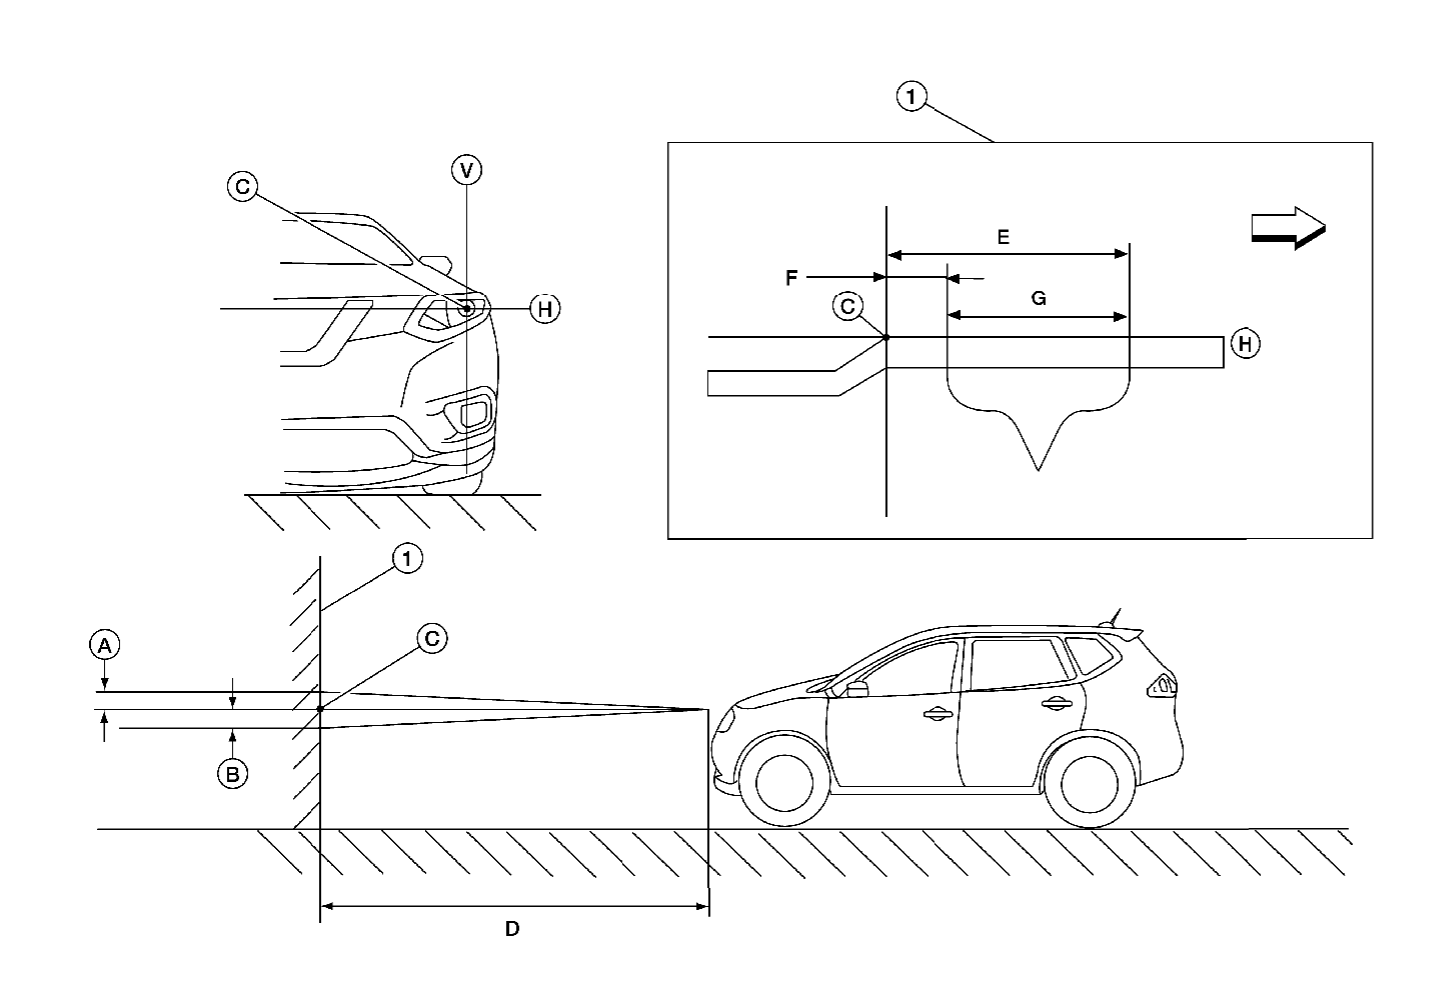
Aiming Chart
| |||||||||||||||||||||||||||||||
| D |  |  | ||
| mm | deg | mm | deg | |
| 7.62 m (25 ft) | 0 | 0° | 67 | 0.5° down |
| 10 m (32.8 ft) | 15 | 0.1° up | 73 | 0.4° down |
| note |
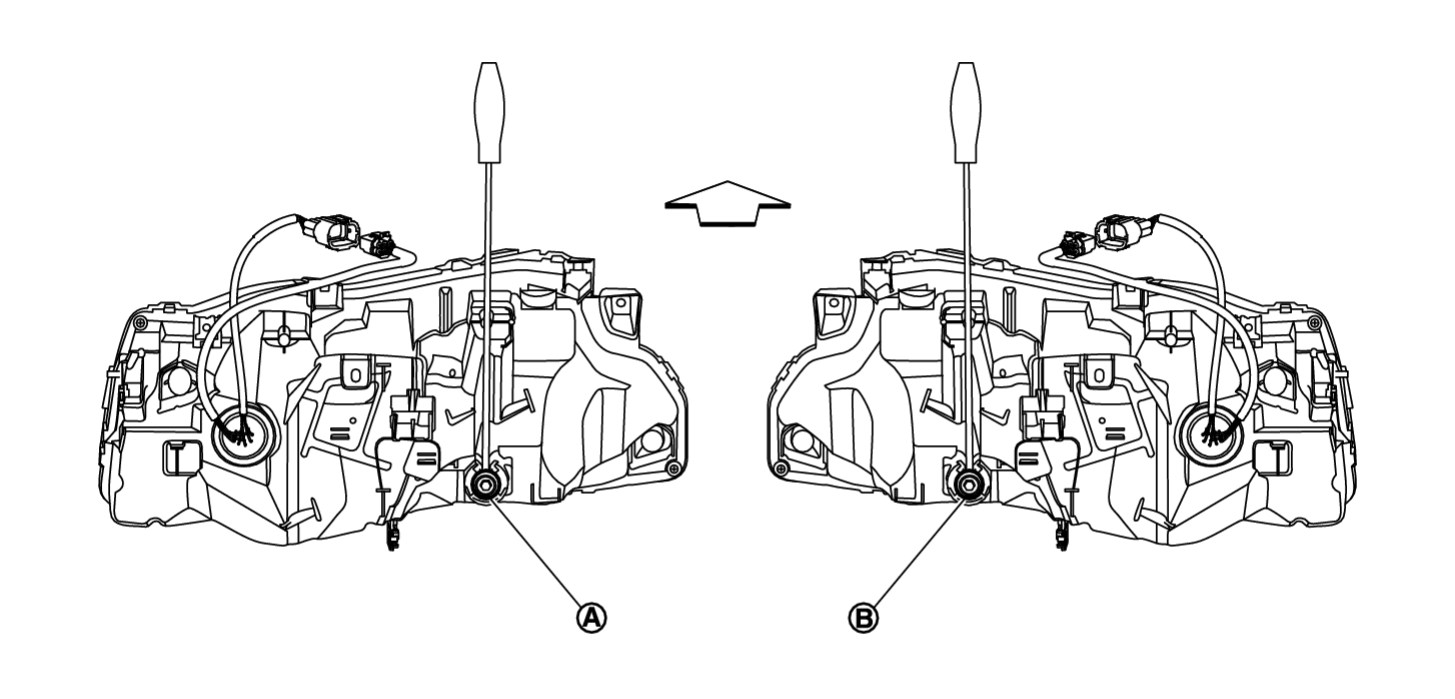
1. Use adjustment screw to perform aiming adjustment.
- Ensure fog lamps are turned off.
- The vehicle should have its standard load, which may include any outfitting or other equipment. Any load that is normally carried in the vehicle should be in the vehicle while verifying or performing headlight adjustment. Any other load should be removed.
2. Block the opposite headlight from projecting a beam pattern onto the adjustment screen, using a suitable object. Aim each headlight individually.
| caution | Do not cover the lens surface with a tape etc. The lens is made of resin. |
3. Place the screen on the same level and flat surface as the vehicle.
| note | Surface should be free of any debris that would cause a difference between the headlight center and the adjustment screen. |
4. Face the front of the vehicle to the screen and measure distance between the headlight center and the screen surface.
| Distance between the headlight center and the screen (D) | : 7.62 m (25 ft) or 10 m (32.8 ft) |
5. Start the engine. Turn the headlight on.
6. Determine the preferred vertical aim range dimensions, using the aiming chart.
7. Measure the projected beam within the aim evaluation segment on the screen.
8. Adjust the beam pattern of each headlight until the aim evaluation segment (the area relative to both the highest and lowest cutoff line height) is positioned within the vertical aim range dimensions shown on the aiming chart.
![[Previous]](../../../buttons/fprev.png)
![[Next]](../../../buttons/fnext.png)


