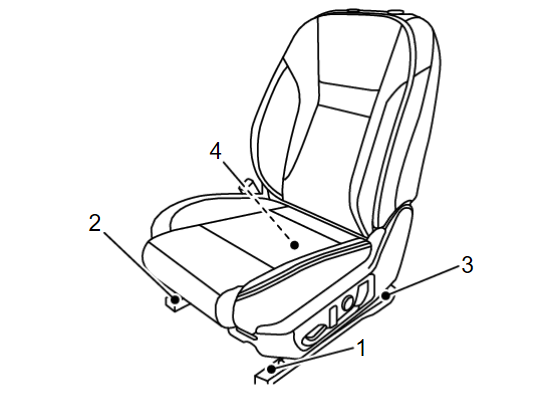
Removal and Installation
| warning |
|
| caution |
|
REMOVAL
1. Remove headrest.
2. Slide the front seat to front most position.
3. Remove rear side of front seat mounting bolts.
4. Slide the front seat to rear most position.
5. Remove front side of front seat mounting bolts.
6. Disconnect the battery negative terminal.
| note | If disassemble front seat, fully lift up front seat to ensure the work space of disassemble to seat cushion finisher (power seat). |
7. Pull up the seat to rearward.
8. Disengage body harness fixing clips, and then disconnect harness connectors.
| caution | Before performing disengage/disconnect operation, check the engage, connect position of harness/harness connector locations. |
9. Remove front seat from vehicle.
INSTALLATION
Note the following items, and then install in the reverse order of removal.
| caution |
![[Previous]](../../../buttons/fprev.png)
![[Next]](../../../buttons/fnext.png)

