Disassembly and Assembly
DISASSEMBLY
| caution | When disassemble, always use a remover tool that is made of plastic to prevent damage to the parts. |
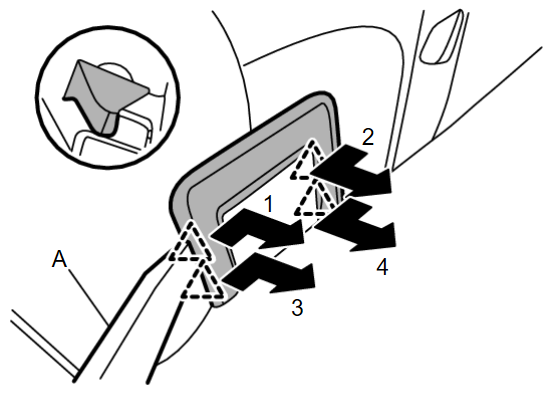
1. Disengage fixing pawls according to numerical order 1→3 indicated by arrows as shown in figure using a remover tool (A), and then remove center seat belt finisher.
 | : Pawl |
 | : Vehicle front |
2. Disengage fixing pawls according to numerical order 1→4 indicated by arrows as shown in figure using a remover tool (A), and then remove seatback release lever finisher.
 | : Pawl |
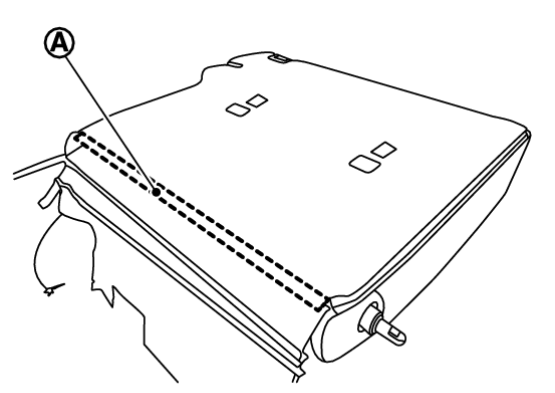
5. Open seatback trim fixing fastener.
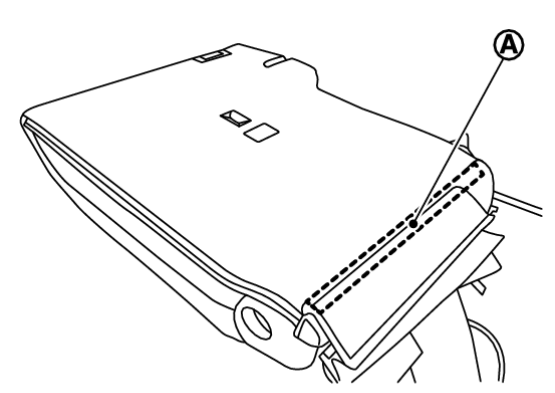
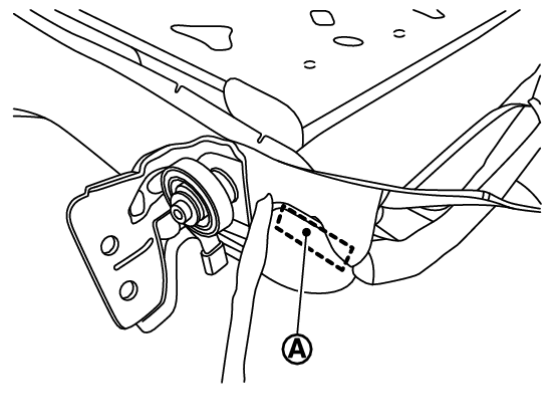
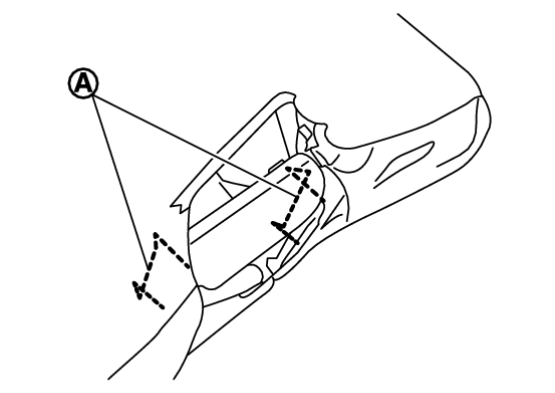
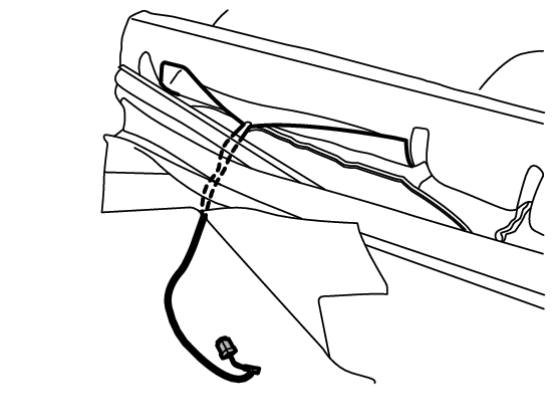
6. Pull out end  of seat back trim from between seatback frame and seatback pad as shown in figure.
 of seat back trim from between seatback frame and seatback pad as shown in figure.
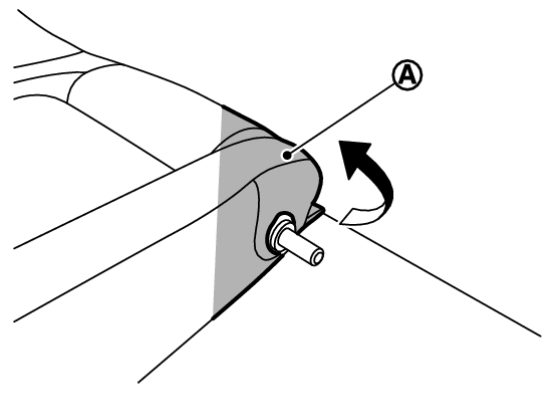
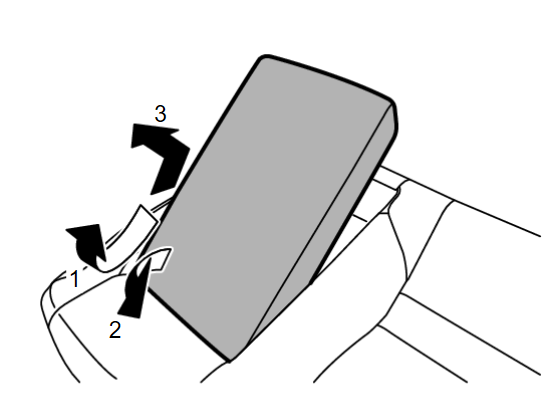
8. Remove armrest assembly (seatback LH).
(3) Pull up armrest assembly.
(4) Remove armrest assembly according to numerical order 1→3 indicated by arrows as shown in figure.
(5) Remove bushes.
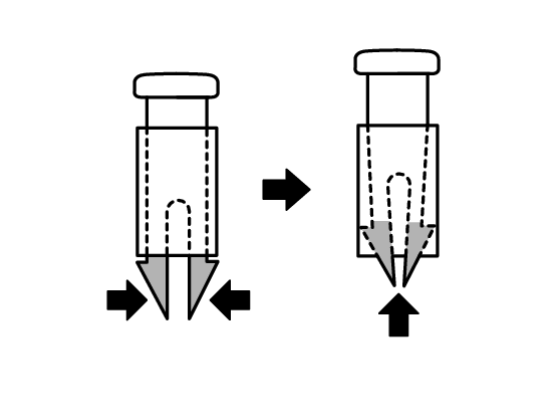
11. Disengage fixing pawls while pinching pawls according to arrows as shown in figure, and then remove headrest holder.
| caution | Before removing, check its orientation (front/rear, right/left). |
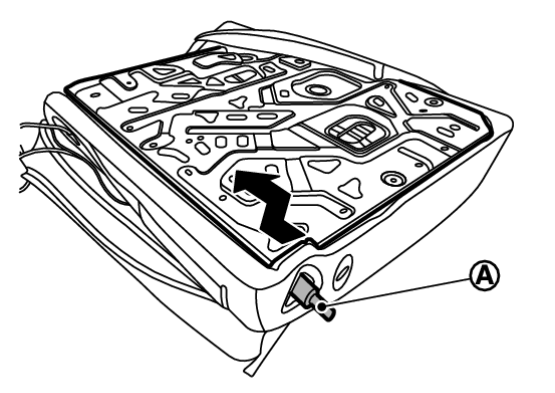
12. Remove seatback frame from seatback pad.
13. Remove hog ring, and then separate seatback trim and pad.
| caution |
14. Remove seatback release lever and cable.
(1) Disengage seatback release cable fixing clips.
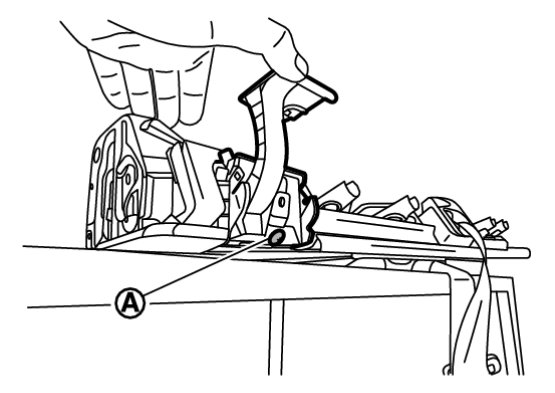
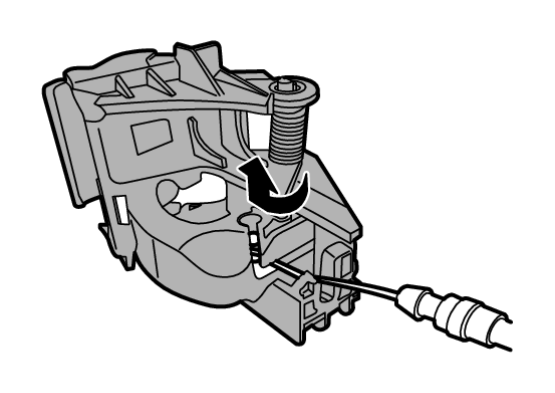
(2) Disengage the end of seatback release cable  from seatback frame latch
  according to numerical order 1→2 indicated by arrows while pulling latch as shown in figure.
 from seatback frame latch
  according to numerical order 1→2 indicated by arrows while pulling latch as shown in figure.
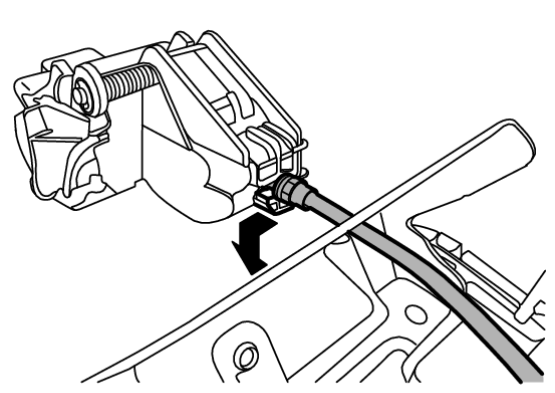
(4) Remove seatback release lever and cable as a set according to numerical order 1→3 indicated by arrows as shown in figure.
ASSEMBLY
Note the following items, and then assemble in the reverse order of disassembly.
| caution |
|
![[Previous]](../../../buttons/fprev.png)
![[Next]](../../../buttons/fnext.png)

