Disassembly and Assembly
DISASSEMBLY
| note | Never remove the torque member and brake pad when disassembling and assembling the cylinder body. |
1. Remove the sliding pin bolt, and remove the cylinder body from the torque member. Refer to Removal and Installation .
.
 .
.| caution | Fix the brake pad at suitable tape so that the brake pad will not drop. |
2. Remove sliding pins and sliding pin boots from torque member.
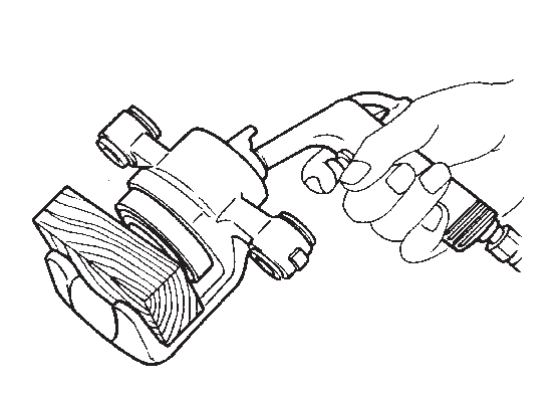
4. Place a wooden block as shown in the figure, and blow air from union bolt mounting hole to remove piston boot.
| caution | Never get fingers caught in the piston. |
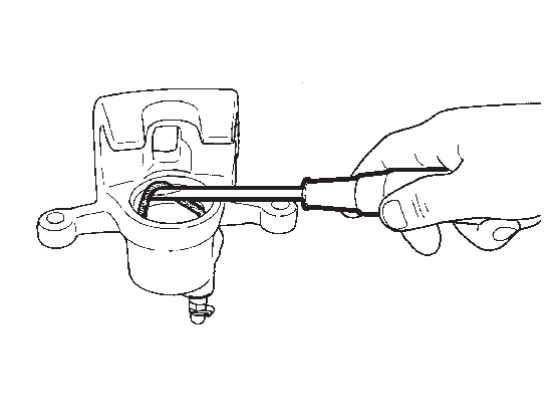
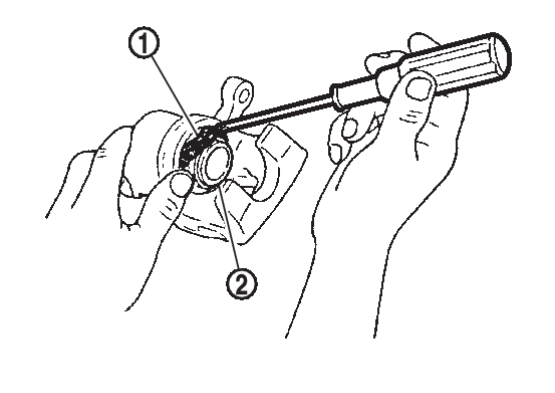
5. Remove piston seal from cylinder body using seal pick tool.
| caution | Be careful not to damage a cylinder inner wall. |
6. Remove bleeder valve and cap.
7. Perform inspection after disassembly. Refer to Inspection and AdjustmentInspection and Adjustment .
.
 .
.ASSEMBLY
1. Install bleeder valve and cap.
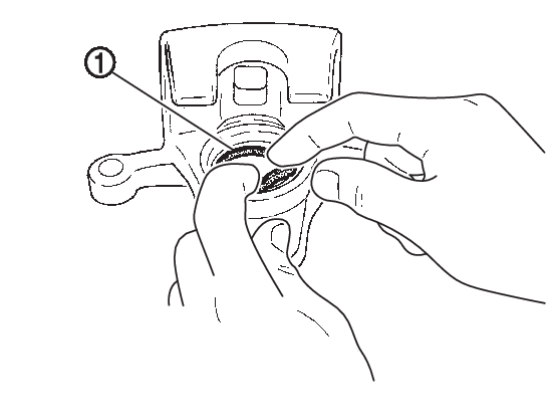
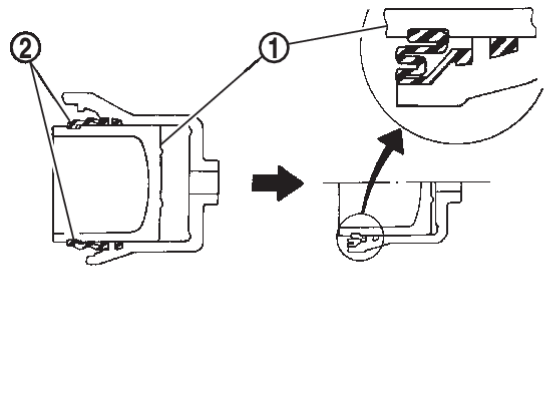
2. Apply new brake fluid to piston seal  , and install them to cylinder body.
 , and install them to cylinder body.
| caution | Never reuse piston seal. |
3. Apply rubber grease to piston boot  . Cover the piston
  end with piston boot, and then install cylinder side lip on piston boot securely into a groove on cylinder body.
 . Cover the piston
  end with piston boot, and then install cylinder side lip on piston boot securely into a groove on cylinder body.
| caution | Never reuse piston boot. |
4. Apply new brake fluid to piston  . Push piston into cylinder body by hand and push piston boot
  piston-side lip into the piston groove.
 . Push piston into cylinder body by hand and push piston boot
  piston-side lip into the piston groove.
| caution | Press the piston evenly and vary the pressing point to prevent cylinder inner wall from being rubbed. |
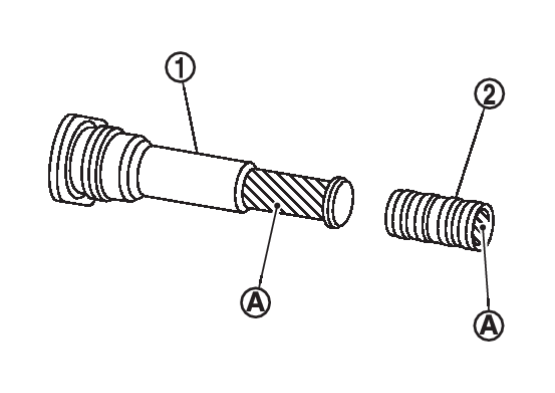
5. Apply rubber grease to mating faces  between sliding pin
  and bushing
  , and install bushing to sliding pin.
 between sliding pin
  and bushing
  , and install bushing to sliding pin.
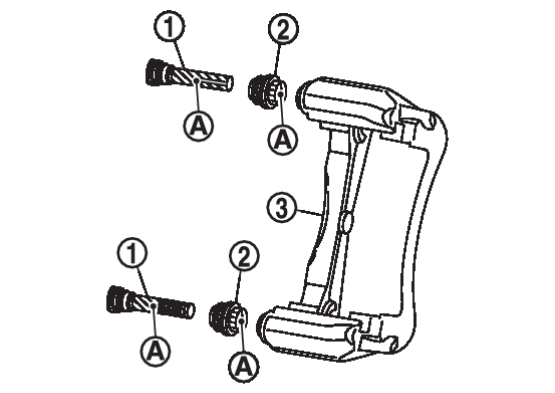
6. Apply rubber grease to mating faces  between sliding pins
  and sliding pin boots
  , and install sliding pins and sliding pin boots to torque member
  .
.
 between sliding pins
  and sliding pin boots
  , and install sliding pins and sliding pin boots to torque member
  .
.7. Install the cylinder body to tighten cylinder body mounting bolts to the specified torque. Refer to Exploded View .
.
 .
.![[Previous]](../../../buttons/fprev.png)
![[Next]](../../../buttons/fnext.png)
