| caution | - Always replace gaskets with new ones when reassembling.
- Discard any heated oxygen sensor 2 which has been dropped onto a hard surface such as a concrete floor. Use a new one.
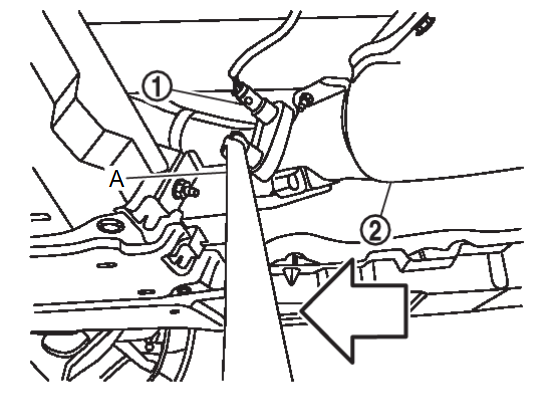
- Before installing a new heated oxygen sensor 2, clean exhaust system threads using the heated oxygen sensor thread cleaner [commercial service tool (J-43897-18 or J-43897-12)] and apply anti-seize lubricant (commercial service tool).
- Never over torque heated oxygen sensor 2. Doing so may cause damage to the heated oxygen sensor 2, resulting in the “MIL” coming on.
- If heat insulator is badly deformed, repair or replace it. If deposits such as mud pile up on the heat insulator, remove them.
- When installing heat insulator avoid large gaps or interference between heat insulator and each exhaust pipe.
- Remove deposits from the sealing surface of each connection. Connect them securely to avoid gas leakage.
- Temporarily tighten mounting nuts and bolts. Check each part for unusual interference and mounting rubber interference, and then tighten them to the specified torque.
- When installing each mounting rubber, avoid twisting or unusual extension in up/down, front/rear and right/left directions.
|
![[Previous]](../../../buttons/fprev.png)
![[Next]](../../../buttons/fnext.png)
 .
.

